
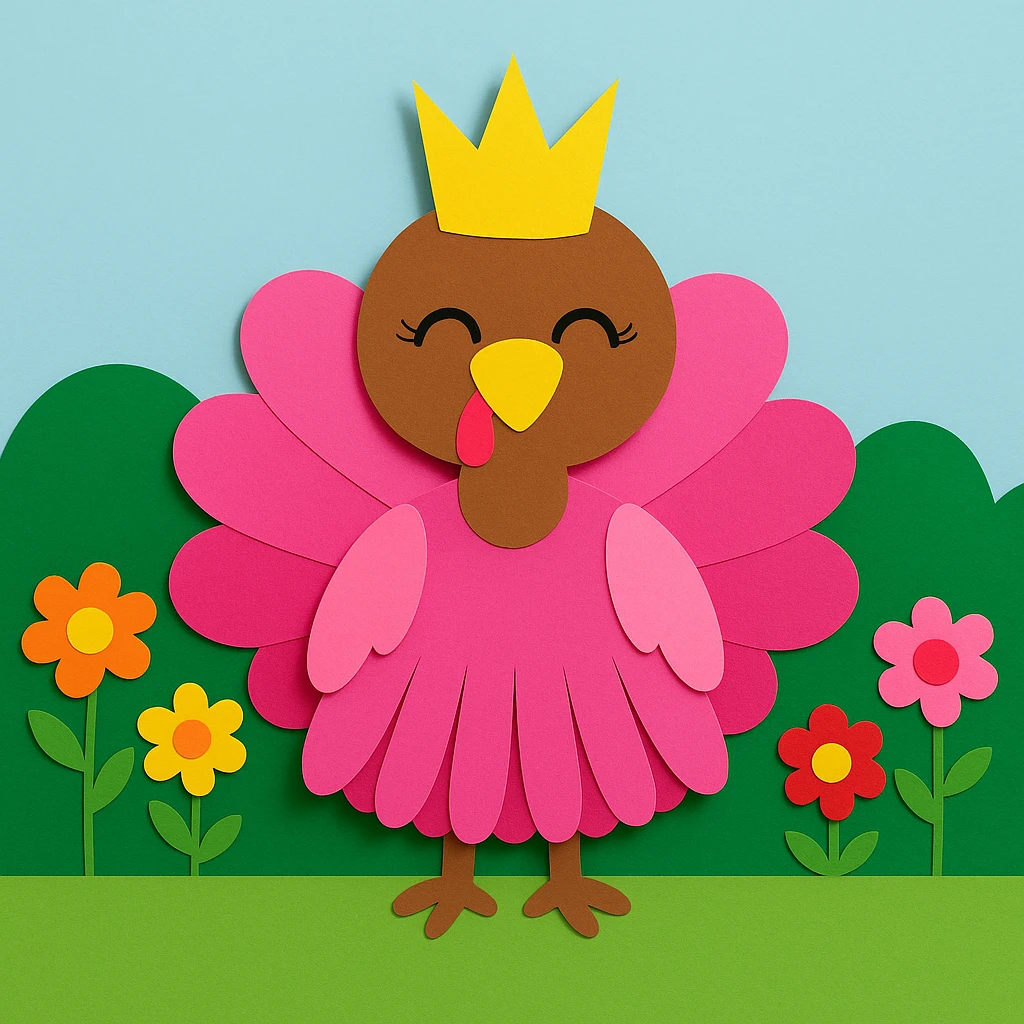
A turkey in a crown? Yes, please! This Royal Garden Turkey Queen Paper Craft is a playful and imaginative project that adds a fun twist to traditional turkey crafts. With her bright pink feathers, cheerful garden surroundings, and golden crown, this queenly turkey will charm kids and adults alike. Whether you're looking to spice up a Thanksgiving activity or add flair to your spring crafting, this colorful project is a showstopper.

This paper craft is perfect for kids ages 4 and up, and it's easy to adapt for classrooms, homeschool projects, or weekend art time at home. Children will enjoy choosing their colors, arranging the feathers, and giving their turkey her royal personality. Plus, it helps develop fine motor skills, color recognition, and spatial awareness. With just a few simple materials, you can create an adorable scene that doubles as holiday décor or storytelling inspiration.
Materials Needed
- Colored cardstock or construction paper (pink, yellow, brown, red, green, etc.)
- Safety scissors
- Glue stick or craft glue
- Black marker or pen (for facial features)
- Pencil
- Ruler (optional for precision)
- Printable turkey queen template (provided below)

Tip: Pre-cut feather and body shapes for younger children to speed up the process and keep little fingers safe.
Step 1: Prepare and Cut All Paper Shapes
Begin by gathering your colored cardstock. Trace and cut out the following shapes:
- One large brown circle for the turkey’s head
- One medium brown oval for the body
- Six to eight teardrop or oval-shaped feathers in various shades of pink
- Two small pink wings
- A yellow crown, beak, and feet
- A red teardrop shape for the wattle
Use a pencil and printable template to help with sizing and symmetry.
Step 2: Assemble the Turkey's Body
Start by gluing the body oval to the bottom center of your background paper. Next, attach the head circle above the body, overlapping slightly so it looks connected. Press down firmly to secure.
Helpful Tip: Choose a light blue background to make the turkey stand out and mimic a clear sky.
Step 3: Add the Wings and Tail Feathers
Arrange your pink feathers in a fan shape behind the turkey's body. Start with the darkest pink feathers on the outside and work inward with lighter shades for a gradient effect. Once you're happy with the layout, glue them down.
Then, attach the wings on each side of the body, pointing slightly downward as if the turkey is gently flapping.
Step 4: Attach the Beak, Wattle, and Crown
Glue the yellow beak in the center of the face, followed by the red wattle on one side. Above the head, attach the crown to make her a true turkey queen.
Use a black marker to draw two happy, curved eyes and lashes for a royal touch. You can also add eyebrows or a small smile to bring her to life.
Step 5: Create the Floral Garden Background
Using green cardstock, cut out rolling hill shapes and glue them to the bottom third of your background. Then cut and attach flower stems, leaves, and colorful flower shapes to build your garden. Mix red, yellow, and orange flowers for a vibrant spring or fall look.
Helpful Tip: Layer multiple flower shapes to give dimension and detail.
Step 6: Glue All Parts and Final Touches
Once everything is laid out and glued, go over the piece to check for any loose corners or edges. Press down to make sure all parts are secure.
You can add extra sparkles, stickers, or even the turkey's name with letter stickers. Let your creativity go wild!
Customization Ideas
Royal Prince Turkey: Swap the pink feathers for shades of blue and teal. Give him a silver or gem-studded crown and a bow tie instead of a wattle.
Garden Fairy Turkey: Use soft pastels for the feathers, and add glittery wings on the back. Replace the crown with a flower halo for a magical forest look.
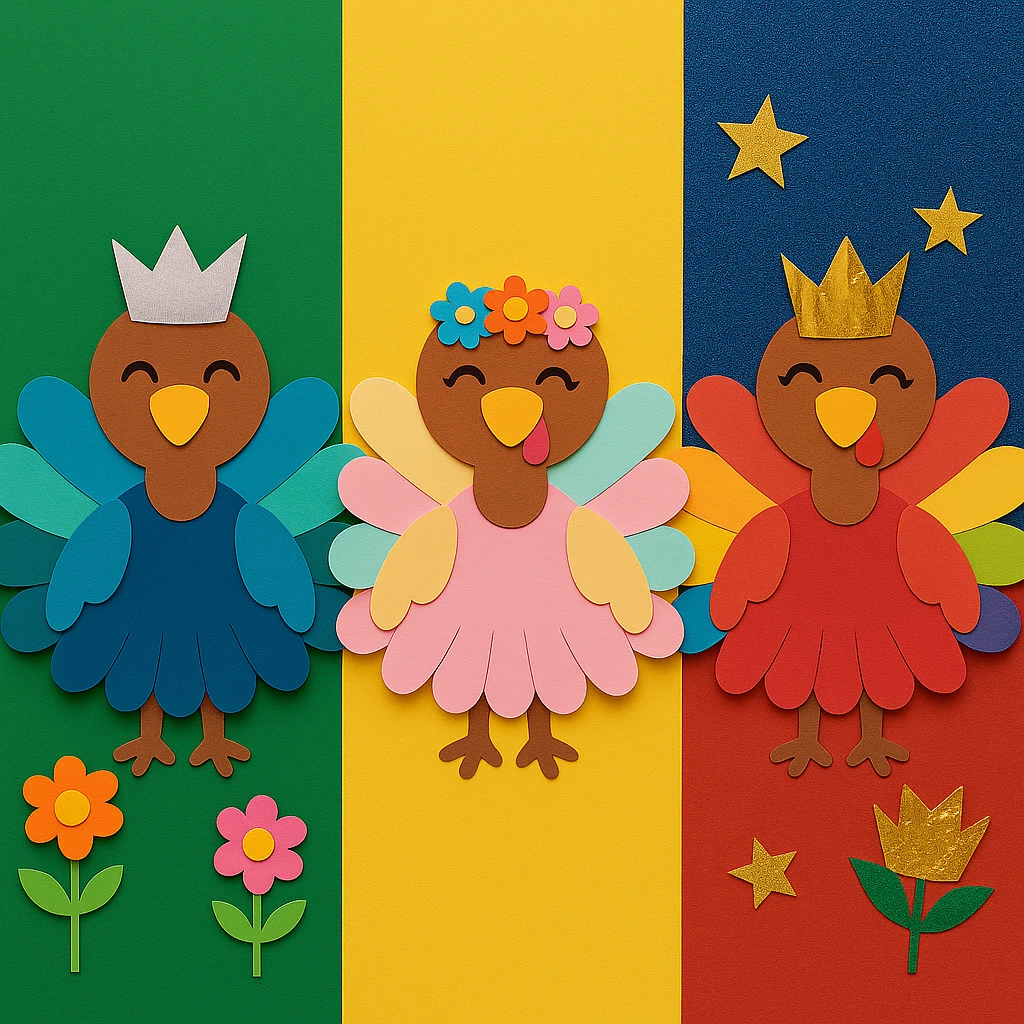
Rainbow Turkey Queen: Make each feather a different color of the rainbow and add a holographic crown. Great for celebrating individuality and pride themes.
Educational or Seasonal Uses
- Use this craft during Thanksgiving to explore unique cultural stories.
- Turn it into a spring art activity by focusing on gardens, flowers, and color play.
- Teachers can use this in lessons about animals, storytelling, or seasonal art.
- Add writing prompts: "What would your turkey queen say?" or "Where does she live?"
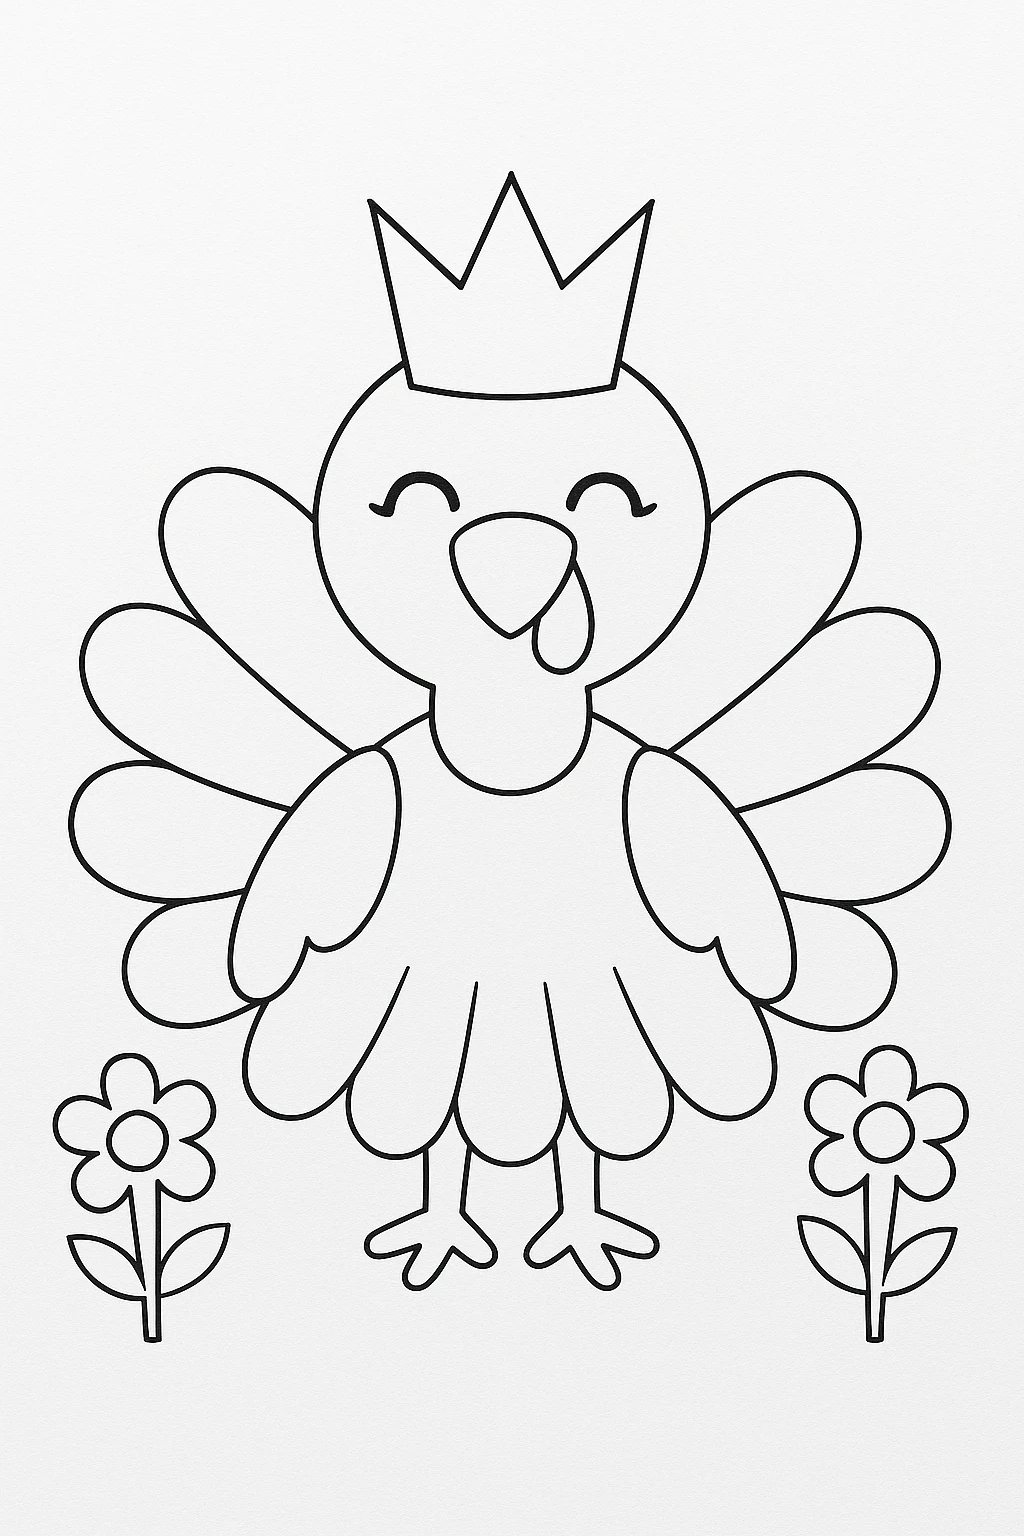
Printable Template
Included below is a printable Royal Garden Turkey Queen template. Simply print the pages, cut out the shapes, and trace them onto colored paper.
These templates are especially helpful for group settings or younger children who need a visual guide. Kids can also color directly onto the black-and-white version, making this a low-prep, high-fun project for all ages.
Conclusion
Crafting this Royal Garden Turkey Queen is a delightful way to combine imagination, storytelling, and hands-on creativity. Whether it’s for a seasonal display, a classroom project, or just a fun afternoon, this colorful paper turkey will bring smiles and spark royal fun for everyone involved. Don't forget to let each child personalize their queen to make her truly one-of-a-kind!
Royal Garden Turkey Queen Paper Craft
Equipment
- Safety scissors
- Glue stick or craft glue
- Black marker or pen
- Pencil
- Ruler
Materials
Main Materials
- Colored cardstock (pink, yellow, brown, red, green)
- Printable turkey queen template
Instructions
- Step 1: Prepare and Cut All Paper Shapes — Trace and cut out body parts, feathers, crown, beak, and other shapes from colored cardstock using the printable template as a guide.
- Step 2: Assemble the Turkey's Body — Glue the body and head together onto your background paper.
- Step 3: Add the Wings and Tail Feathers — Arrange and glue the pink feathers behind the body, and attach the wings on each side.
- Step 4: Attach the Beak, Wattle, and Crown — Add facial features and crown to the head, using glue and a black marker for details.
- Step 5: Create the Floral Garden Background — Cut and glue green hills, flowers, and stems around the turkey.
- Step 6: Glue All Parts and Final Touches — Ensure all pieces are secured and add any embellishments or names.