
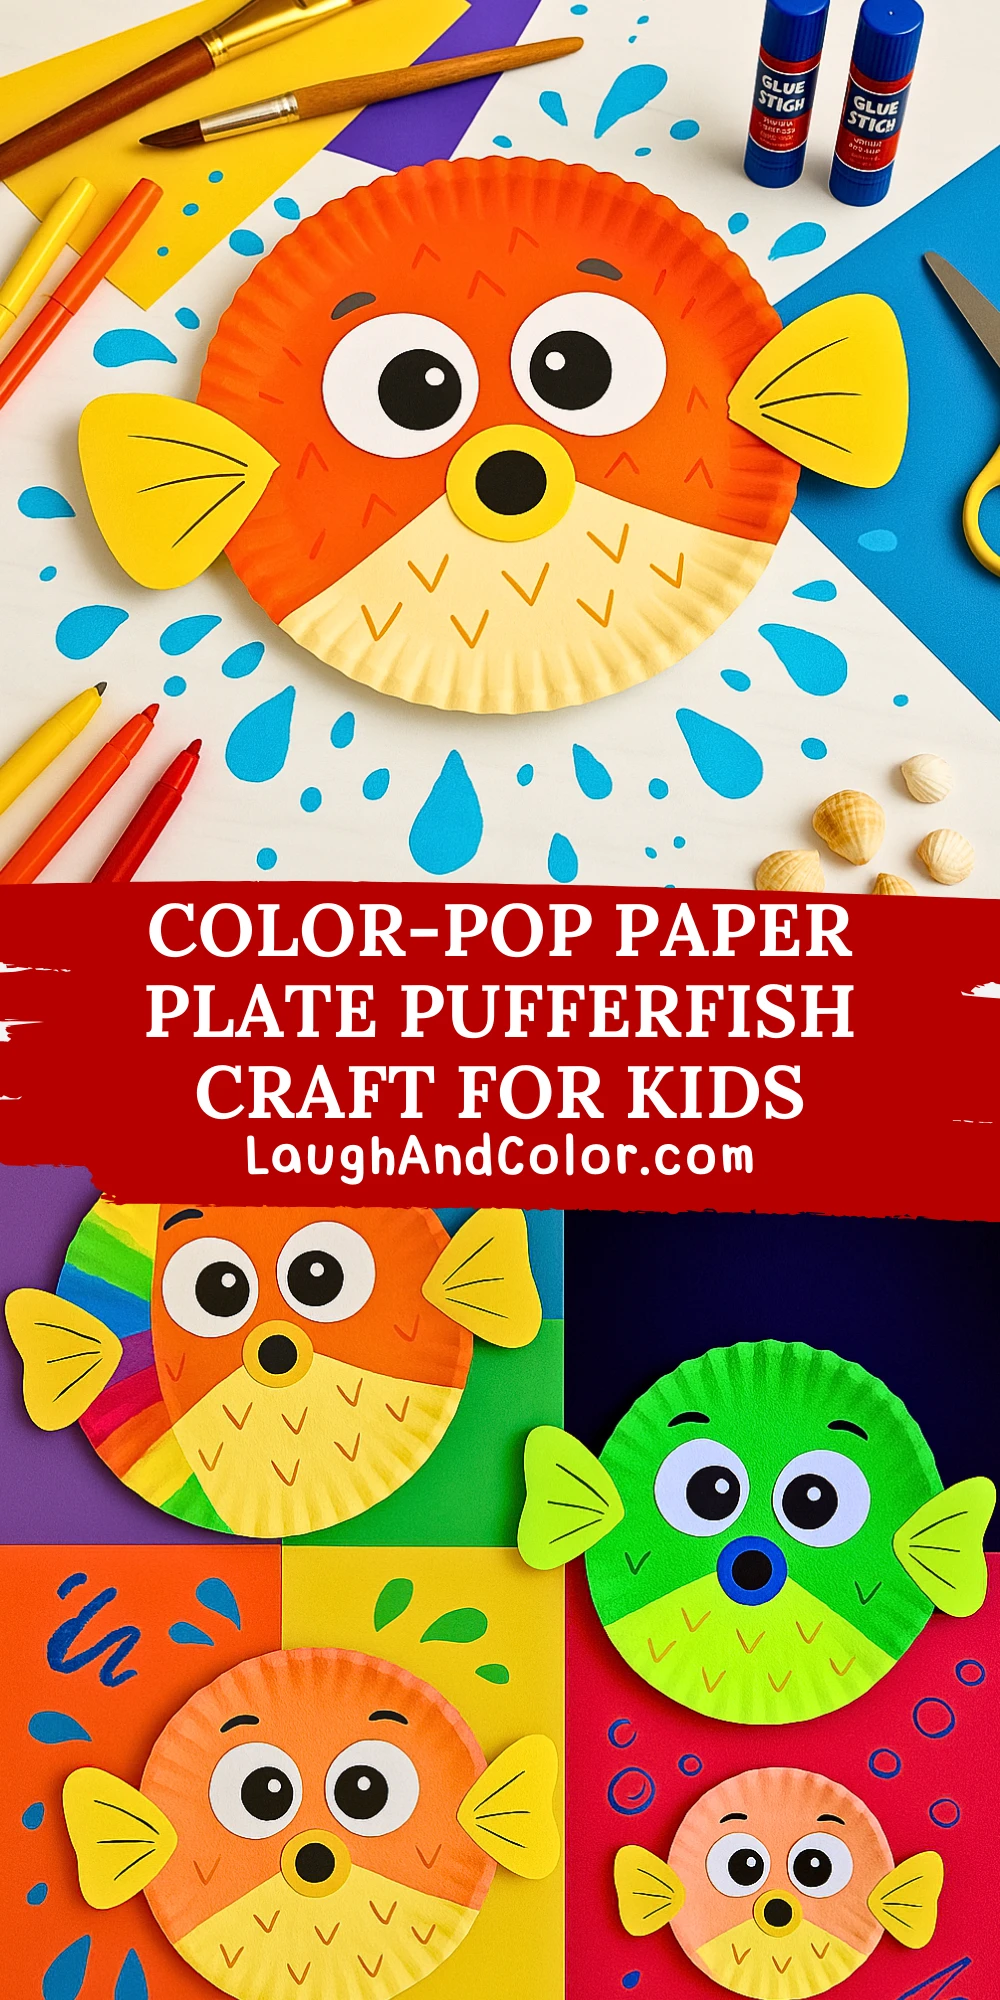
There’s something magical about turning simple everyday items into vibrant creations. This paper plate pufferfish craft is a perfect way to transform an ordinary afternoon into an ocean-themed art adventure. With its big, expressive eyes and cheerful fins, this pufferfish is sure to be a hit among preschoolers and elementary-aged kids alike. Plus, it’s an easy way to explore creativity while reinforcing motor skills.
Whether you're preparing a summer craft session, planning an ocean-themed classroom unit, or simply looking for a hands-on project to keep the kids engaged, this colorful paper plate pufferfish is just the thing. With minimal mess and maximum fun, children can create their own bubbly sea creature while learning about underwater life.
Materials Needed
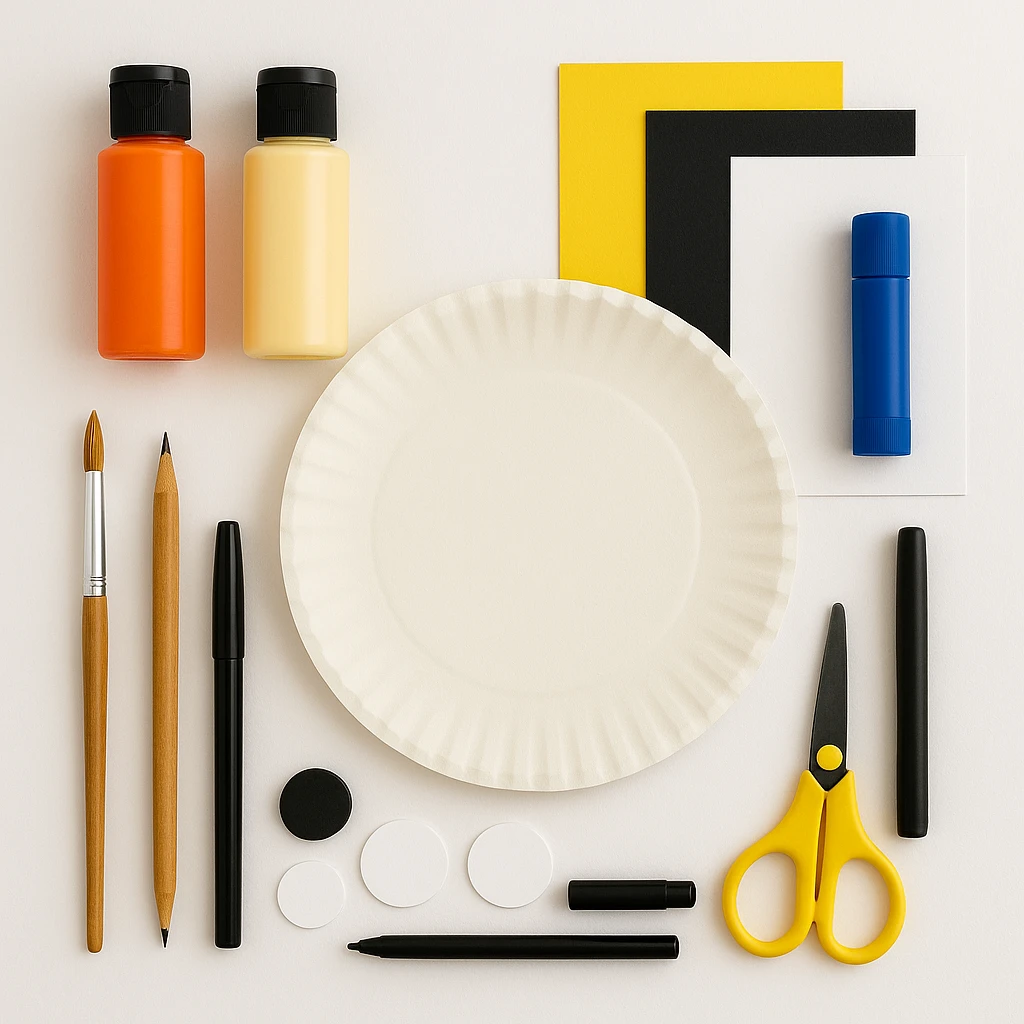
To make your own paper plate pufferfish, you’ll need:
- 1 white paper plate (9-inch dinner size)
- Acrylic paint in orange and cream (or markers if preferred)
- Yellow, black, and white construction paper
- Glue stick or liquid glue
- Scissors (child-safe recommended)
- Paintbrushes (1 small, 1 medium)
- Pencil for tracing
- Black marker for details
- Optional: googly eyes, glitter glue, stickers
Helpful Tip: If crafting with a group, pre-cut shapes like fins, eyes, and circles can save time and reduce the need for sharp tools.
Step-by-Step Instructions
Step 1: Paint the Paper Plate Base
Start by flipping the paper plate upside down so the smooth side faces up. Paint the top two-thirds of the plate a bright orange to form the pufferfish’s body. Paint the bottom third with cream or light yellow to create the belly. Let the plate dry completely before moving on.
Tip: Acrylic paint dries faster and gives a more vibrant color than tempera.
Step 2: Cut and Color the Fins and Face
While the plate is drying, cut out two fin shapes from yellow construction paper. You’ll also need two large white circles and two smaller black circles for the eyes, along with a small yellow circle and a black dot for the mouth. Draw fin details using a black marker to give them a cartoon-like look.
Alternative: Swap paper fins for foam sheets to add texture.
Step 3: Assemble the Eyes, Nose, and Mouth
Once the plate is dry, glue the eyes near the center top of the plate. Place the black circles inside the white ones to create pupils, and tilt them slightly for personality. Then, add the yellow circle with a black center below the eyes to form the pufferfish’s cute, puckered mouth.
Step 4: Add Final Touches and Details
Glue the fins on each side of the plate—one on the left and one on the right—angled slightly outward. Use a black marker to draw small V-shaped scales on both the orange and cream sections of the body. For extra flair, you can add dots of glitter glue or water splash shapes around the fish on the table or display surface.
Step 5: Let It Dry and Display!
Allow everything to dry fully before handling. Once dry, you can display your paper plate pufferfish on a bulletin board, hang it from the ceiling with string, or use it as a puppet for storytime. This makes a great classroom decoration or summer-themed window display.
Customization Ideas
Style 1: Rainbow Pufferfish
Instead of a single orange body, try painting the pufferfish in a rainbow gradient using multiple bright colors. Let kids choose their favorite color combos for a unique sea creature.
Style 2: Glow-in-the-Dark Ocean Buddy
Use neon paints or glow-in-the-dark craft paint for a nighttime pufferfish that lights up under UV light. Great for evening activities or ocean-themed parties.
Style 3: Mini Pufferfish
Use small dessert-size plates to create mini pufferfish. These are great for toddlers or classroom banner crafts where each child contributes a fish.

Educational and Seasonal Uses
This craft pairs wonderfully with lessons on marine biology, underwater ecosystems, or summer fun themes. Teachers can use it during an "Ocean Week" or at the end of the year for a classroom decorating project. It’s also a perfect addition to summer camp craft stations or as a rainy-day indoor activity.
Kids learn to follow directions, improve their scissor skills, and develop color recognition as they build their paper sea creature. Plus, it encourages storytelling—what adventures might your pufferfish go on?
Printable Template
To make crafting even easier, we’ve created a ready-to-use printable template that includes fin shapes, eyes, and a fun fishy mouth. Just print the template on regular paper or cardstock, hand it to your kids, and let them color in the parts before cutting and gluing.
This printable is especially useful for younger children who might need extra guidance, or for teachers who want a consistent shape for classroom projects. It saves time and helps keep the craft looking clean while still allowing space for creativity in decorating.

Conclusion
The Color-Pop Paper Plate Pufferfish craft is a bright, cheerful way to dive into ocean-themed fun. With its mix of painting, cutting, and pasting, it offers a full creative experience for kids of all ages. Easy to customize, quick to assemble, and educational to boot—this craft is sure to be a favorite in any setting.
Encourage kids to add their personal flair, give their fishy friend a name, and display it proudly. Happy crafting!

Color-Pop Paper Plate Pufferfish Craft for Kids
Equipment
- Paintbrushes
- Scissors
- Glue stick or liquid glue
Materials
- 1 White paper plate (9-inch)
- Acrylic paint in orange and cream Markers can be used as an alternative
- Yellow, black, and white construction paper
- Glue stick or liquid glue
- Scissors Use child-safe scissors if needed
- Black marker For drawing details like scales and fins
- Pencil For tracing shapes
- Optional decorations Googly eyes, glitter glue, stickers
Instructions
- Step 1: Paint the Paper Plate Base – Flip the plate over and paint the top two-thirds orange and the bottom third cream or light yellow. Let it dry completely.
- Step 2: Cut and Color the Fins and Face – While drying, cut out two yellow fins, two white eye circles, two black pupils, a yellow circle, and a black dot for the mouth. Add details with marker.
- Step 3: Assemble the Eyes, Nose, and Mouth – Glue the eyes near the top center of the plate, then add the mouth pieces just below the eyes.
- Step 4: Add Final Touches and Details – Attach the fins to each side, draw small scales using the black marker, and optionally add glitter or extra decorations.
- Step 5: Let It Dry and Display – Once dry, display your pufferfish by hanging it, using it in a classroom display, or for imaginative storytelling.