
There's something undeniably delightful about combining food and crafts—especially when the result is as quirky and creative as a turkey disguised as a cupcake! This Turkey Cupcake Camouflage Craft blends Thanksgiving charm with dessert-themed fun, turning a simple paper project into a whimsical and unexpected decoration. It's perfect for kids, families, classrooms, or even adults who love a bit of festive silliness.
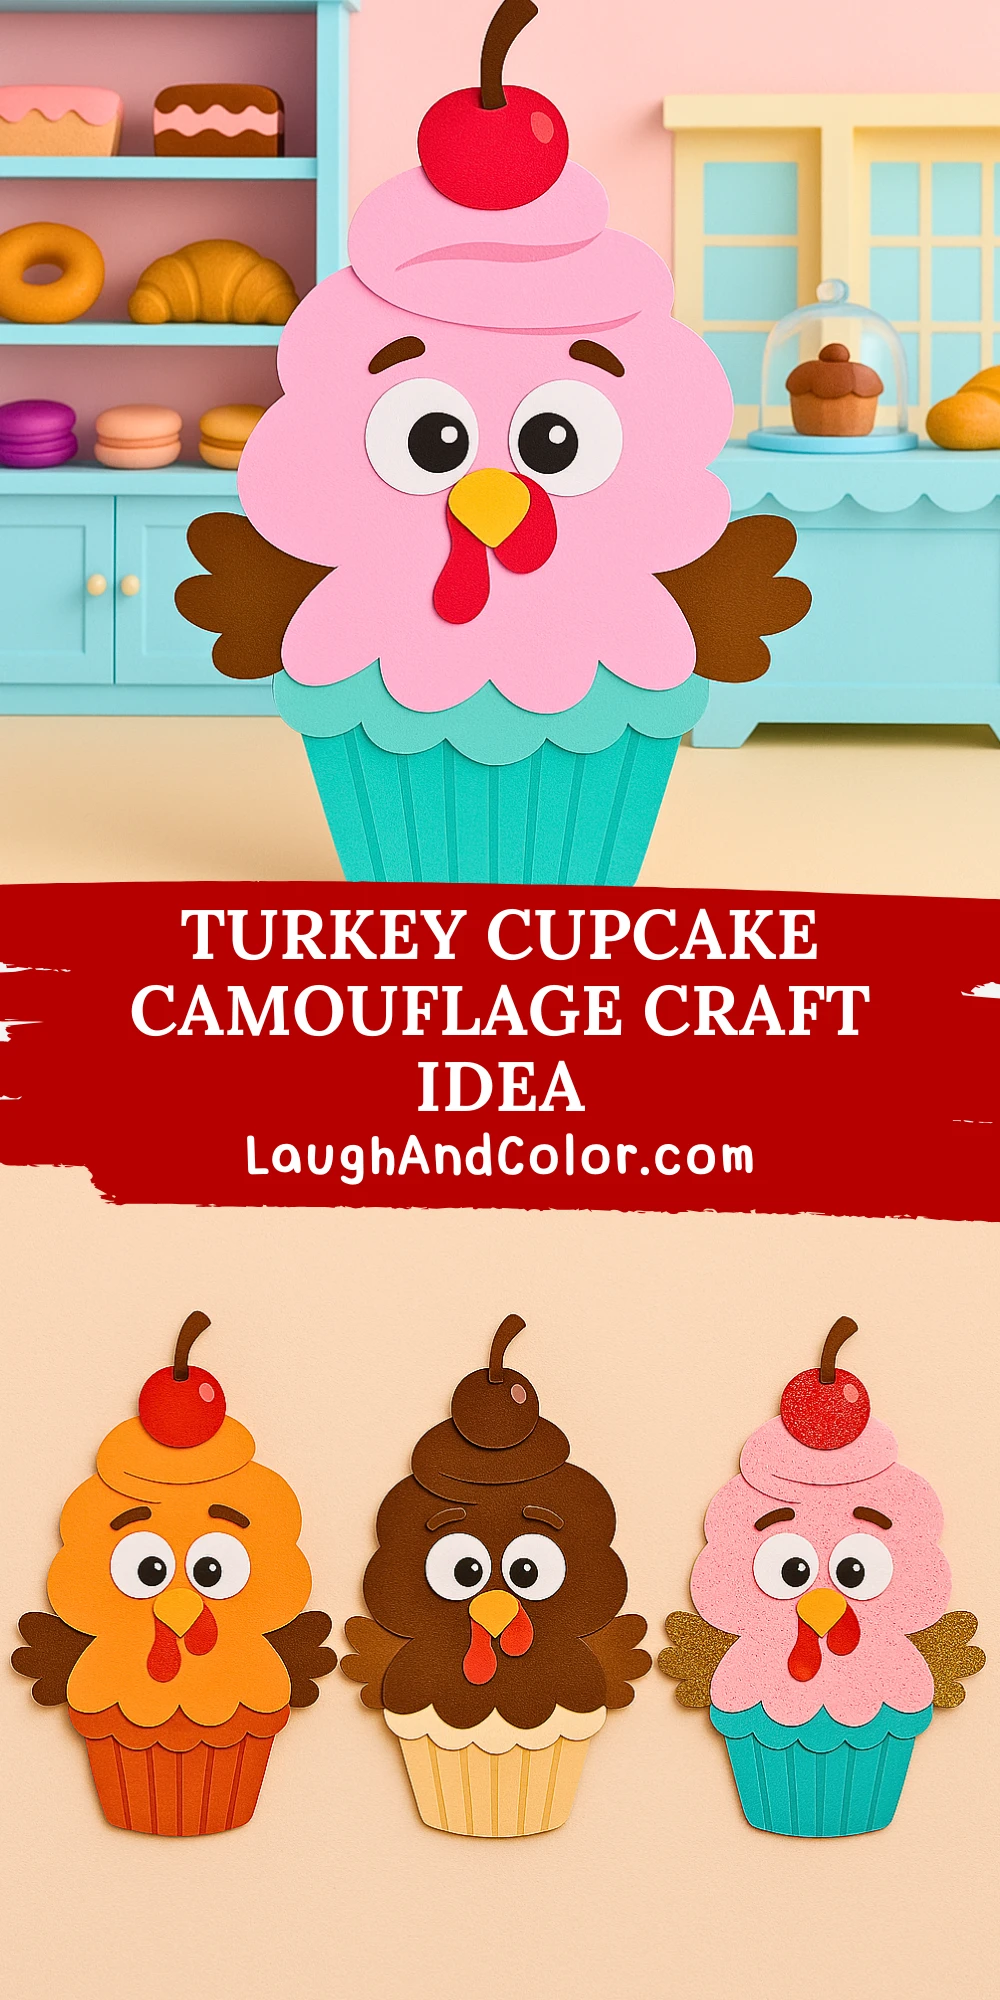
This craft is more than just cute—it sparks imagination. It invites children to think about camouflage, disguise, and creativity, all while enjoying a hands-on project that develops fine motor skills and artistic expression. Whether you’re planning a holiday activity for a group or just want something to keep little hands busy, this project is easy to prep and tons of fun to make.
Materials Needed
To create your own Turkey Cupcake Camouflage Craft, gather the following materials:
- Colorful construction paper (pink, brown, red, yellow, white, black, turquoise, or cupcake liner pattern)
- Scissors
- Glue stick or craft glue
- Pencil for tracing
- Optional: Googly eyes, glitter glue, markers, or foam stickers for extra flair
- Printable template (optional – see end of article)

Step-by-Step Instructions
Step 1: Prepare the Base Cupcake Shape
Start by cutting out the base of your cupcake using turquoise or any liner-like patterned paper. This should be shaped like the lower half of a cupcake with ridges drawn or folded to give it some dimension.
Step 2: Create the Frosting Turkey Head
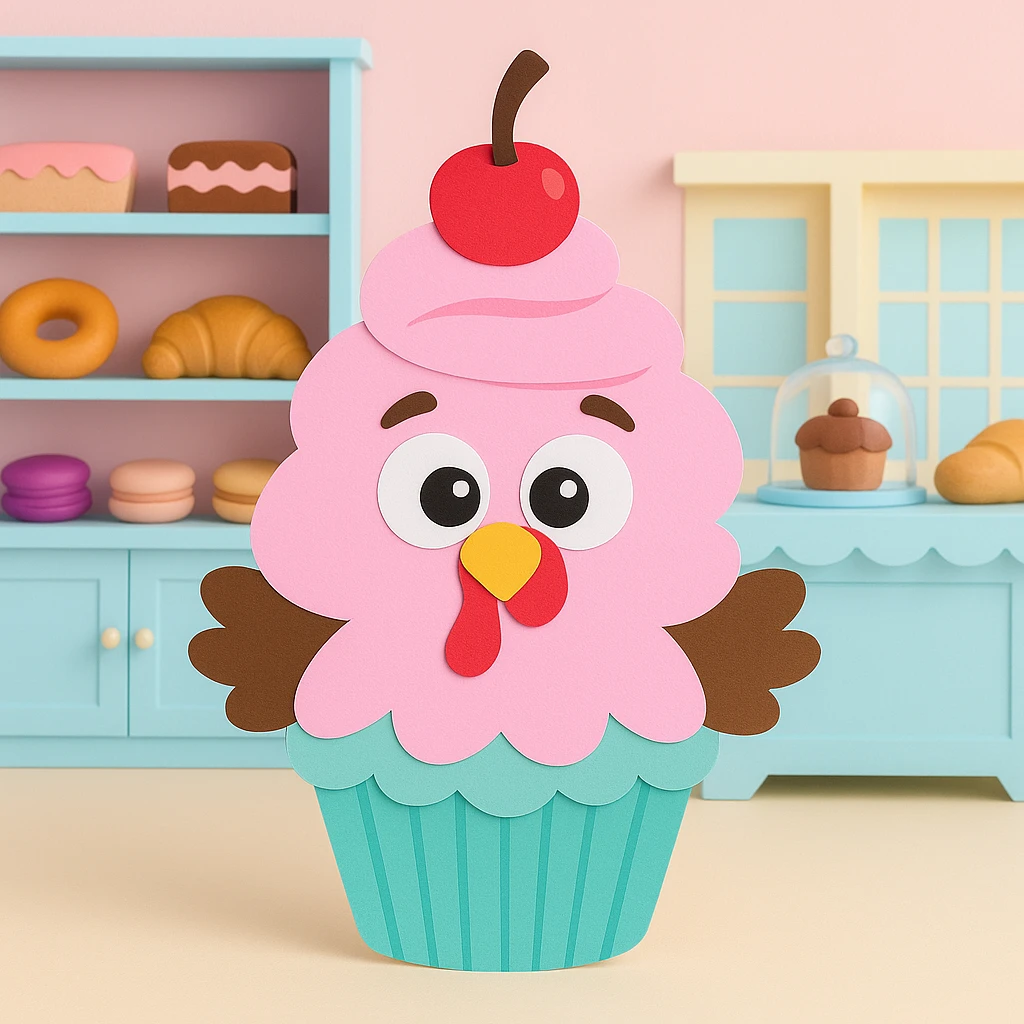
Using pink construction paper, cut out a fluffy frosting shape to mimic the top of a cupcake. This will also serve as the turkey's head. The shape should be round and slightly scalloped at the bottom to look like piped icing.
Step 3: Assemble Facial Features
Cut out two large white circles for the eyes, two smaller black circles for pupils, and glue them in place. Add small brown crescent shapes above the eyes for eyebrows. Then, cut a yellow triangle for the beak and a red wattle to go beside it. Attach all to the frosting piece.
Step 4: Add Wings and Details
Cut two small wing shapes from brown paper and glue them to the sides of the frosting section to represent the turkey's wings. Optional details like feathers, sprinkles, or textured lines can be drawn on with markers or glued on for extra decoration.
Step 5: Top It Off with a Cherry!
No cupcake is complete without a cherry on top! Cut out a red circle for the cherry and a small brown stem, then glue them to the top of the frosting.
Step 6: Glue Everything Together
Layer your pieces: glue the frosting turkey head over the cupcake base, then attach the facial features, wings, and cherry. Let everything dry for a few minutes before standing it upright or displaying it on a bulletin board.
Customization Ideas
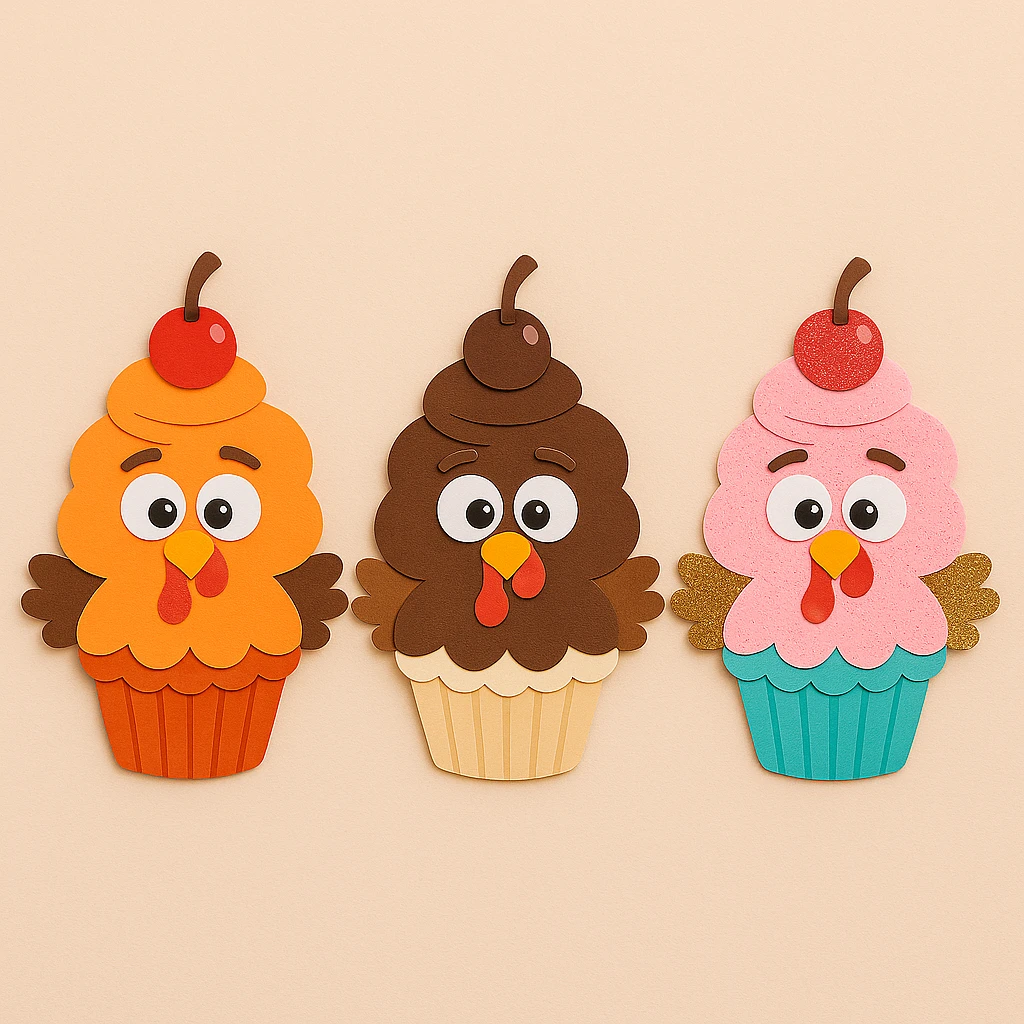
Style 1: Classic Thanksgiving Colors
Instead of the pink frosting, use fall-inspired colors like burnt orange, gold, and brown. It gives the turkey a more traditional look, perfect for Thanksgiving dinner decorations.
Style 2: Dessert-Themed Twist
Create a whole batch of turkeys disguised as different cupcakes—chocolate, vanilla, strawberry, even mint chip! Use corresponding colors for the frosting and liners to match the flavor.
Style 3: Glitter Glam Turkey
Add glitter glue to the cherry, frosting edges, or wings for a sparkly, festive look. Perfect for kids who love all things shiny and magical.
Educational or Seasonal Uses
This craft is a great opportunity to introduce children to the concept of camouflage and disguise in nature, using humor and creativity to make the idea stick. It’s also a fun way to celebrate Thanksgiving in the classroom or at home with minimal mess and maximum fun. Teachers can pair it with a short story or science lesson about how animals protect themselves with camouflage.
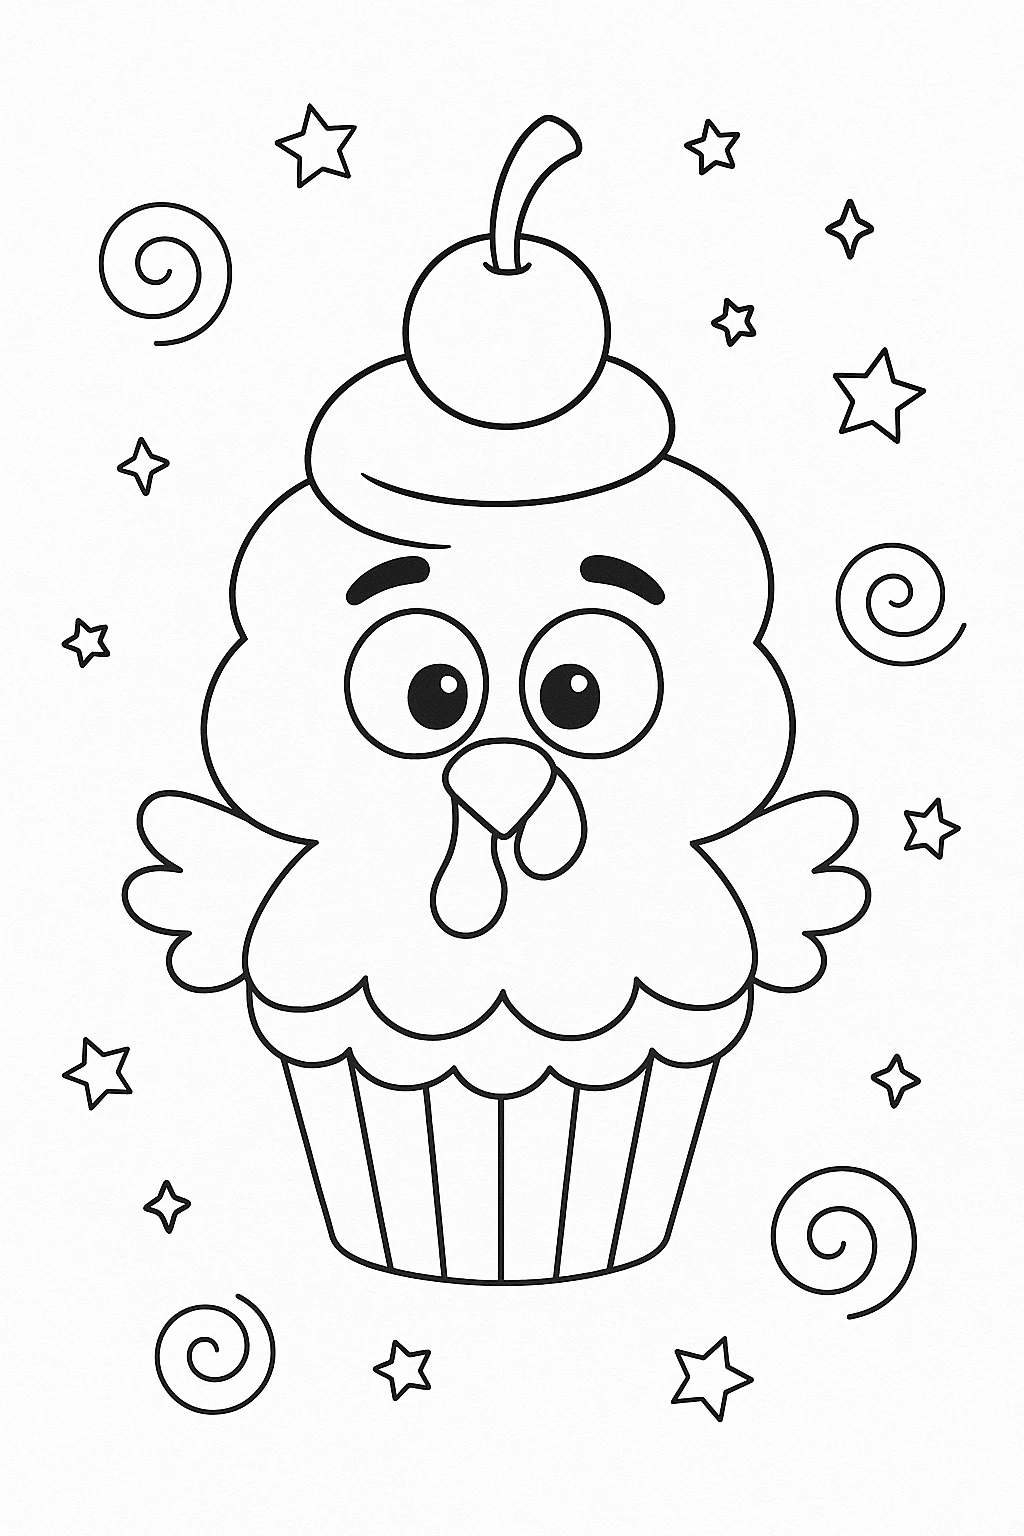
Printable Template
To make this craft even easier, we’ve included a printable template at the end of this article. Simply print it out on cardstock or regular paper, cut out the shapes, and let your child color and assemble. It’s perfect for younger kids or when you need a quick prep option for a large group.
Just print, color, cut, and glue—it’s that easy. The printable version makes this activity great for parties, classroom centers, or rainy day crafting.
Conclusion
The Turkey Cupcake Camouflage Craft is a playful, creative, and engaging activity that will have everyone giggling at the sight of their dessert-disguised turkey. It’s a craft that combines art, imagination, and a touch of holiday humor. Try it out this season and see how many cupcake turkeys you can make!
Turkey Cupcake Camouflage Craft Idea
Equipment
- Scissors
- Glue stick or craft glue
- Pencil
Materials
- Colorful construction paper Pink, brown, red, yellow, white, black, turquoise, or cupcake liner pattern
- Googly eyes Optional
- Glitter glue Optional for extra flair
- Markers or foam stickers Optional decorations
- Printable template Optional for easy prep
Instructions
- Step 1: Prepare the Base Cupcake Shape - Cut out the base from turquoise or liner-style paper, shaped like a cupcake bottom with ridges.
- Step 2: Create the Frosting Turkey Head - Use pink paper to make a fluffy frosting shape that also acts as the turkey's head.
- Step 3: Assemble Facial Features - Cut and glue on eyes, eyebrows, beak, and wattle using the appropriate colors and shapes.
- Step 4: Add Wings and Details - Cut out and attach brown paper wings, and add any extra embellishments like glitter or feathers.
- Step 5: Top It Off with a Cherry - Cut a red circle and brown stem to make a cherry and glue it to the top of the frosting.
- Step 6: Glue Everything Together - Layer all pieces together and let dry before displaying.