
If your kids love forest animals or you're teaching a nature-themed lesson, this raccoon paper craft is the perfect activity! It's simple enough for preschoolers with adult help, but detailed enough to engage older kids as well. With just a few materials and a printable template, you can create a charming raccoon complete with background trees and leaves—perfect for decoration or classroom displays.

Paper crafts are an excellent way to build fine motor skills while having fun. This raccoon project includes tracing, cutting, and gluing, offering a balanced mix of creative and practical tasks. Plus, it opens the door for fun learning moments about woodland habitats, seasons, and storytelling.
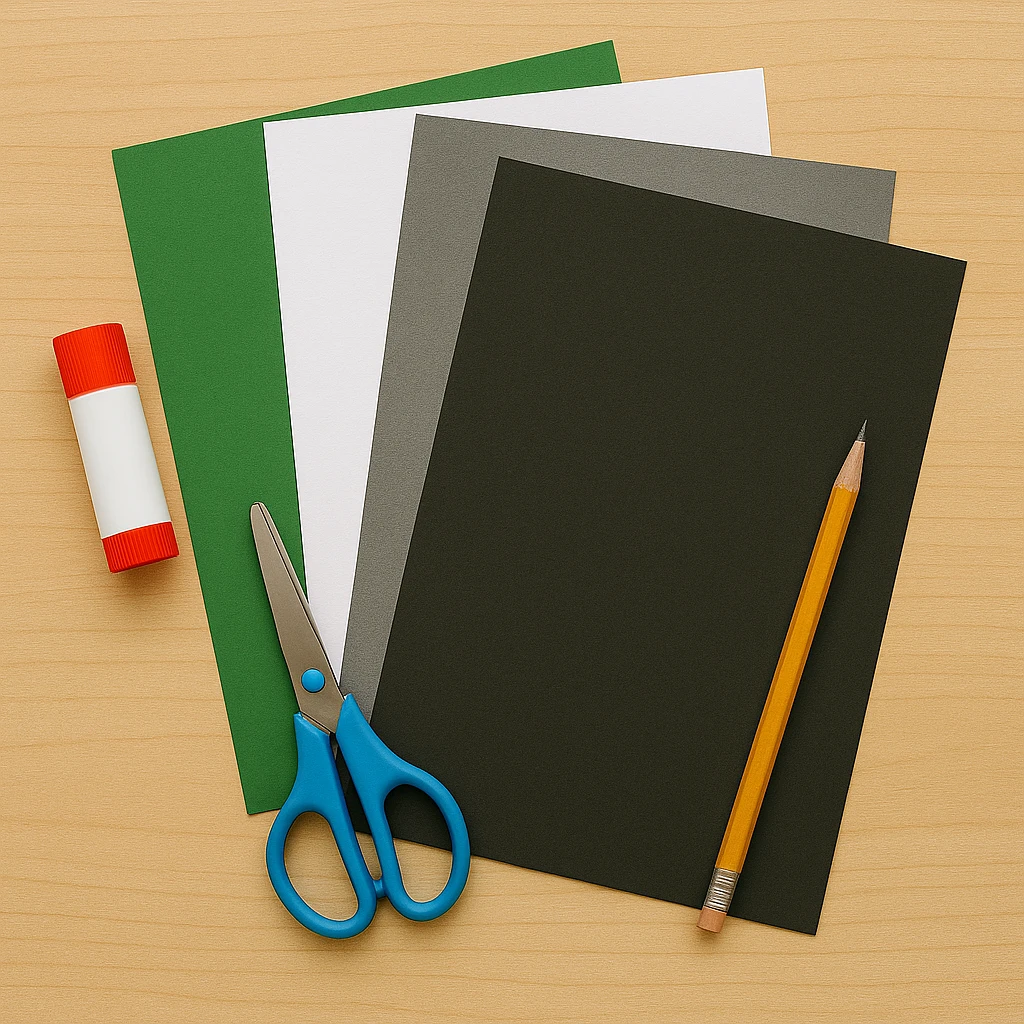
Materials Needed
- Printable raccoon template
- Gray, black, white, and green construction paper
- Scissors
- Glue stick
- Pencil
- Optional: Googly eyes, markers or crayons for extra decorations
Step 1: Print and Cut Out the Template
Begin by printing the raccoon craft template. Use thick paper if available for easier tracing and cutting. Carefully cut out each piece of the template including the body, face, tail, ears, eyes, and optional background shapes like trees and leaves.
Helpful Tip: If you’re crafting with a group, pre-cutting the smaller pieces can make things go smoother.
Step 2: Cut Out the Raccoon Pieces from Colored Paper
Using the template pieces as a guide, trace each shape onto the appropriate color of construction paper—gray for the body and head, black for the feet and mask, white for the belly and eye accents, and so on. Cut out each piece neatly.
Step 3: Assemble the Raccoon Body
Start by gluing the gray body shape to your background paper. Then attach the tail on the side, followed by the striped black segments. Make sure everything is lined up before the glue dries.
Step 4: Glue the Face Details
Attach the black mask onto the head, then layer the white eye patches and finish with the black circles for pupils. Glue the ears in place and add the snout and nose in the center. Finally, glue the head onto the top of the raccoon body.
Helpful Tip: Use a glue stick for better precision when placing small pieces.
Step 5: Add Background Trees and Leaves
Using green paper, cut out pine trees and leafy plants to give your raccoon a cozy forest scene. Arrange them around the raccoon and glue them down. This not only enhances the design but also gives kids a chance to design their own woodland background.
Step 6: Final Touches and Optional Customization
Let the glue dry completely. If desired, add googly eyes for a fun, animated look or draw little paws and fur details with markers. Kids can even write their name on the bottom or title it with "My Forest Friend."
Customization Ideas
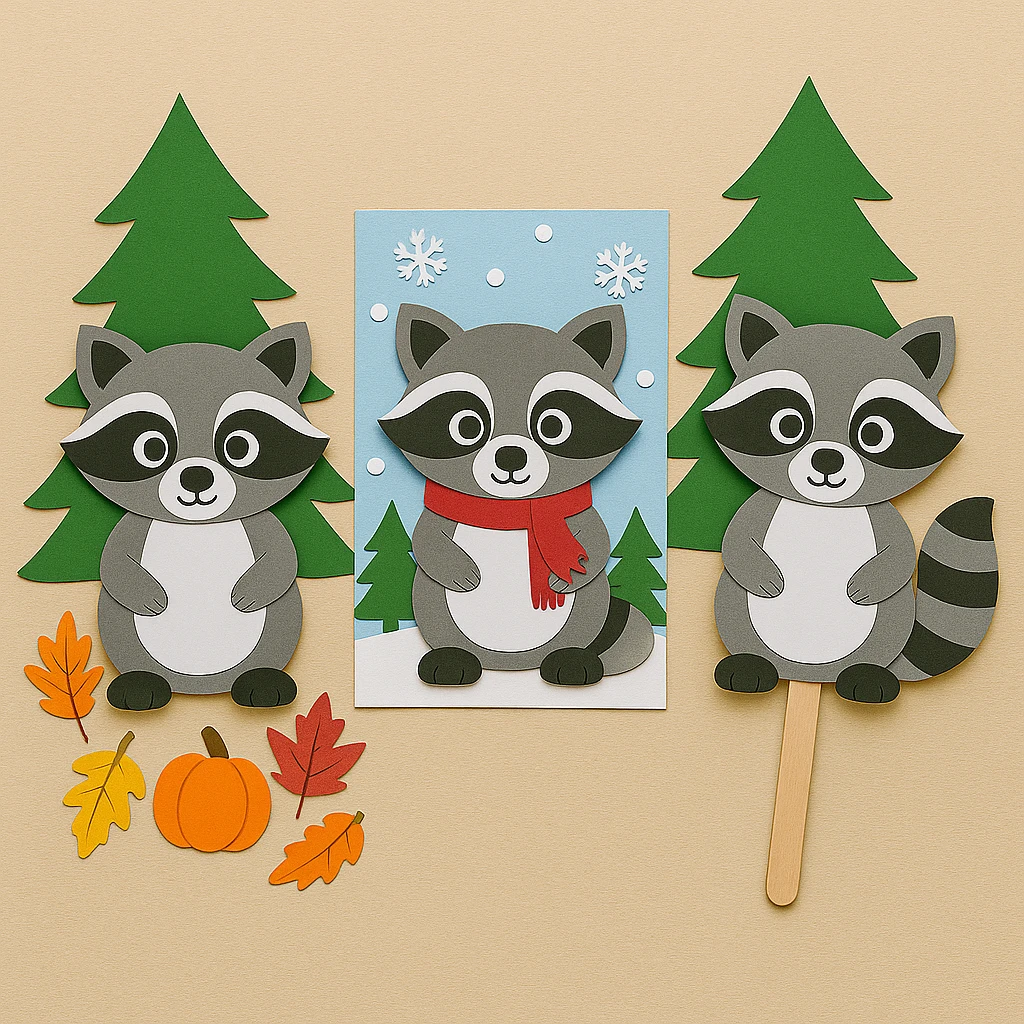
Forest Friends Style: Create a whole set of woodland animals like foxes, owls, or bears to go with the raccoon. Each animal can have its own paper background.
Seasonal Version: Modify the background with snowflakes for winter or orange leaves for a fall vibe. You can also add a mini pumpkin or acorns.
Interactive Puppet: Glue the raccoon onto a jumbo craft stick or paper bag to turn it into a puppet. Perfect for storytime and imaginative play.
Educational or Seasonal Uses
This craft is ideal for nature-based lessons or story units. Teachers can tie it into books like "The Kissing Hand" or animal habitat studies. It’s also perfect for seasonal crafting—especially in the fall or during Earth Day.
Classrooms, homeschoolers, or after-school programs will find this craft to be both fun and educational. It enhances scissor skills, encourages following directions, and provides an opportunity for creative self-expression.
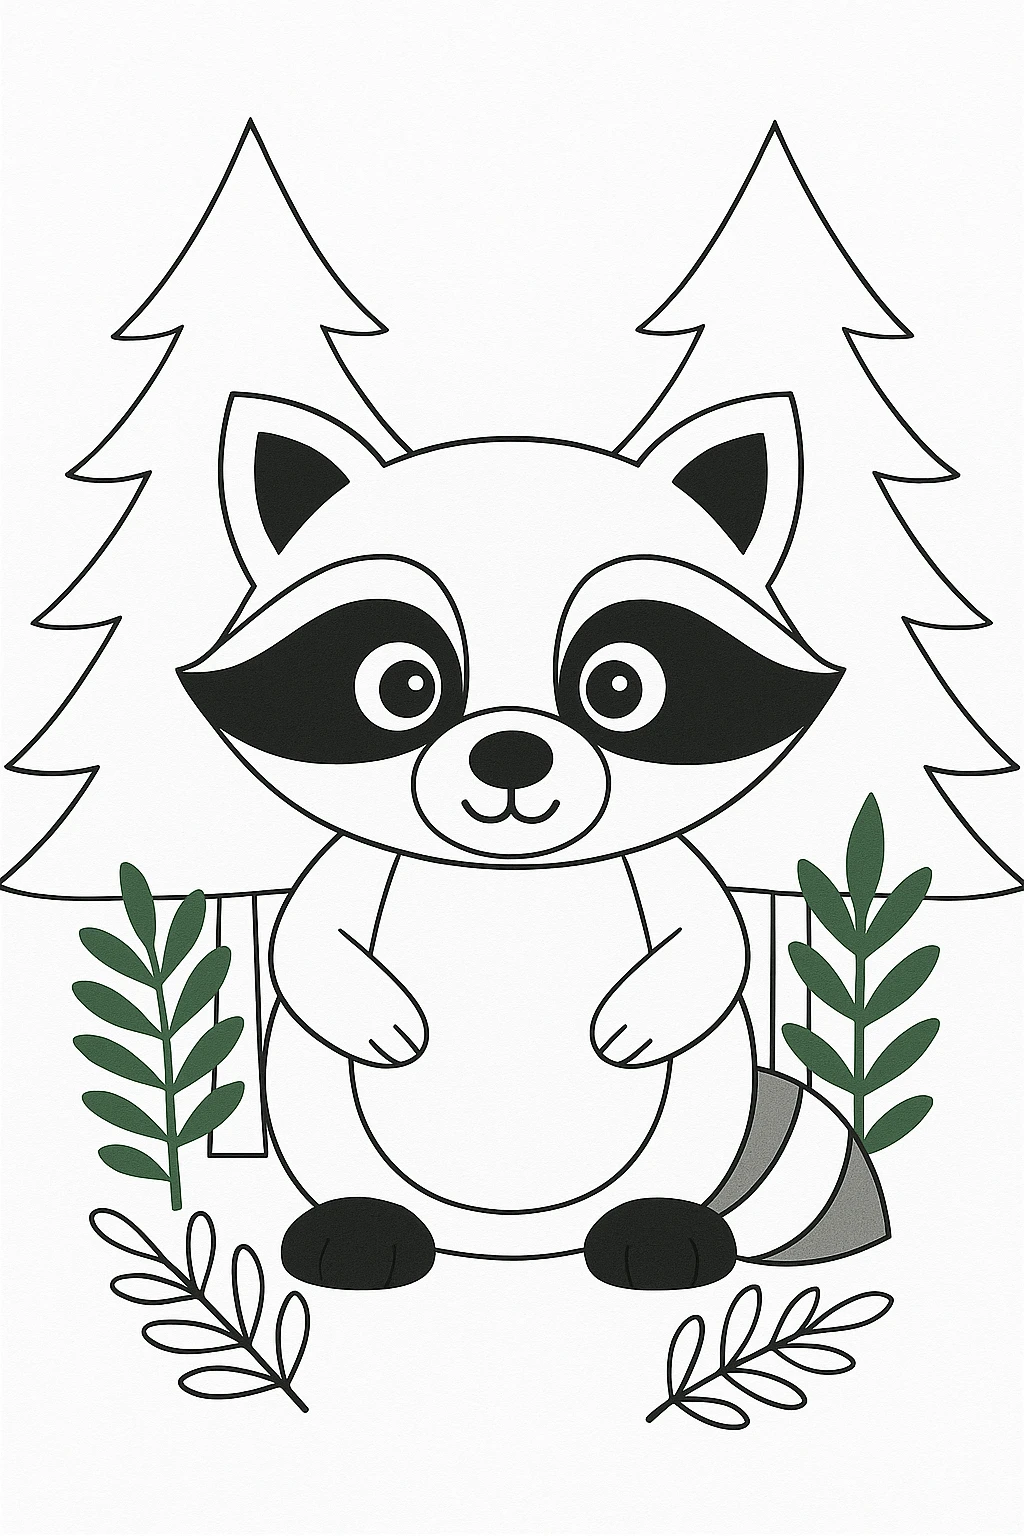
Printable Template
To make things easier, we've included a ready-to-print raccoon template. Simply print the design onto paper or cardstock, color if needed, cut, and start assembling. No need to freehand the shapes or worry about getting proportions right.
This template is perfect for younger kids who need a little extra guidance and for busy teachers who need a quick setup. Print multiple copies for group activities and watch each child's version come to life with their unique touches.
Conclusion
This raccoon paper craft is more than just a fun art activity—it's a creative way to engage children in seasonal or educational themes. With its layered construction and mix of textures and colors, it encourages both creativity and concentration.
Whether used in a classroom or at the kitchen table, kids will be proud of their finished forest friend. Display them on a wall, use them as props, or add them to a nature-themed bulletin board. It's a craft they'll want to make again and again!

Raccoon Paper Craft for Kids
Equipment
- Scissors
- Glue stick
- Pencil
- Printer (for template)
Materials
- Printable raccoon template
- Gray, black, white, and green construction paper
- Scissors
- Glue stick
- Pencil
- Googly eyes (optional)
- Markers or crayons (optional)
Instructions
- Print the raccoon template on regular or cardstock paper and cut out each piece carefully.
- Trace the template shapes onto colored construction paper: gray for the body and head, black for feet and mask, white for belly and eye accents, and green for trees.
- Glue the raccoon’s gray body to your background paper. Attach the tail on the side and add the black stripe pieces.
- Assemble the face: start with the black mask, then layer on the white patches and black pupils. Add the snout and nose, then glue the head onto the body.
- Cut out pine trees and green leafy shapes. Arrange and glue them around the raccoon to complete the forest scene.
- Let everything dry. Add googly eyes, drawn fur details, or even turn it into a puppet by attaching it to a craft stick.