
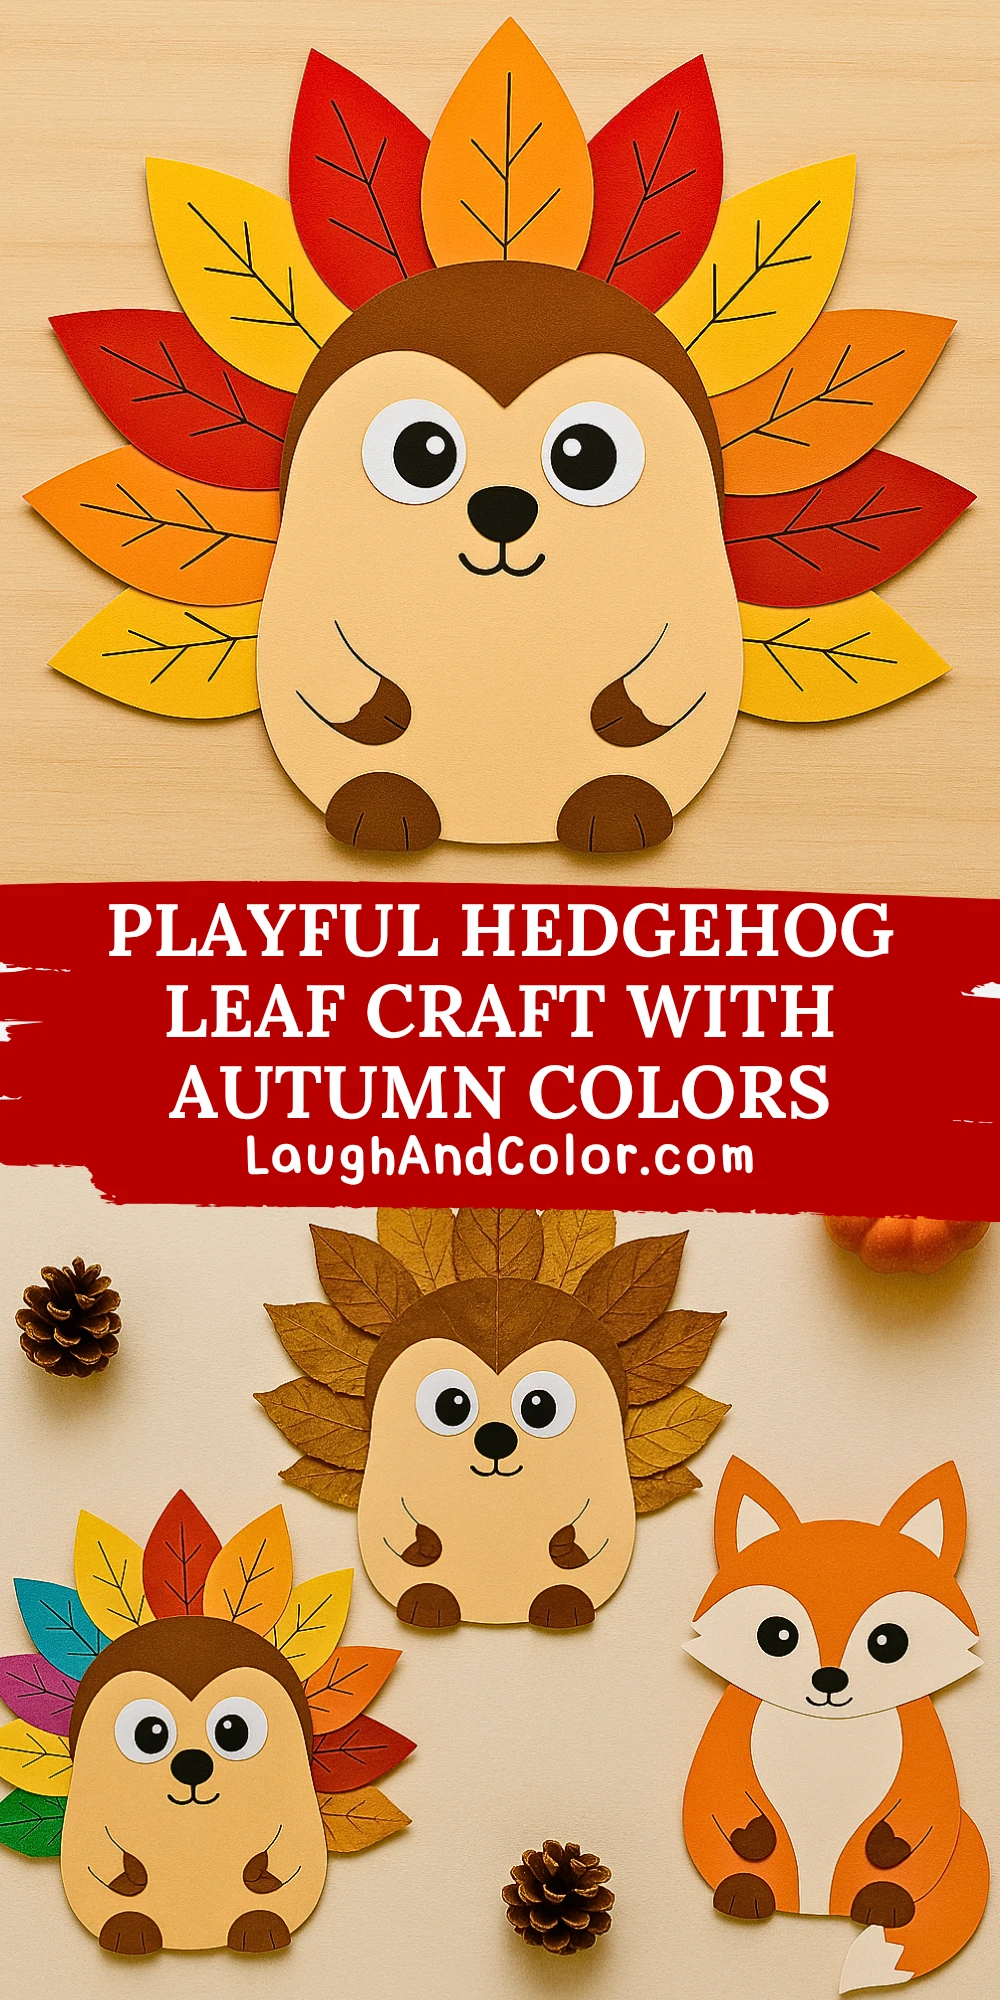
Fall is the perfect season to get creative with nature-inspired crafts, and this playful hedgehog leaf project is a delightful way to bring autumn colors into your home or classroom. With its bright red, orange, and yellow leaf "spikes," this cheerful hedgehog is an easy and enjoyable activity for kids and adults alike. Whether you're a parent planning a cozy crafting afternoon or a teacher looking to decorate a bulletin board, this hedgehog craft is a charming addition to your fall projects.
This DIY combines simple materials like colored cardstock and glue to create a cute hedgehog with vibrant leaves fanning out behind it. It not only captures the beauty of the season but also helps kids develop fine motor skills through tracing, cutting, and assembling. Plus, with the printable template included, setup is a breeze—just print, cut, and get crafting!
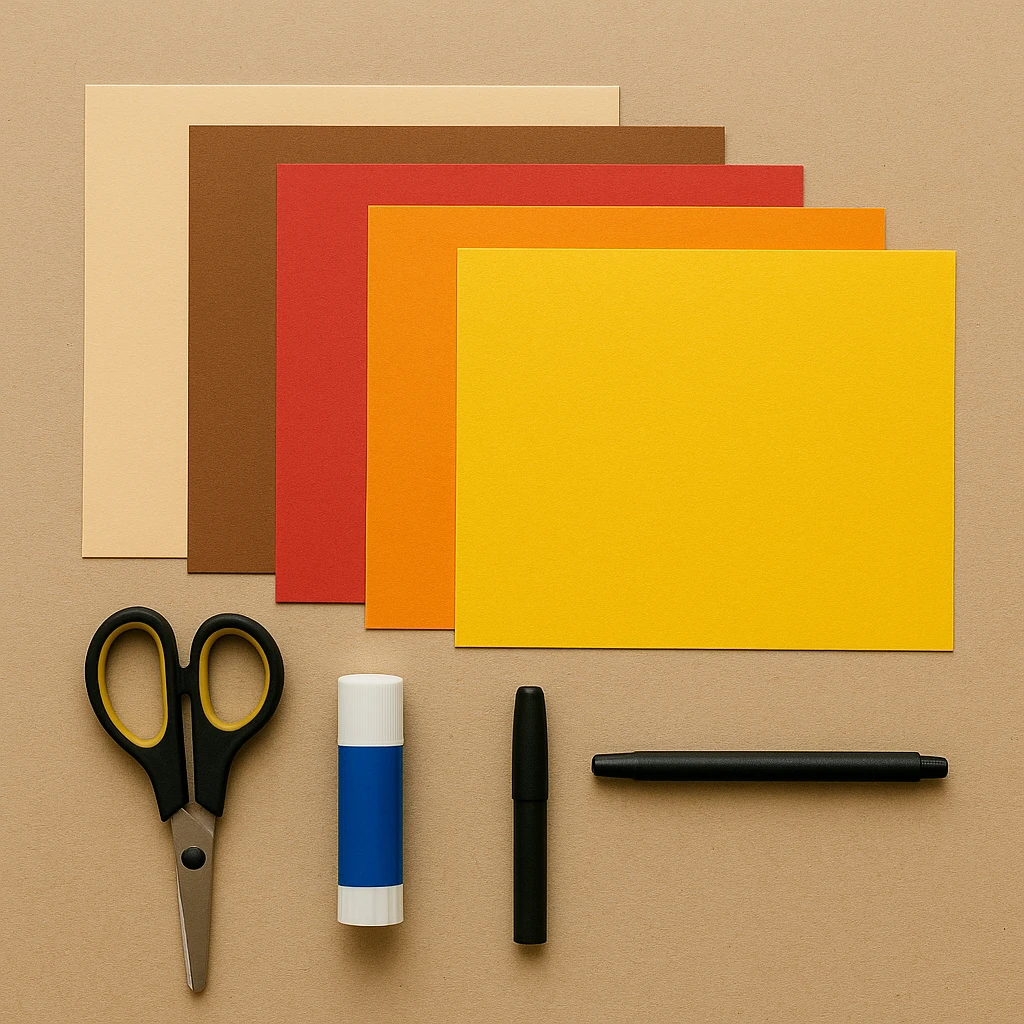
Materials Needed
- Beige cardstock (for hedgehog body)
- Brown cardstock (for head outline, feet, and paws)
- Red, orange, and yellow cardstock (for autumn leaves)
- Black marker or pen (for leaf veins and face details)
- Scissors
- Glue stick
- Optional: Googly eyes
- Printable hedgehog craft template (included below)
Step-by-Step Instructions
Step 1: Prepare the Leaf Pieces
Begin by cutting out several leaf shapes from red, orange, and yellow cardstock. Each leaf should be around 3 to 4 inches tall. You’ll need about 10–12 leaves to create a full “spiky” effect around the hedgehog.
Use a black marker to draw simple leaf veins on each one for added detail. Let kids choose their own color arrangement to make it more personal.
Step 2: Cut Out the Hedgehog Body
Using the printable template or by freehand, cut the main body shape of the hedgehog from beige cardstock. This should be shaped like a teardrop or an upright oval about 6 inches tall. Then, cut out a semicircle of brown cardstock to create the top of the head, aligning it with the top curve of the beige body.
Step 3: Assemble the Hedgehog Face
Attach the brown semicircle to the top of the beige body with glue. Then, cut and glue two circular white eyes and small black pupils, or use googly eyes for a fun effect. Add a small black circle or oval for the nose and draw a smiling mouth beneath it.
Glue two small brown paw shapes to the middle of the body and two foot pieces at the bottom. Use a black pen to add simple lines for toes and outline any features as needed.
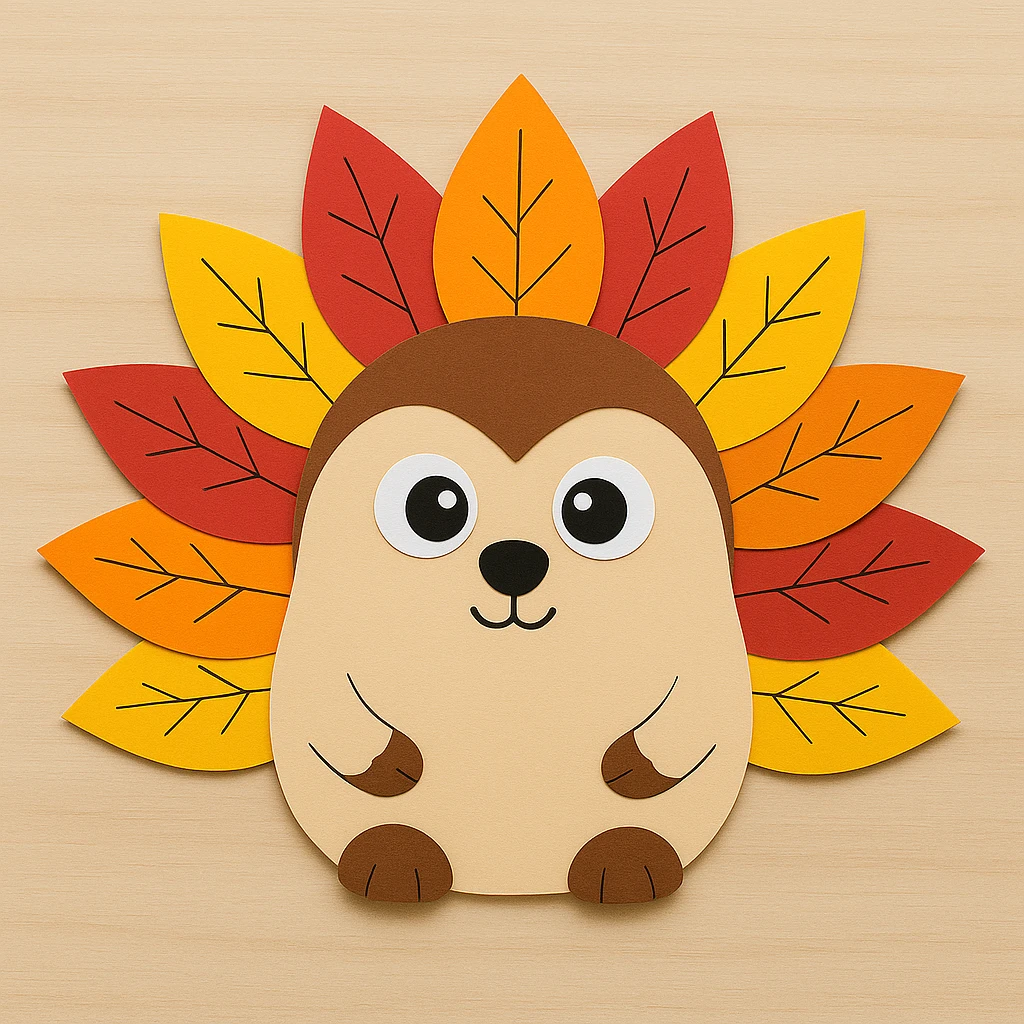
Step 4: Glue the Leaf "Spikes"
Turn the hedgehog over and start gluing the colorful paper leaves around the back edge of the body, creating a fan or sunburst pattern. Alternate the colors and layer them slightly for a fuller look. Make sure the tips of the leaves stick out evenly behind the hedgehog’s body to resemble its quills.
Let the glue dry for a few minutes before moving on to the next step.
Step 5: Add Final Touches
Once everything is dry and securely in place, flip your hedgehog back over and check for any loose pieces. Add final facial expressions or leaf vein details as desired. You can even write your name or a message on the front if you’re using this as a fall card or decoration.
Customization Ideas
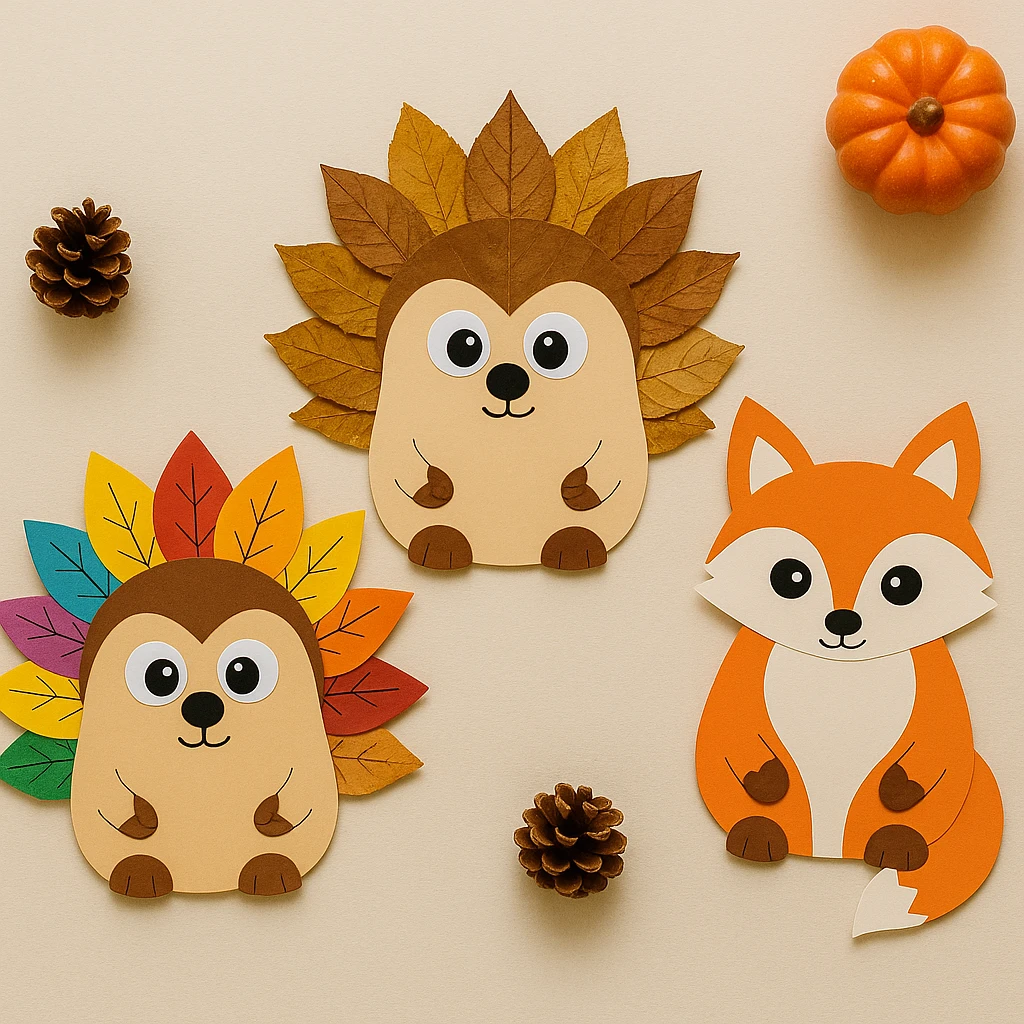
Woodland Animal Series: Use the same body shape but change the colors and facial features to create a fox, raccoon, or bear. Great for making a forest of friends.
Rainbow Hedgehog: Instead of autumn colors, use a variety of bright rainbow paper leaves for a whimsical twist. Kids can even choose their favorite colors or patterns.
Natural Touch: Replace paper leaves with real dried leaves from your backyard or park. It adds a lovely texture and brings real nature into your craft.
Educational or Seasonal Uses
This hedgehog craft is a fun way to talk about hibernation, seasonal changes, and animals that prepare for winter. It’s perfect for preschool and elementary classrooms as part of a fall or science unit.
Use it to decorate walls, windows, or bulletin boards for Thanksgiving or fall festivals. It also makes a sweet handmade gift or card for grandparents or teachers.
Printable Template
To make this project even easier, we’ve included a printable template you can use. Just print it on standard letter-sized paper and use the cut-out shapes to trace onto colored cardstock. The pieces are already sized to fit together—no resizing or scaling needed.
Once printed, kids can color the template directly or use it as a guide for cutting and gluing their own materials. It's especially helpful for classrooms or group settings where consistency helps with instruction.

Conclusion
Creating a hedgehog leaf craft is a joyful way to celebrate fall, combining cute animal themes with the vibrant colors of autumn. With simple steps and easy-to-find materials, this project is perfect for little hands and creative minds.
Whether you're using it for seasonal décor, a fun afternoon activity, or an educational lesson, this cheerful hedgehog is sure to be a hit. Gather your supplies, print the template, and let the autumn crafting begin!
Playful Hedgehog Leaf Craft with Autumn Colors
Equipment
- Scissors
- Glue stick
- Black marker
Materials
Craft Materials
- Beige cardstock for hedgehog body
- Brown cardstock for head outline, feet, and paws
- Red, orange, and yellow cardstock for autumn leaves
- Black marker or pen for leaf veins and face details
- Googly eyes (optional)
- Printable hedgehog craft template
Instructions
- Cut 10–12 leaves from red, orange, and yellow cardstock (each 3–4 inches tall). Draw veins with a black marker.
- Cut the hedgehog body from beige cardstock (teardrop shape, about 6 inches tall). Add a brown semicircle for the head top.
- Glue on eyes (paper or googly), nose, and draw a smile. Add paws and feet from brown cardstock, using marker to add toe details.
- Flip the body and glue paper leaves around the back edge in a fan shape. Alternate colors for a full look.
- Once dry, flip over and finalize face and details. Add any additional decorations or notes.