

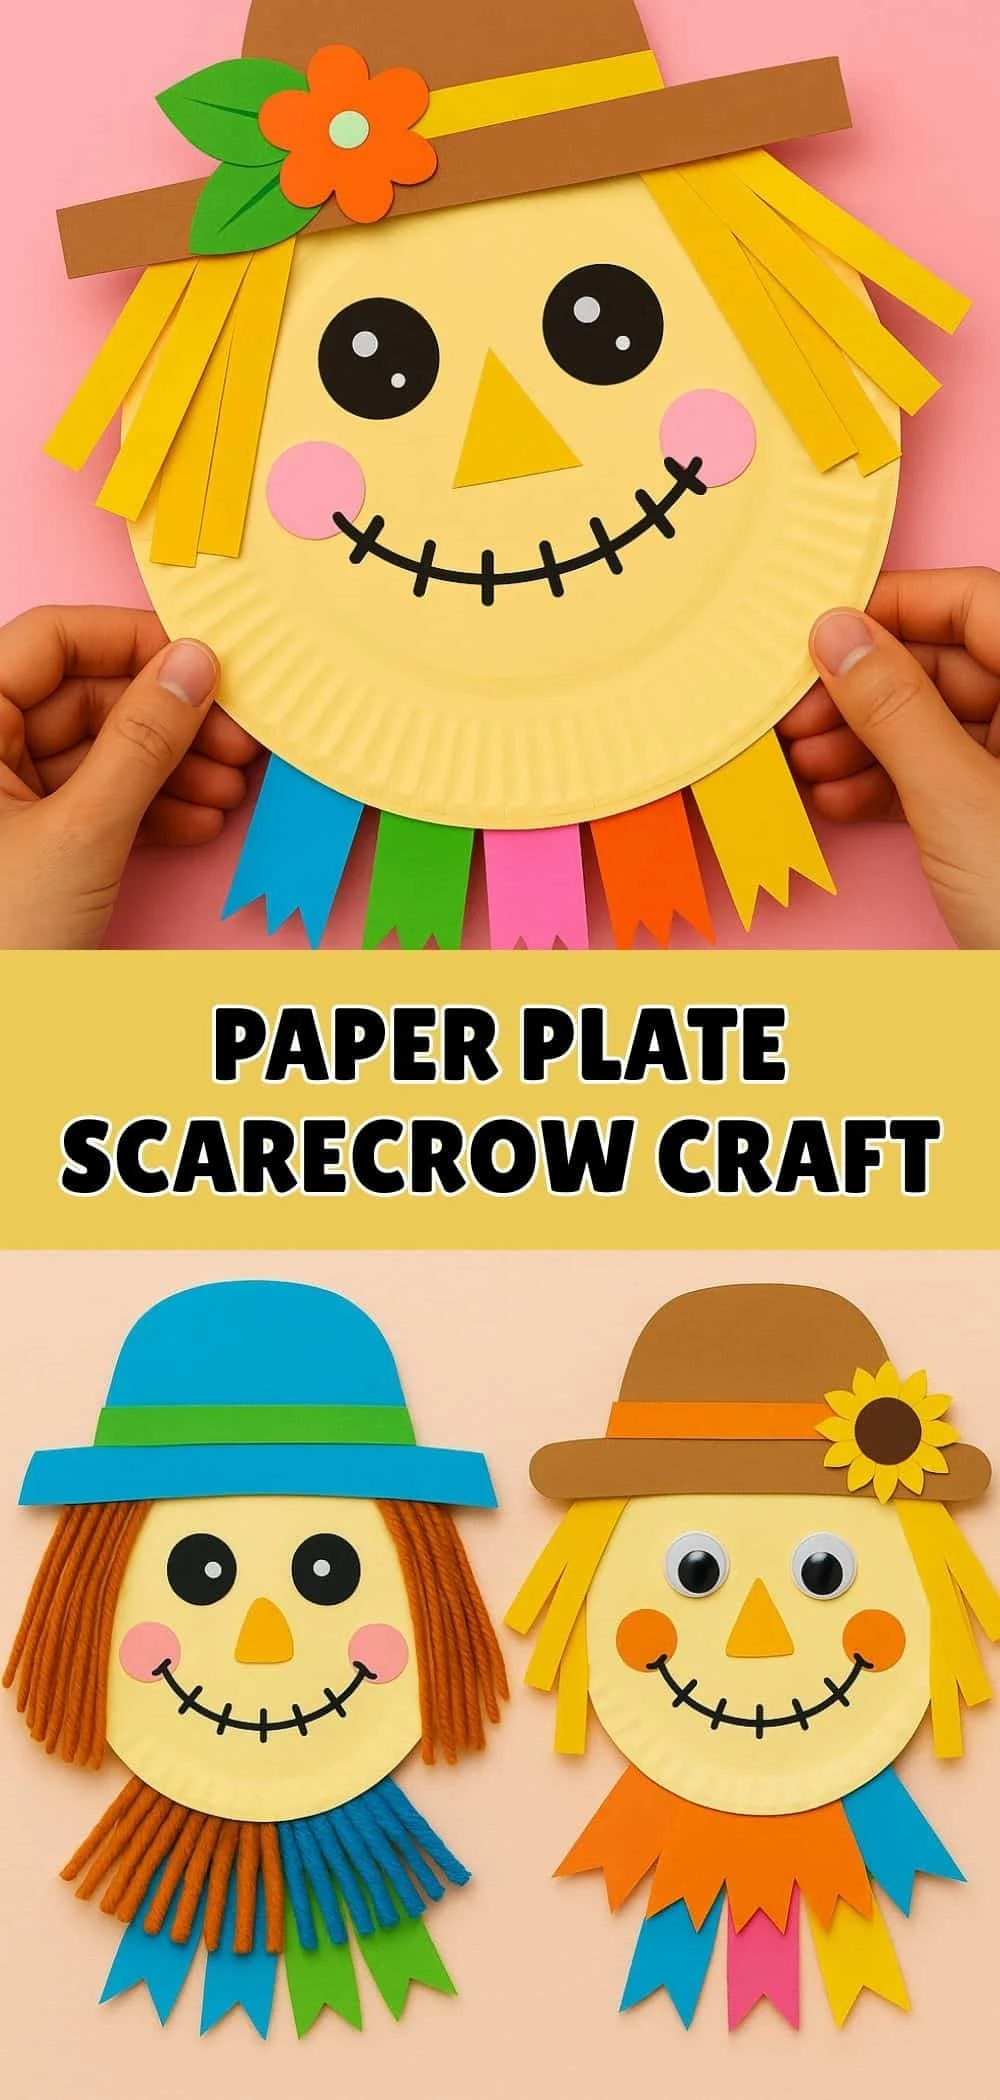
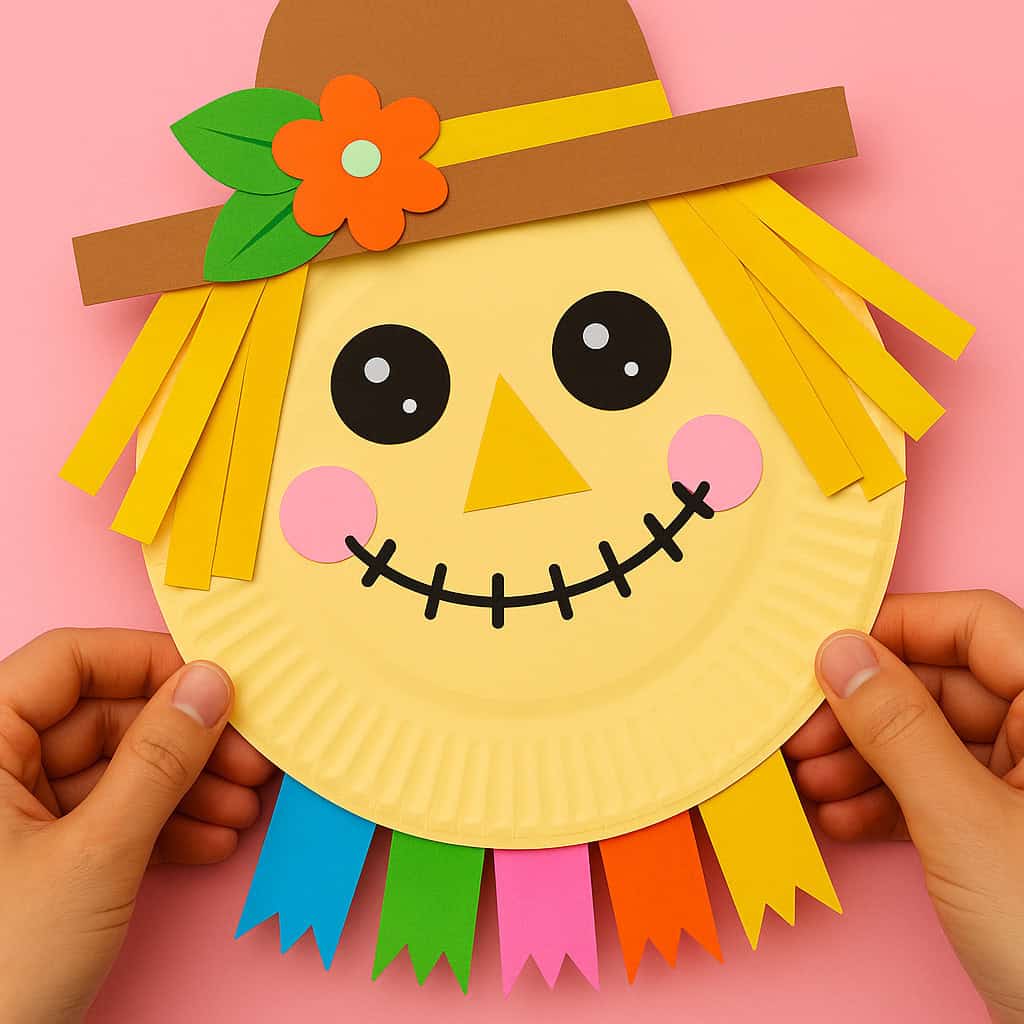
Bring a little fall charm into your classroom or home with this cheerful Paper Plate Scarecrow Craft! This kid-friendly DIY is perfect for autumn, Halloween, or harvest-themed activities. It’s simple enough for preschoolers, fun for kindergartners, and customizable for older kids who love to add their own creative flair.

Scarecrows have long been symbolic of fall and farming—guardians of the harvest! With just a few supplies, you and your little ones can create a smiling scarecrow face that’s as festive as it is fun. Whether you’re decorating a bulletin board, crafting for a fall festival, or just spending a cozy afternoon indoors, this scarecrow project is sure to delight.
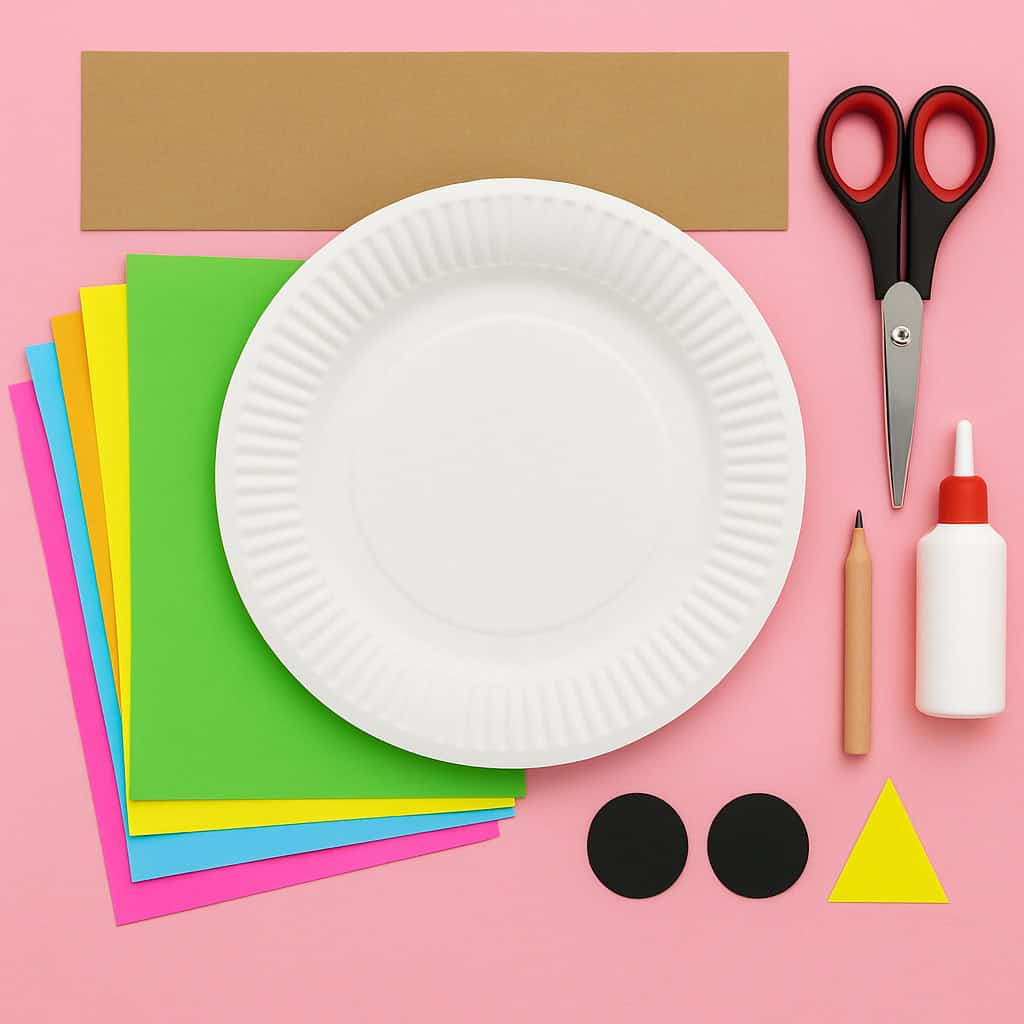
Materials You’ll Need
Before we jump into the crafting fun, here’s what you need to gather:
- 1 white paper plate (standard size)
- Yellow paint and a paintbrush (or any light tan tone for the face)
- Construction paper in various colors:
- Yellow (hair)
- Brown (hat)
- Orange or red (flower)
- Green (leaves)
- Black (eyes, smile stitching)
- Pink or orange (cheeks)
- Multicolored paper (collar/fringe)
- Glue stick or white school glue
- Child-safe scissors
- Black marker (for drawing the stitched smile)
- Optional extras: Googly eyes, buttons, or yarn for hair
Step-by-Step Instructions
Step 1: Paint the Paper Plate
Paint the paper plate a cheerful yellow (or light tan) to create the scarecrow’s face. Let it dry completely before moving to the next step.


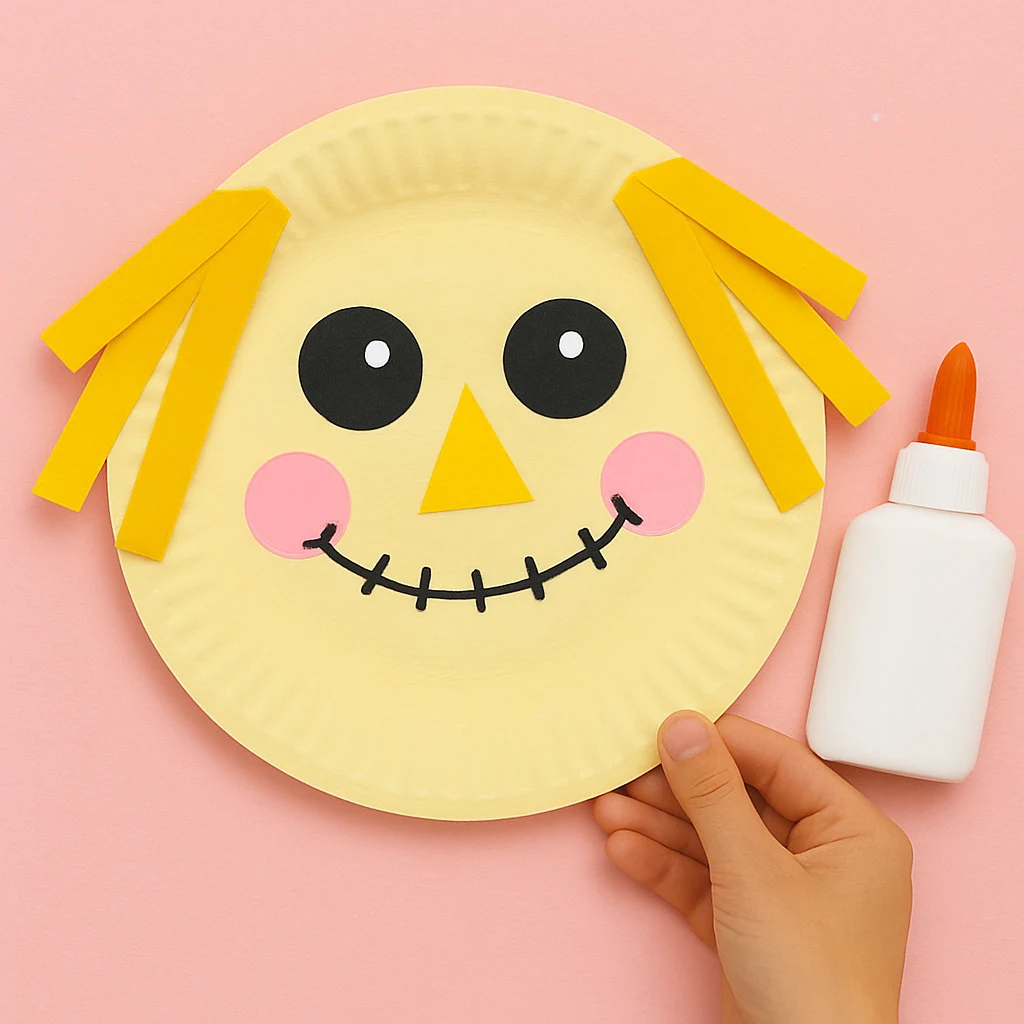
Step 2: Create the Hair
Cut strips of yellow construction paper to mimic straw. Glue them to the top and sides of the plate, letting them stick out for a fun straw-like effect.
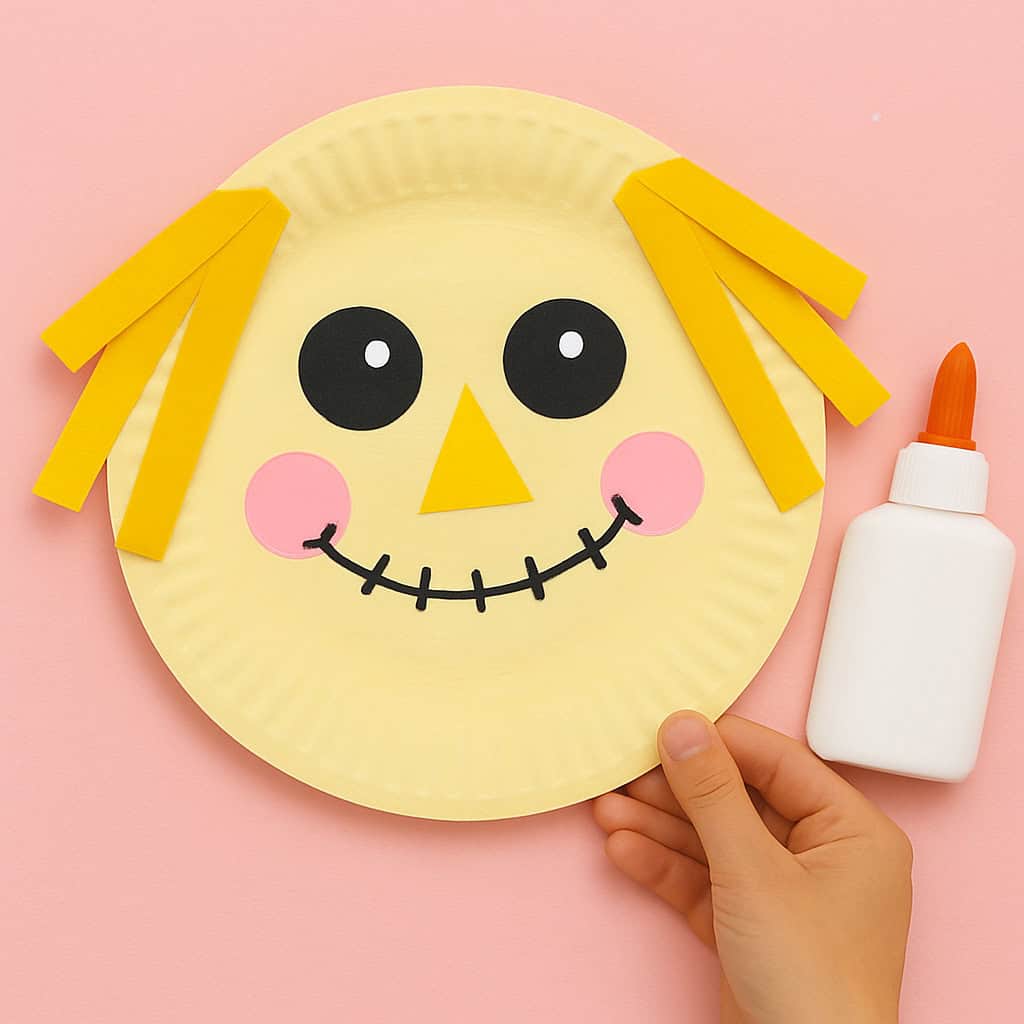
Step 3: Add Facial Features
Cut out eyes, cheeks, and a nose from colored paper or use googly eyes and buttons for extra fun. Glue them in place and draw a big stitched smile with your black marker.
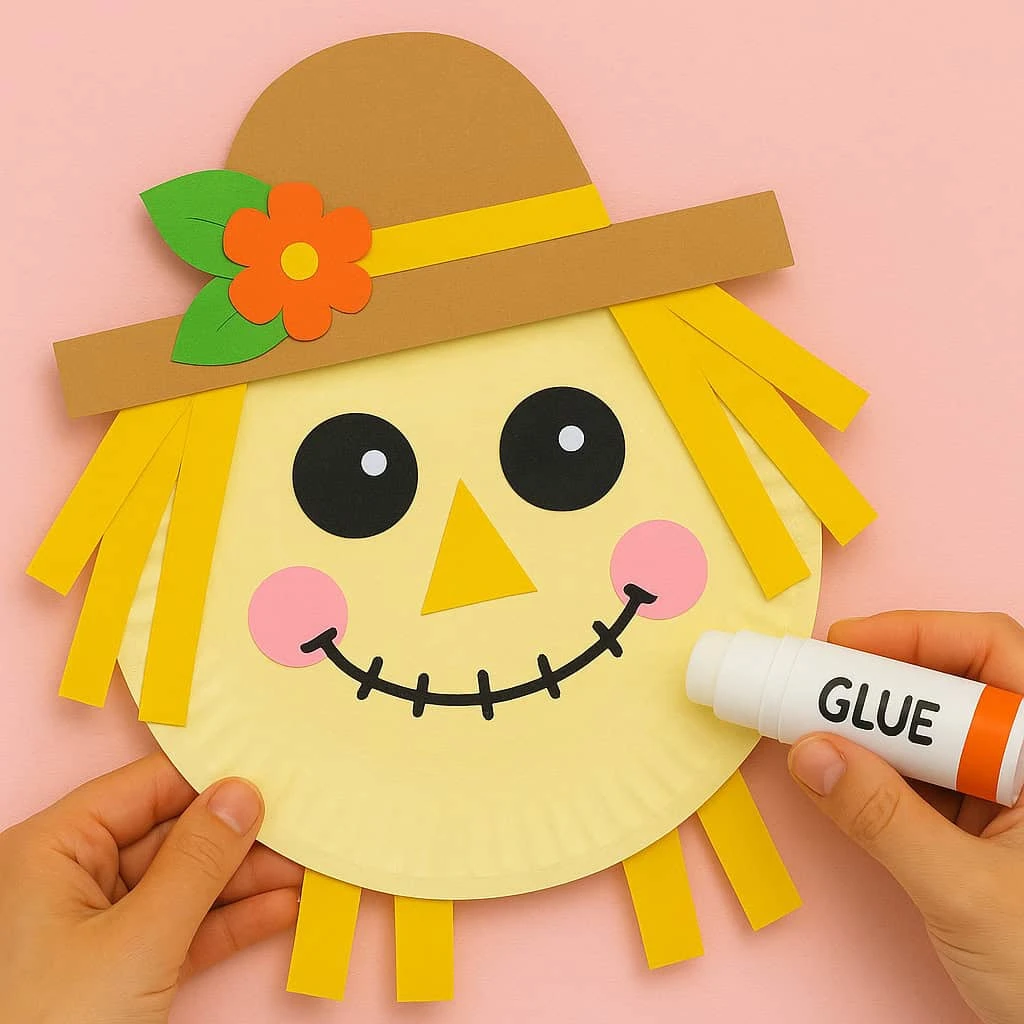
Step 4: Make the Hat
Cut a simple scarecrow hat shape from brown paper. Add a band and flower for decoration. Glue the hat on top of the scarecrow’s head.

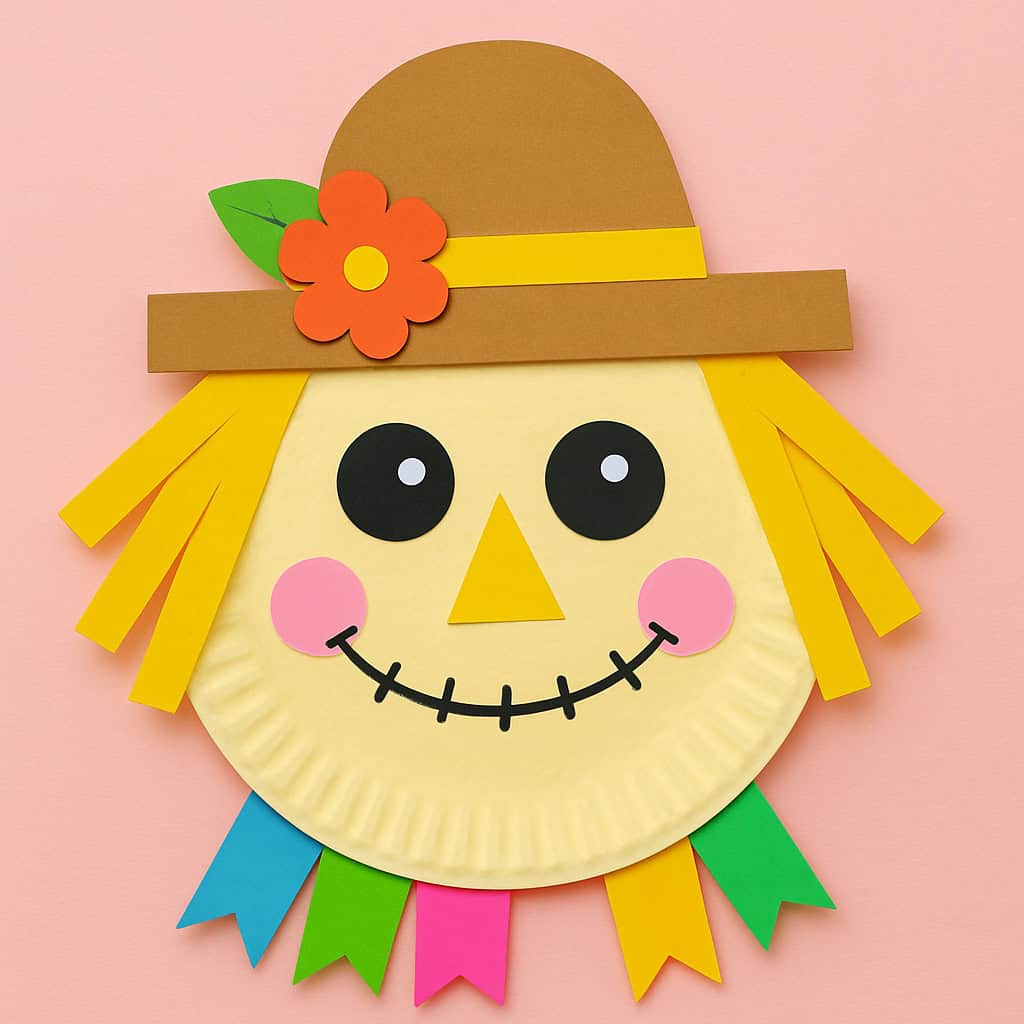
Step 5: Craft the Collar
Cut colorful paper into fringe shapes or triangles and glue them along the bottom of the plate to create a festive collar.

Customization Ideas
One of the best parts about this scarecrow craft is how versatile it is! Every child can give their scarecrow its own personality. Here are some ideas:
- Switch up the hair: Use yarn or raffia instead of paper strips for a more textured straw effect.
- Eyes full of character: Try googly eyes, buttons, or hand-drawn expressions to make each scarecrow unique.
- Play with the hats: Change the hat shape or add different decorations like leaves, sunflowers, or ribbons.
- Colorful collars: Experiment with patterned paper, fabric scraps, or tissue paper for extra flair.


Educational & Seasonal Uses
This craft isn’t just fun—it’s also a great tool for teaching and decorating! Here are some ways to use your scarecrows:
- Classroom Displays: Create a whole wall of scarecrows, each crafted by a student, to brighten up your classroom for the fall season.
- Storytime Connection: Pair the craft with a fall or farm-themed children’s book for a memorable activity.
- Festival Fun: Use them as decorations for school harvest festivals, Halloween parties, or Thanksgiving celebrations.
- Learning Tie-ins: While making the scarecrow, you can talk about farming, harvest time, and how scarecrows have been used for centuries.
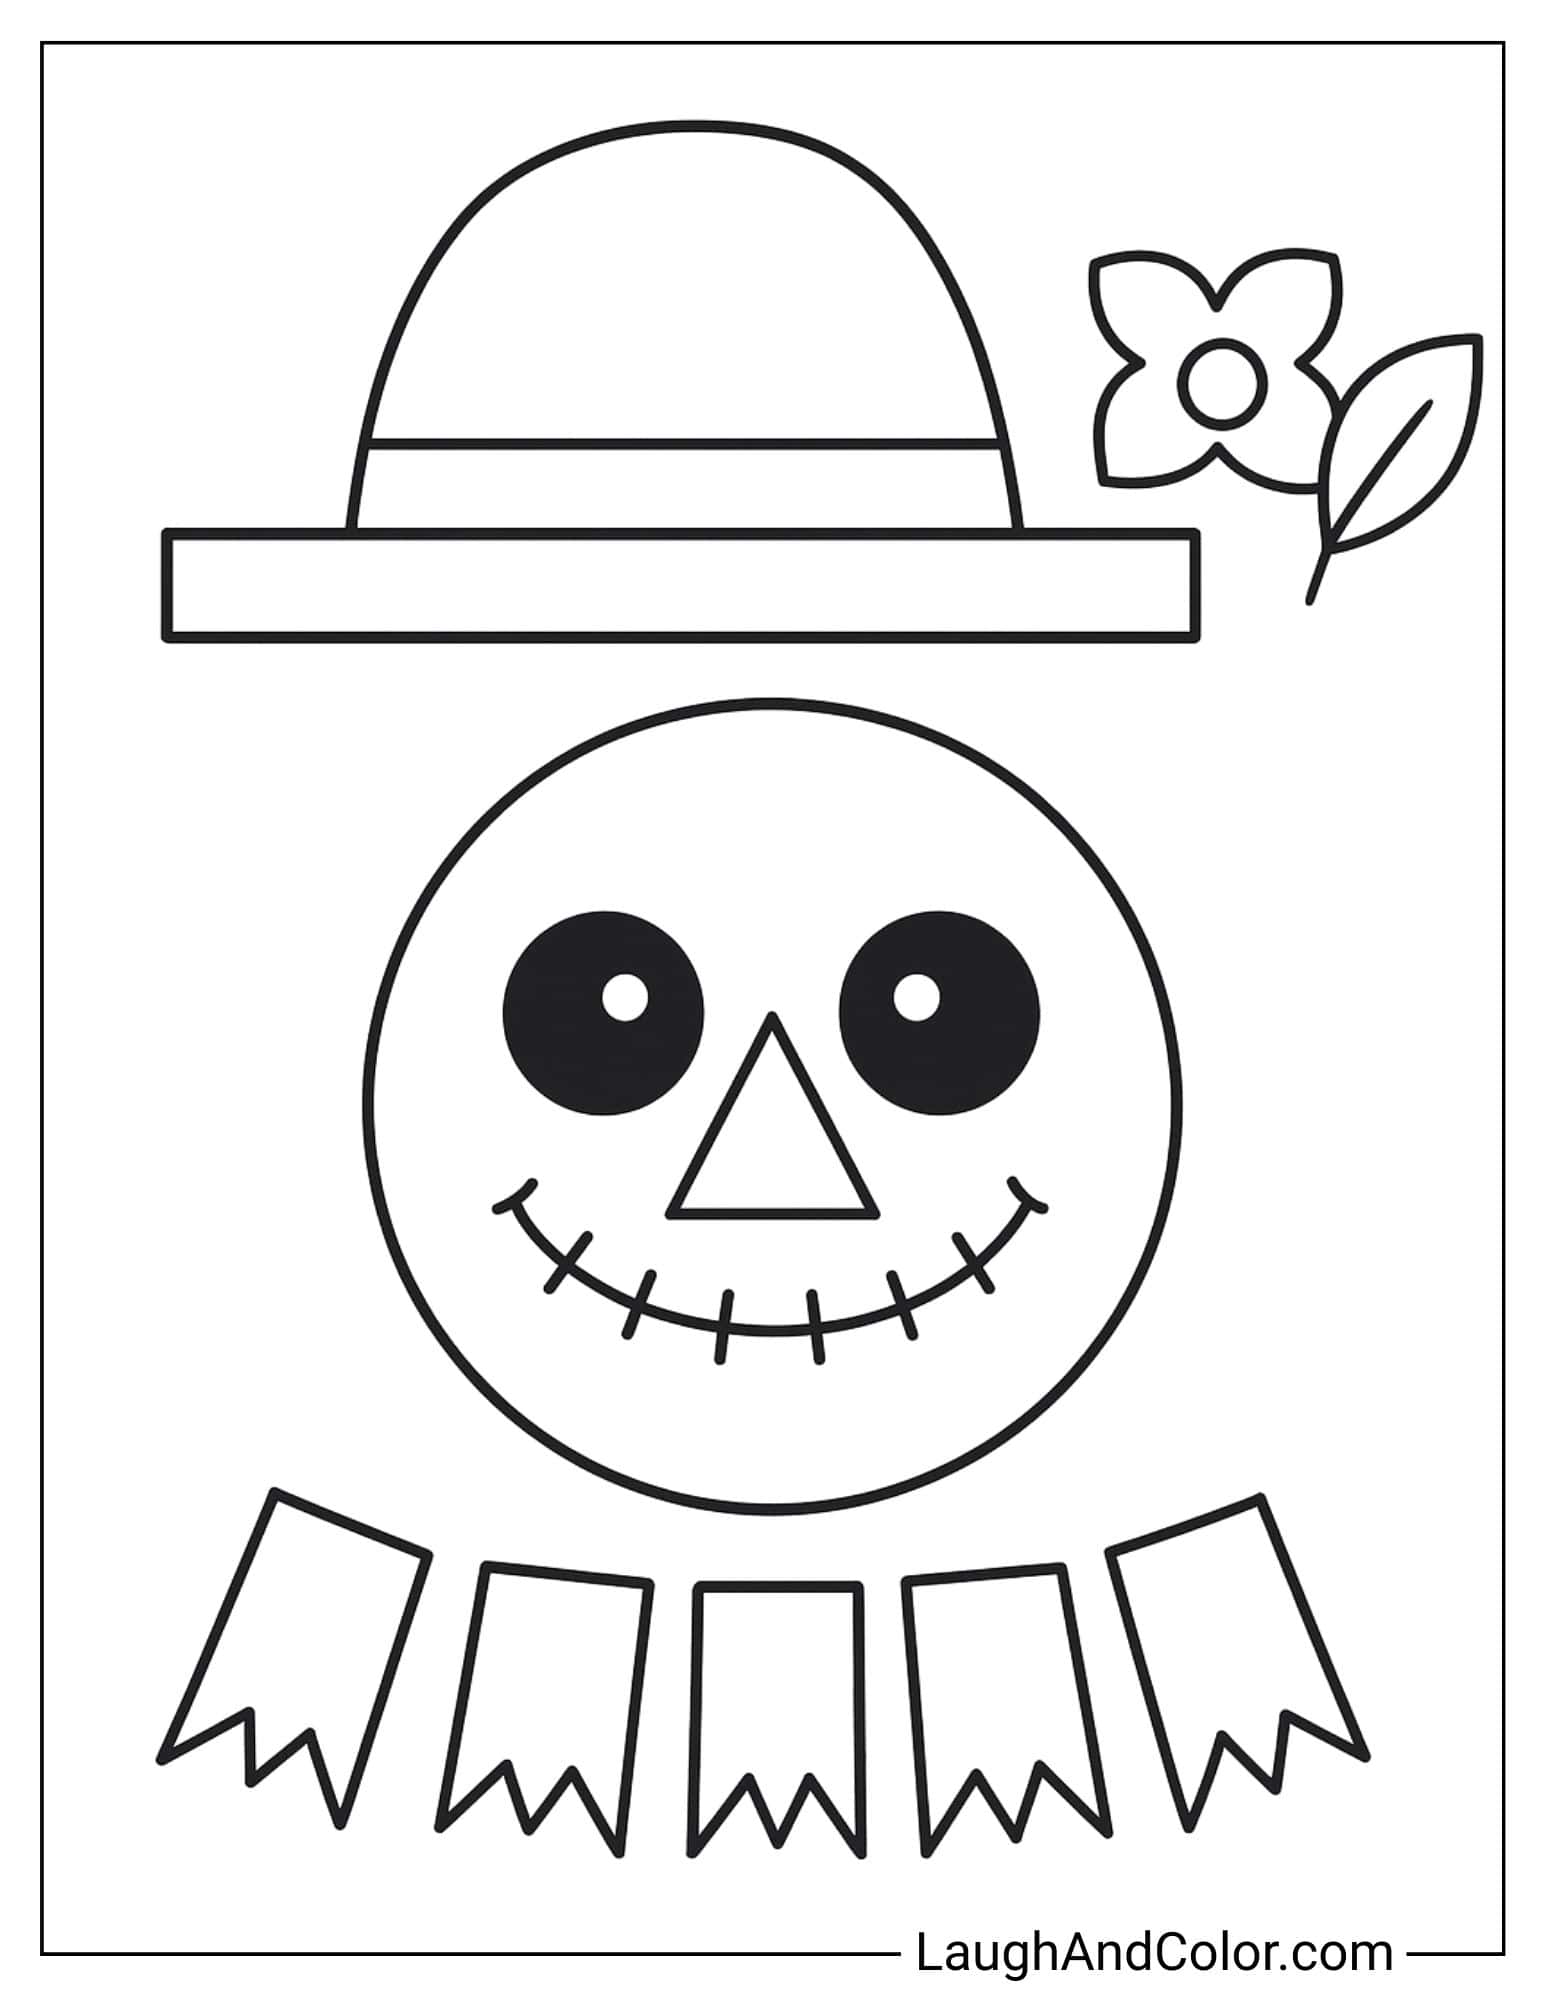
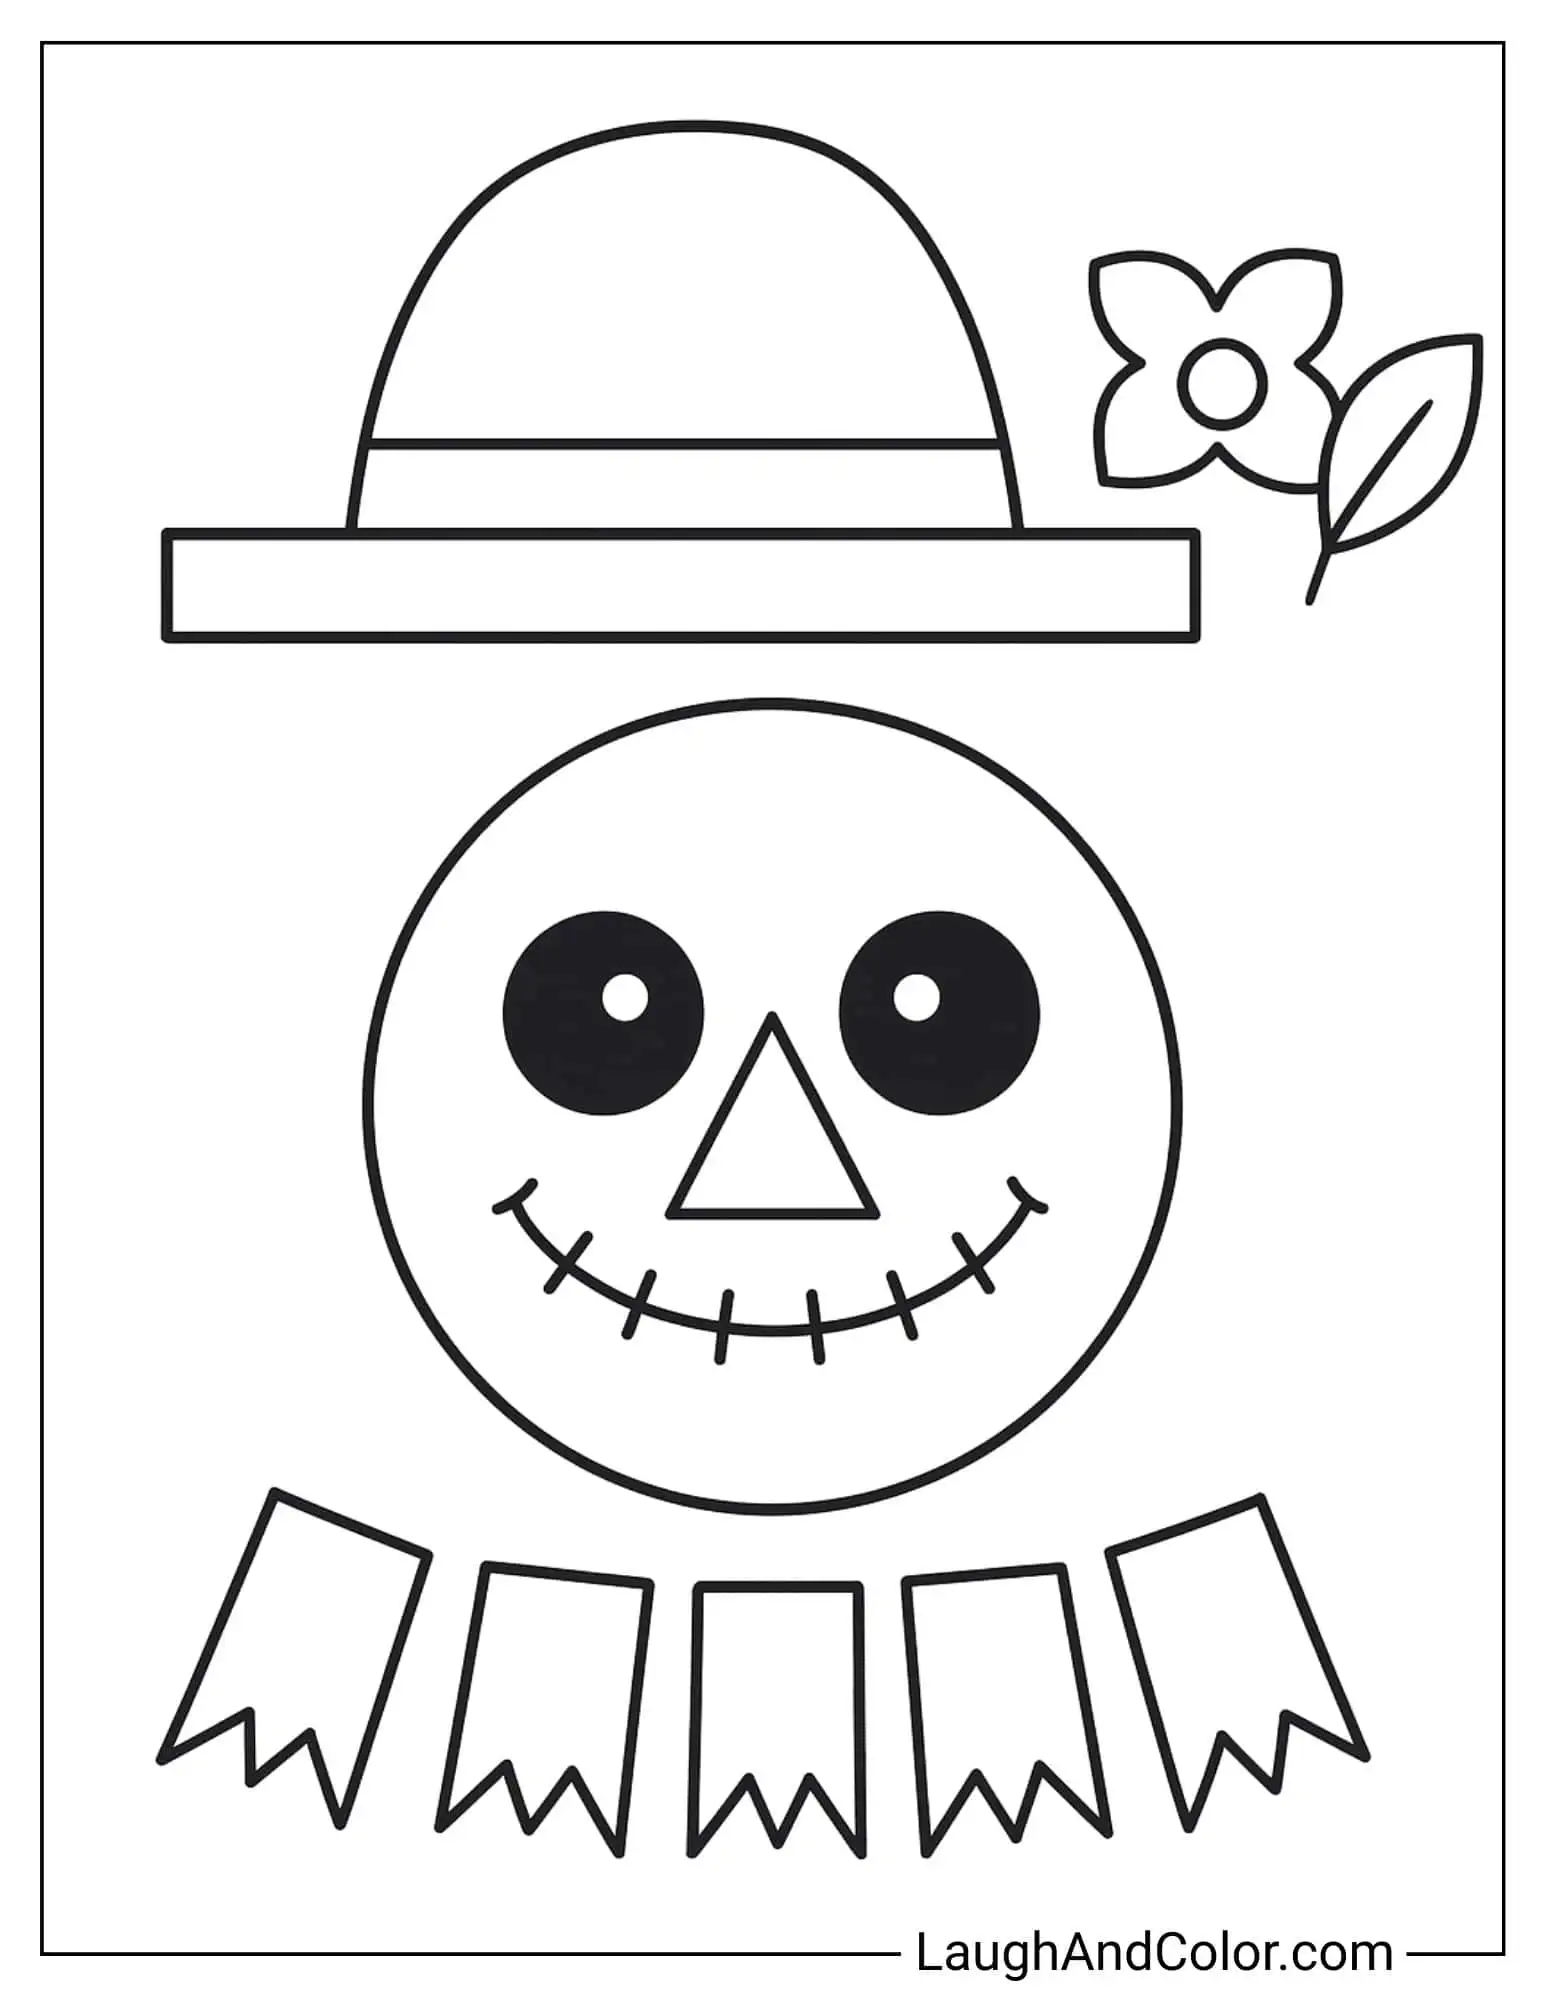
Printable Template
If you’d like to make this craft even simpler, you can provide a printable template for kids to cut and assemble. A ready-made outline of the hat, face, flower, and collar ensures even the youngest crafters can join in.
Cartoon Cats Beside A Large Jack O Lantern Coloring Page
Conclusion
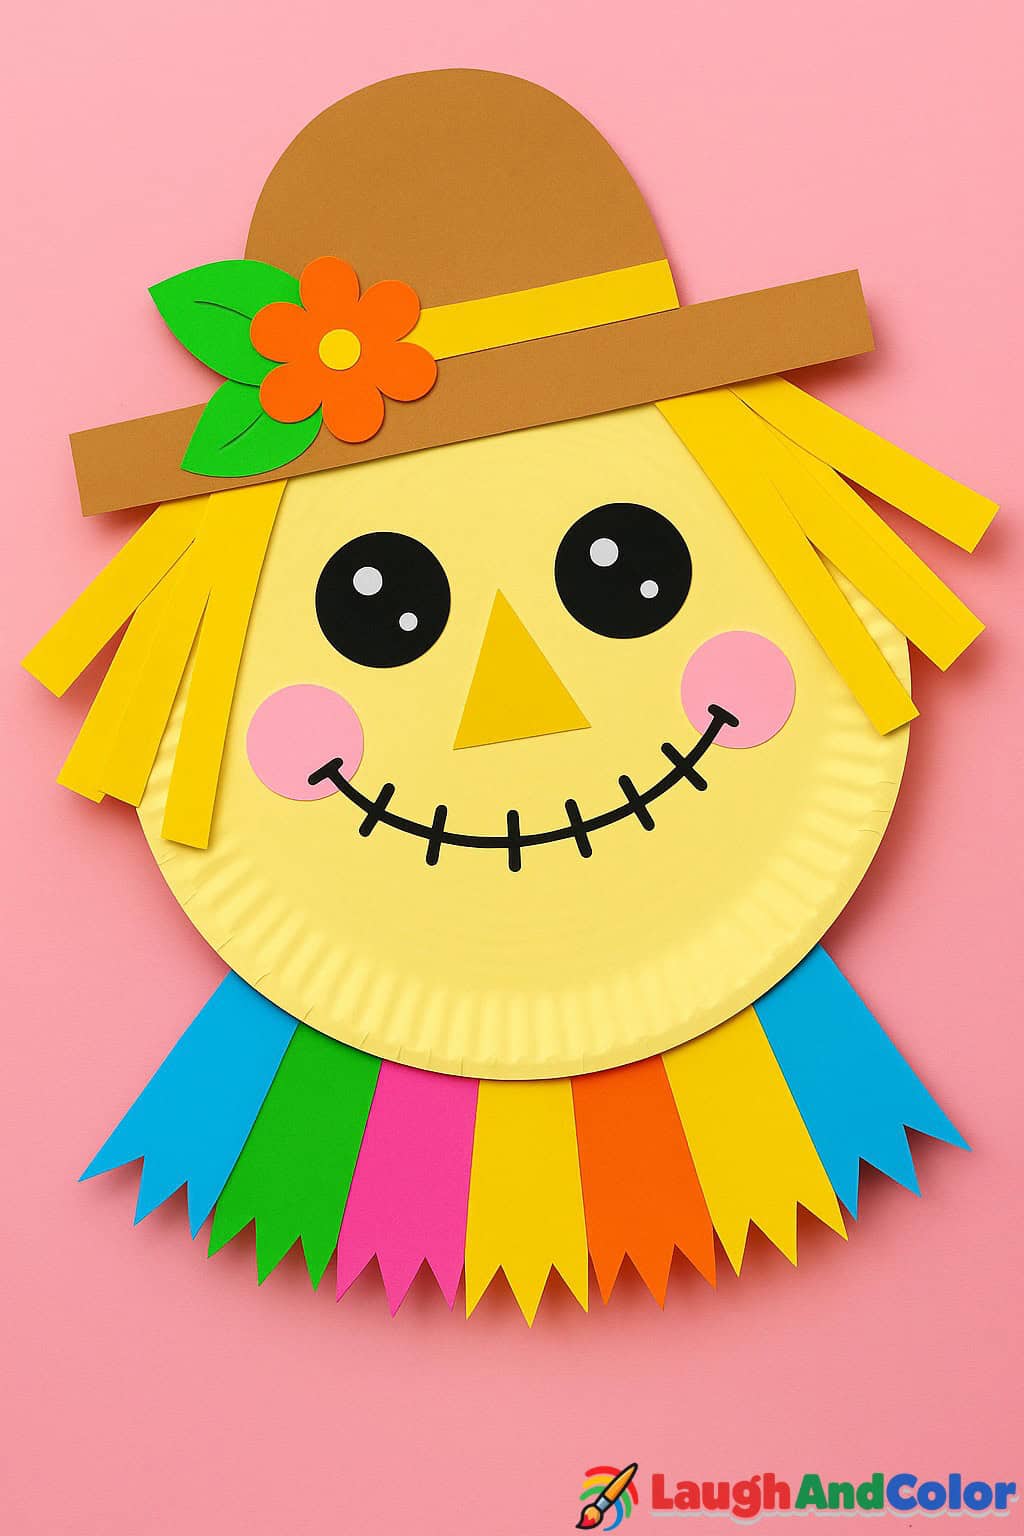
The Paper Plate Scarecrow Craft is the perfect way to celebrate the autumn season with creativity and fun. Whether made at home with family or in the classroom with friends, these scarecrows will brighten up any space with their cheerful faces. Try different variations, encourage kids to explore their creativity, and watch as each scarecrow comes to life in its own unique way.

Paper Plate Scarecrow Craft
Equipment
- Paper plate
- Paintbrush
- Child-safe scissors
- Glue stick or school glue
- Black marker
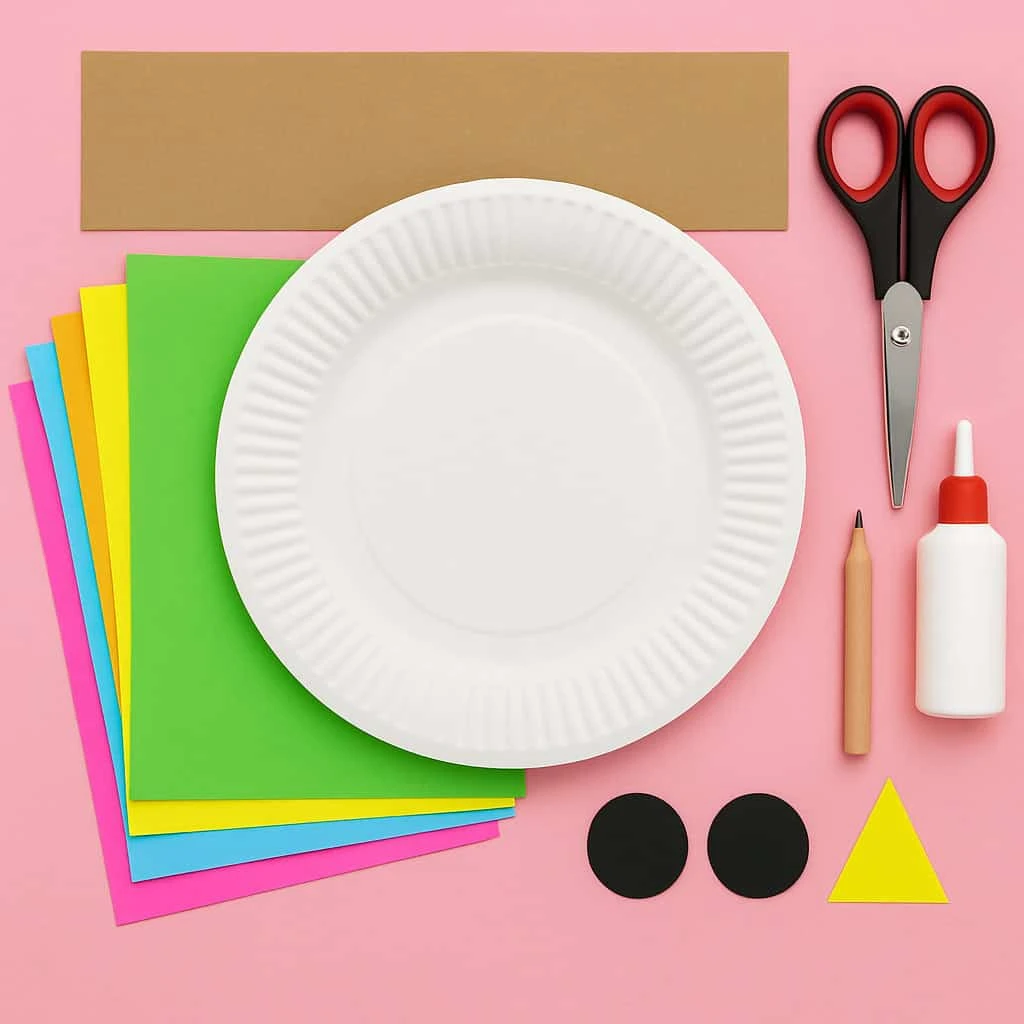
Materials
Supplies
- 1 White paper plate
- Yellow paint Or light tan for face
- Construction paper Brown (hat), yellow (hair), orange/red (flower), green (leaves), black (eyes & smile), pink/orange (cheeks), multicolored (collar)
- Optional extras Googly eyes, buttons, or yarn
Instructions
- Paint the paper plate yellow or light tan to create the scarecrow’s face. Let it dry completely.
- Cut yellow construction paper into strips to make straw hair. Glue the strips to the top and sides of the plate.
- Add the scarecrow’s facial features: glue on eyes, nose, and cheeks, and use a black marker to draw a stitched smile.
- Cut a hat shape from brown paper, add a band and flower for decoration, and glue it on top of the plate.
- Create a colorful collar by cutting multicolored paper into fringe shapes or triangles and gluing them along the bottom of the plate.