
Halloween is the perfect time to unleash your creativity with fun and spooky crafts, and this mummy tube project is a fantastic way to get started. Whether you’re planning an activity for a classroom, preparing decorations for a Halloween party, or just looking for a simple project to entertain kids at home, this DIY mummy is both festive and fuss-free. It transforms a basic toilet paper roll into a charming little mummy using just a few materials—making it a great low-cost option.

Kids love working on this craft because it’s hands-on and gives them room to be playful with how their mummy looks. From wrapping the gauze to placing the googly eyes, there’s enough room for variation that no two mummies turn out the same. Plus, since it uses recycled materials, it’s also a smart and sustainable choice for environmentally conscious crafters.
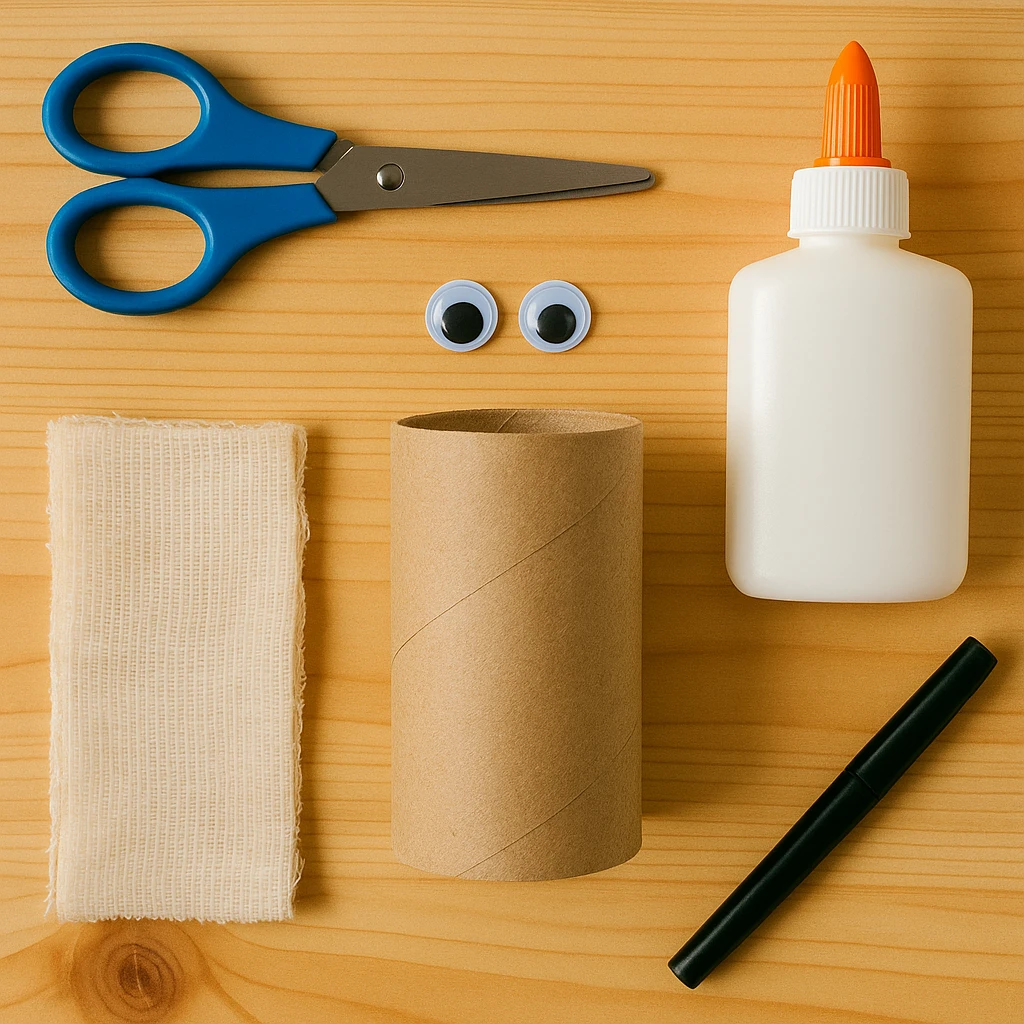
Materials Needed
- 1 empty toilet paper roll (approximately 4 inches tall)
- Gauze wrap or white fabric strips (about 2 feet in total length)
- Googly eyes (2 per mummy)
- Glue (white school glue or hot glue)
- Scissors
- Optional: black marker, double-sided tape, glow-in-the-dark paint
Step 1: Prepare Your Tube Base
Start with a clean, empty toilet paper roll. If there are any bits of paper stuck to the surface, gently peel or rub them off so the gauze will stick smoothly. This is the base of your mummy, so make sure it stands flat and steady.
Step 2: Cut and Shape Your Gauze Wrap
Cut a strip of gauze or fabric approximately 2 inches wide and 24 inches long. You can use medical gauze or tear up an old white T-shirt or pillowcase for a frayed, spooky look. If the gauze is too thick or wide, cut it down to make it easier to wrap and manipulate.
Step 3: Attach the Gauze to the Tube
Add a dab of glue or a small piece of double-sided tape at the bottom of the tube to secure the first end of the gauze. Begin wrapping the gauze loosely around the tube, working your way up. Overlap and crisscross for a more natural mummy appearance. Leave a gap near the middle of the tube where the eyes will peek out.
Step 4: Add Googly Eyes
Glue two googly eyes onto the cardboard where you’ve left the opening. Press and hold them for a few seconds to make sure they stick well. If you're working with younger children, opt for self-adhesive googly eyes to make this step easier.
Step 5: Secure and Adjust the Wrap for Final Look
Once the mummy is fully wrapped, tuck the end of the gauze into the previous layers or glue it down. You can fray the edges of the wrap slightly for a more aged, eerie look. Add a tiny dab of glow-in-the-dark paint or draw a spooky mouth with a marker if you want to give your mummy extra personality.
Customization Ideas
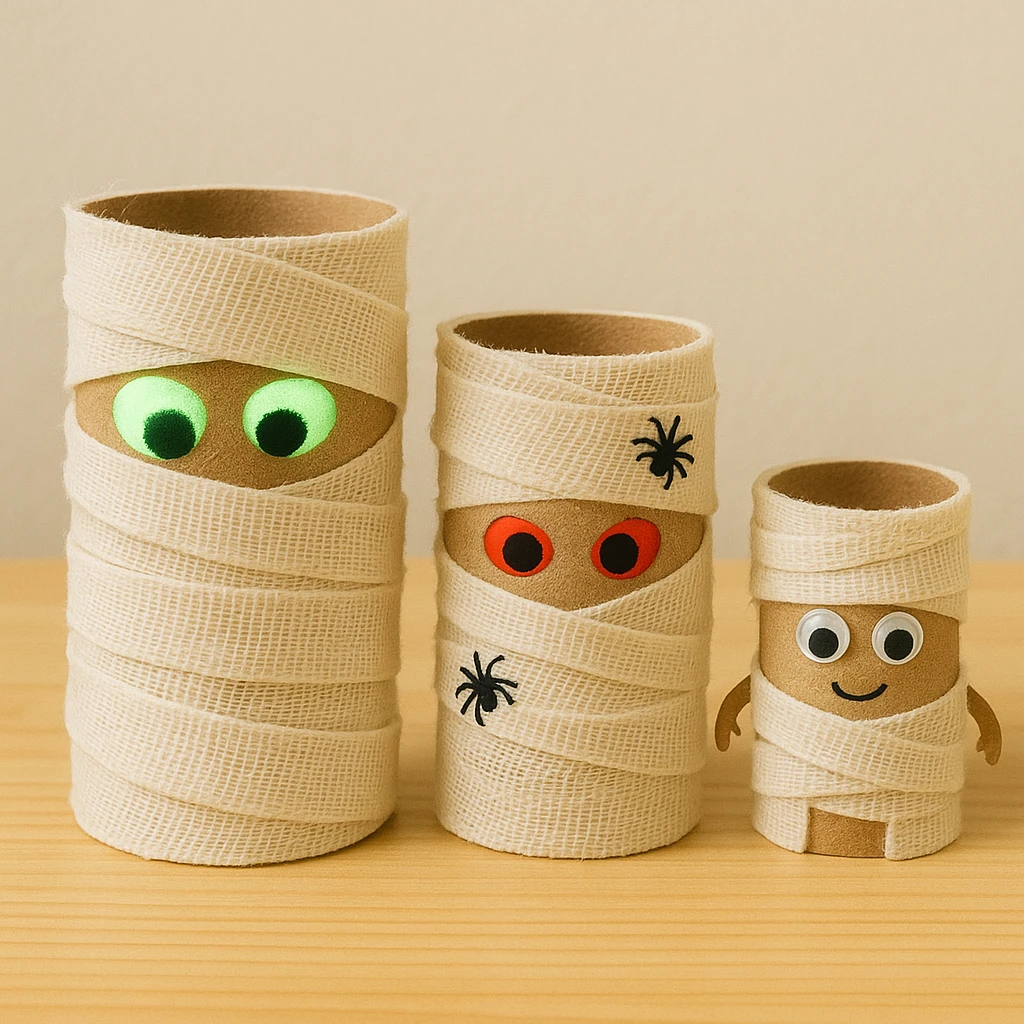
Spooky Version: Use red or glowing eyes instead of standard googly eyes. Add a paper cloak or tiny fake spiders stuck to the gauze to amp up the scare factor.
Glow-in-the-Dark Mummy: Use glow-in-the-dark fabric strips or lightly brush the wrapped gauze with glow paint. Great for night-time decorations.
Mini Mummy Family: Use cardboard tubes of varying sizes—like paper towel rolls cut in half—to make a whole family of mummies. Each one can have a different eye shape or facial expression.
Educational or Seasonal Uses
This mummy craft is excellent for classroom settings, where it can tie into lessons about recycling, art, or Halloween traditions. It also helps develop fine motor skills as kids cut, wrap, and glue. Around Halloween, this makes a perfect hands-on activity for themed parties, storytime crafts, or even community events. Libraries and museums can use this as part of a spooky storytelling session where kids create characters for their own haunted tales.
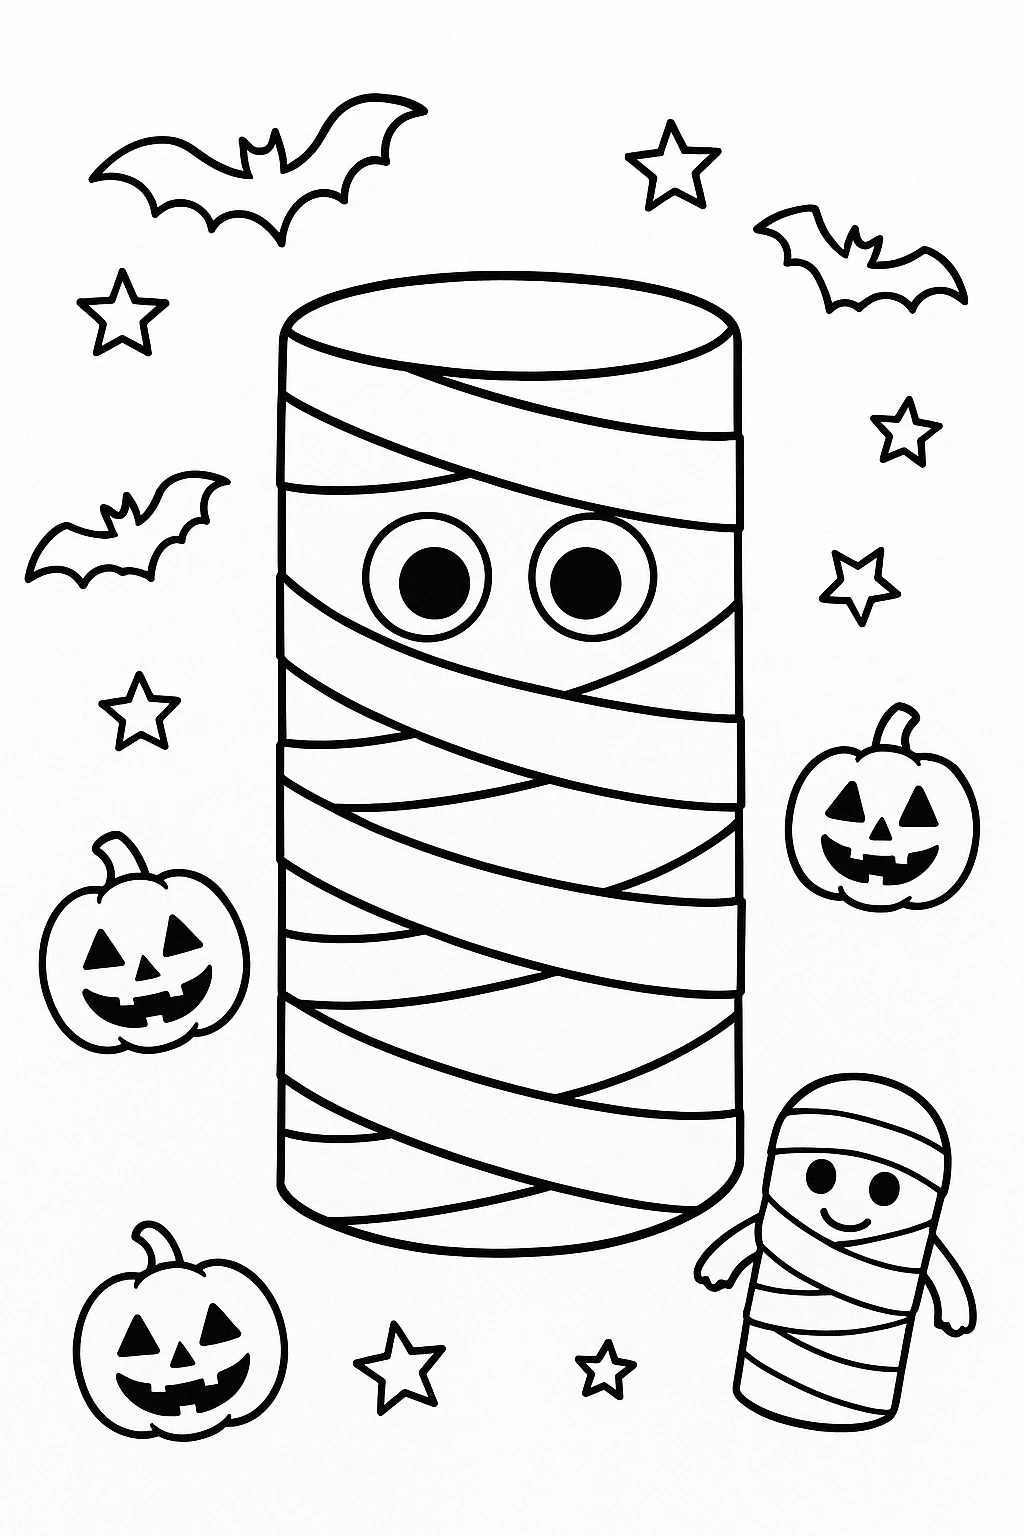
Printable Template
If you want to simplify this project for very young kids or speed things up for a group, we’ve created a printable mummy wrap template. Just print, cut, and color the wrap strips, then glue them on like regular gauze. The eyes and mouth can be colored in or glued on separately.
This printable version is a fantastic time-saver for teachers, group leaders, or parents looking for a low-mess alternative. You still get the look of a wrapped mummy, but with a flat, colorable design that’s great for quick crafts or rainy afternoons.
Conclusion
This mummy tube craft is a wonderfully simple and spooky project that kids and adults alike can enjoy. With just a few materials and a bit of imagination, you can create fun, personalized mummies perfect for Halloween decorating or gifting. Don’t forget to share your mummy creations on social media and tag us—we’d love to see your twist on this classic craft!

Mummy Tube Craft with Gauze Wrap
Equipment
- Scissors
- Glue
Materials
- 1 Toilet paper roll Clean and empty
- 2 feet Gauze or white fabric strips Approximately 2 inches wide
- 2 Googly eyes
- Glue White school glue or hot glue
- Optional: black marker, double-sided tape, glow-in-the-dark paint
Instructions
- Start with a clean, empty toilet paper roll and remove any leftover paper.
- Cut a 24-inch strip of gauze or white fabric about 2 inches wide. Adjust for younger kids by pre-cutting.
- Attach the end of the gauze at the bottom of the tube using glue or tape. Begin wrapping it around the roll loosely, leaving space for eyes.
- Glue two googly eyes in the exposed space. Press firmly to secure them.
- Tuck in or glue the end of the gauze. Fray edges or decorate with extra features like glow paint or a drawn mouth.