
Halloween is the perfect time to mix spooky fun with hands-on creativity, and this handprint Dracula craft is a fang-tastic way to do just that! Whether you're a parent looking for an afternoon activity or a teacher planning a classroom Halloween project, this Dracula is sure to bring smiles instead of scares. With just a few basic materials and our free printable template, kids can create their own adorable vampire using their handprint as the cape.
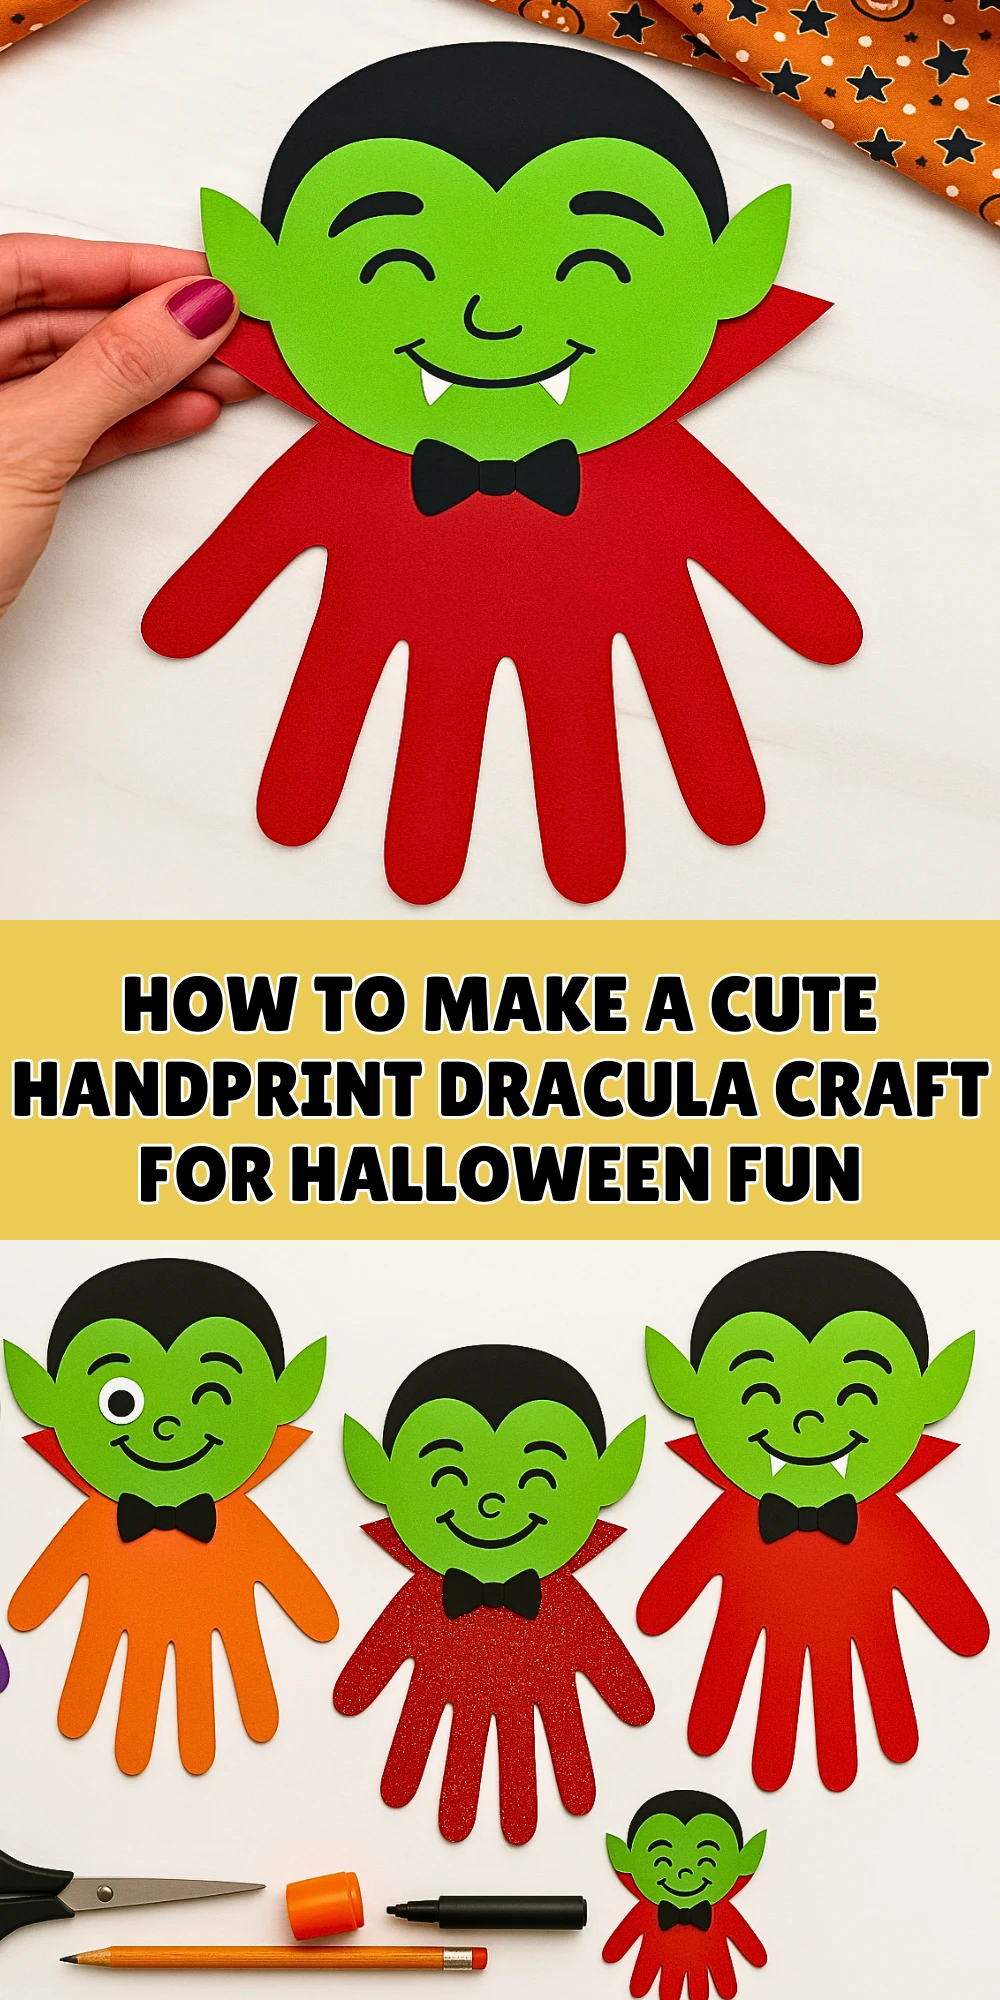
This project encourages imagination, improves fine motor skills, and creates a memorable keepsake perfect for classroom walls or fridge displays. Kids will love personalizing their Dracula with different facial expressions or cape colors, and you'll love how simple and low-mess it is to prepare. Ideal for preschool, kindergarten, or early elementary students, this spooky-sweet craft is a hit at home or in the classroom.
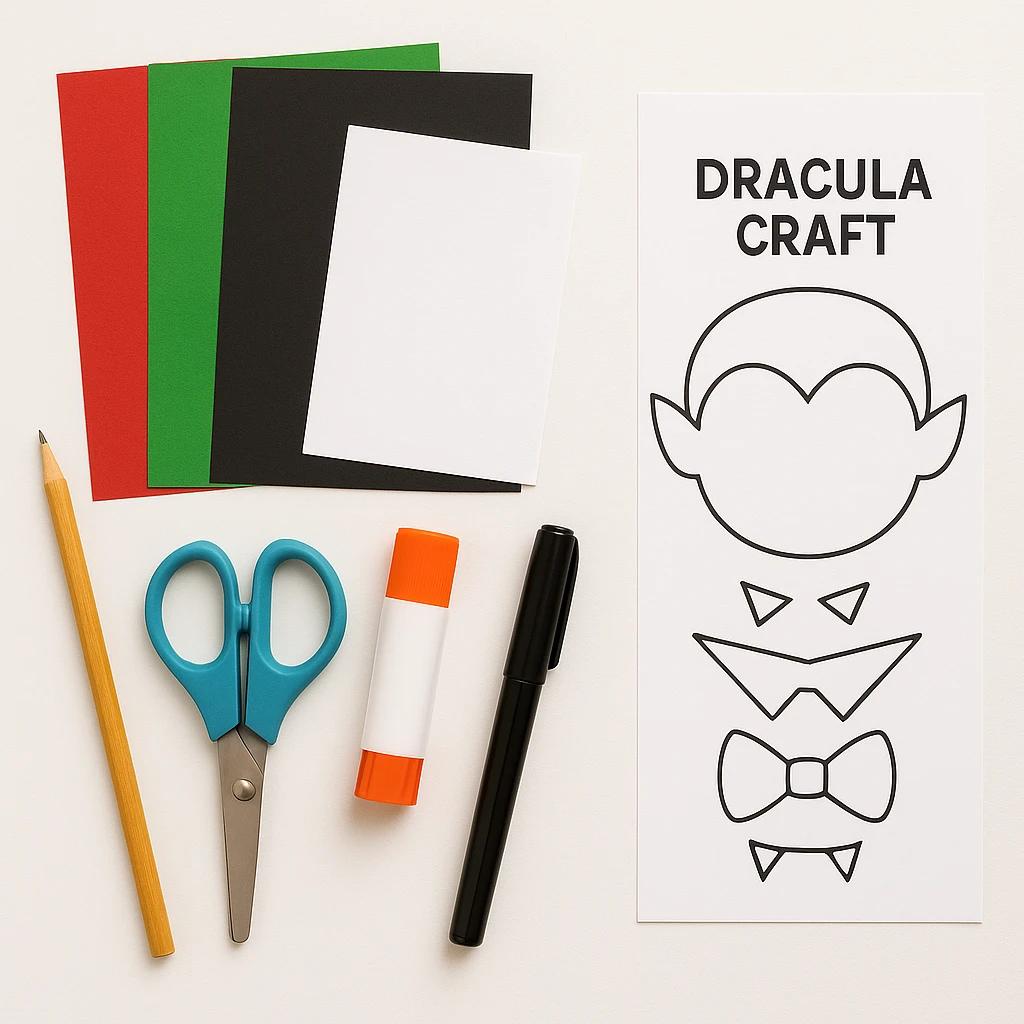
Materials Needed
- Red cardstock or construction paper (for handprint cape)
- Green cardstock (for Dracula’s face and ears)
- Black cardstock (for hair and bow tie)
- White paper or cardstock (for the fangs)
- Black marker or pen (for drawing facial features)
- Scissors
- Glue stick or liquid glue
- Pencil (for tracing hand)
- Free Dracula Printable Template (available below)
Step 1: Trace and Cut the Handprint
Start by placing your child’s hand on the red cardstock with fingers spread wide. Using a pencil, carefully trace around the hand. Then, cut out the traced handprint—this will become Dracula’s cape. For smaller children, an adult may need to assist with the cutting step.
Step 2: Cut Out Dracula’s Head and Ears
Use the printable template or draw your own version of Dracula’s head shape on green cardstock. Cut out the head along with two pointy ears. This will form the base of Dracula’s iconic look.
Step 3: Add Hair, Face Details, and Fangs
Cut a simple rounded widow’s peak hairline from black cardstock and glue it on top of the head. Then draw on eyes, eyebrows, and a big smile using a black marker. Cut two small white triangles for fangs and glue them under the smile to give Dracula his signature vampire grin.
Step 4: Create and Attach the Collar and Bow Tie
Cut out a V-shaped collar using red paper and glue it just below the head. Add a small black bow tie under the chin for extra charm. If you're using the template, the collar and bow tie are already sized for you—just cut and glue!
Step 5: Assemble All the Parts Together
Glue the Dracula head to the top center of the handprint cape. Then glue on the ears, making sure they peek out from behind the head. Once all parts are secured, let the glue dry completely before handling or displaying the craft.
Customization Ideas
Encourage kids to give their Dracula a personal twist! Try purple or black for the cape instead of red. Add googly eyes for a fun 3D effect, or sprinkle a little glitter on the cape for a magical finish. You can even make a whole vampire family by using handprints of different sizes.
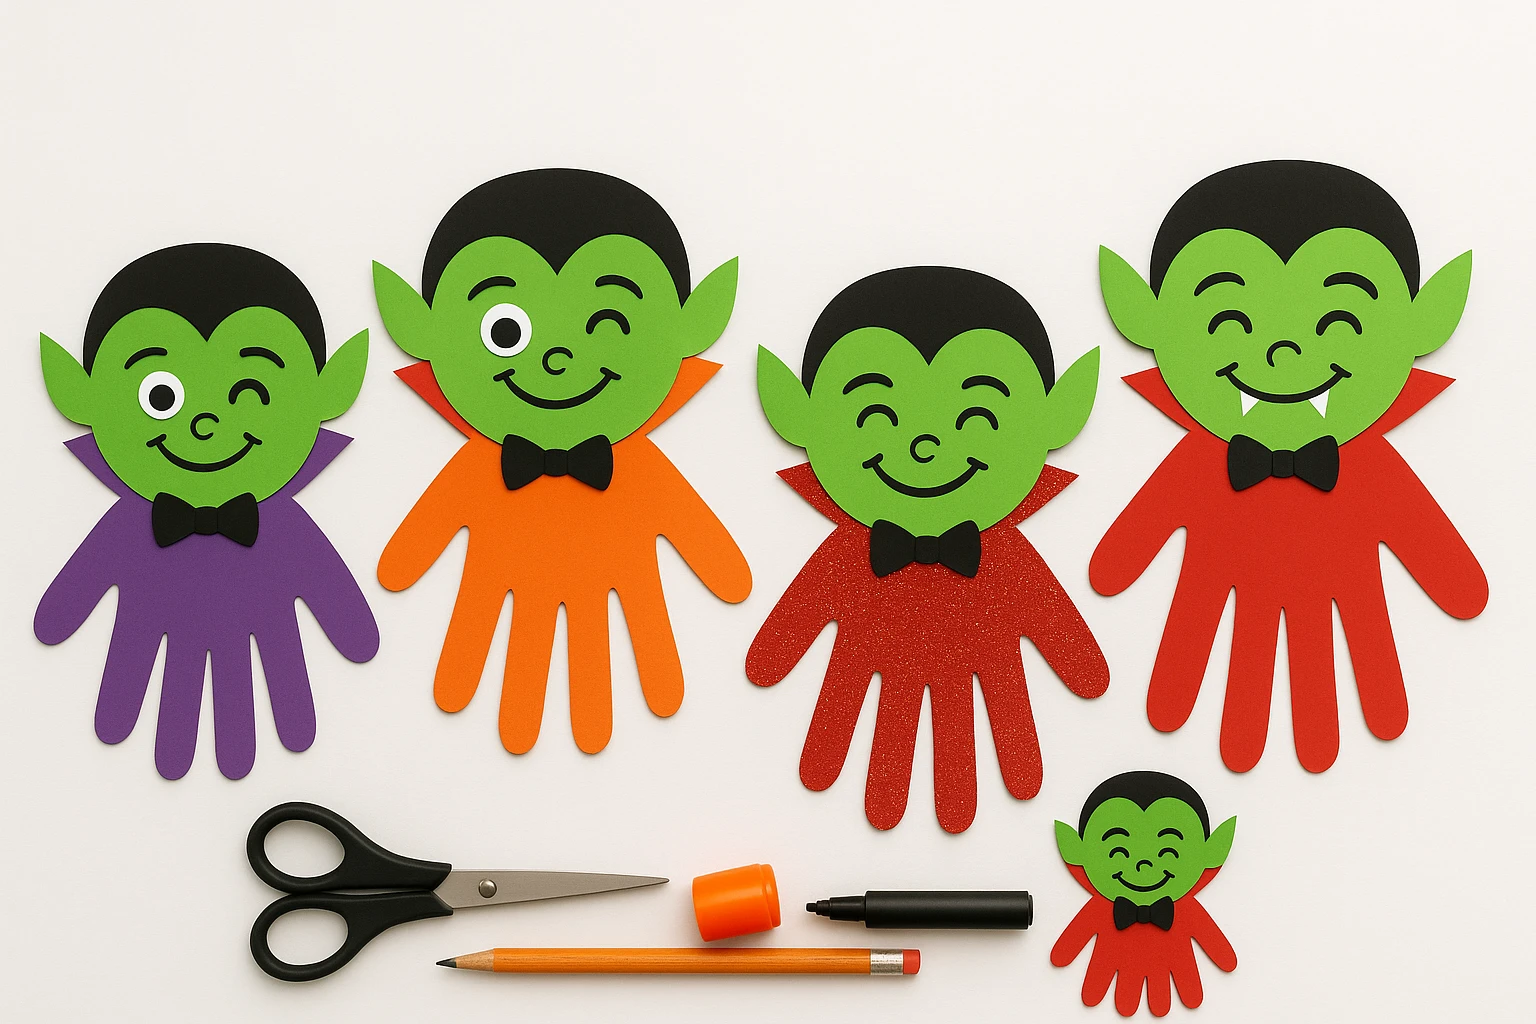
Attach a craft stick to the back to turn it into a puppet, or punch a hole at the top and add string to hang Dracula up as a Halloween decoration. There's no limit to how creative kids can get!
Educational & Seasonal Uses
This Dracula handprint craft is perfect for Halloween-themed classroom activities. Teachers can use it to enhance seasonal storytime or to decorate bulletin boards with a student-created vampire gallery. It supports fine motor development, hand-eye coordination, and encourages imaginative storytelling.
It’s also a great opportunity to introduce kids to characters from folklore and legends in a non-scary, creative way. Pair it with a Halloween book about friendly monsters for a well-rounded learning activity.

Printable Template
To make this project even easier, we’ve included a free printable template that features all the parts needed for the Dracula craft—head, ears, hair, collar, and bow tie. Simply print it out, trace the parts onto colored paper, and assemble.
This ready-to-go template saves time and ensures your craft comes out just right every time. It's ideal for group settings or busy parents who want a no-fuss activity that kids will still love.

Conclusion
This handprint Dracula craft is a delightful combination of spooky and sweet, making it perfect for Halloween fun at home or in the classroom. It’s simple enough for young children and allows for plenty of creative flair. With your free template, a few craft supplies, and a little imagination, kids will have a blast making their very own vampire creation.
Don’t forget to share your Dracula creations and explore even more Halloween DIYs to keep the fun going all season long!
How to Make a Cute Handprint Dracula Craft for Halloween Fun
Equipment
- Scissors
- Glue stick or liquid glue
- Pencil
- Black marker
Materials
- Red cardstock or construction paper For the handprint cape
- Green cardstock For Dracula’s face and ears
- Black cardstock For hair and bow tie
- White paper or cardstock For the fangs
- Free Dracula Printable Template To cut out facial and clothing features
Instructions
- Step 1: Trace and Cut the Handprint — Trace your child’s hand on red cardstock with fingers spread, then cut it out to form Dracula’s cape.
- Step 2: Cut Out Dracula’s Head and Ears — Using green cardstock, cut out the head and two pointed ears based on the template.
- Step 3: Add Hair, Face Details, and Fangs — Cut and glue the black hair on, draw on the face, and glue small white fangs under the smile.
- Step 4: Create and Attach the Collar and Bow Tie — Cut a V-shaped collar from red paper and a bow tie from black paper, then glue them on.
- Step 5: Assemble All the Parts Together — Glue the head to the handprint, attach ears behind the head, and let it dry completely.