
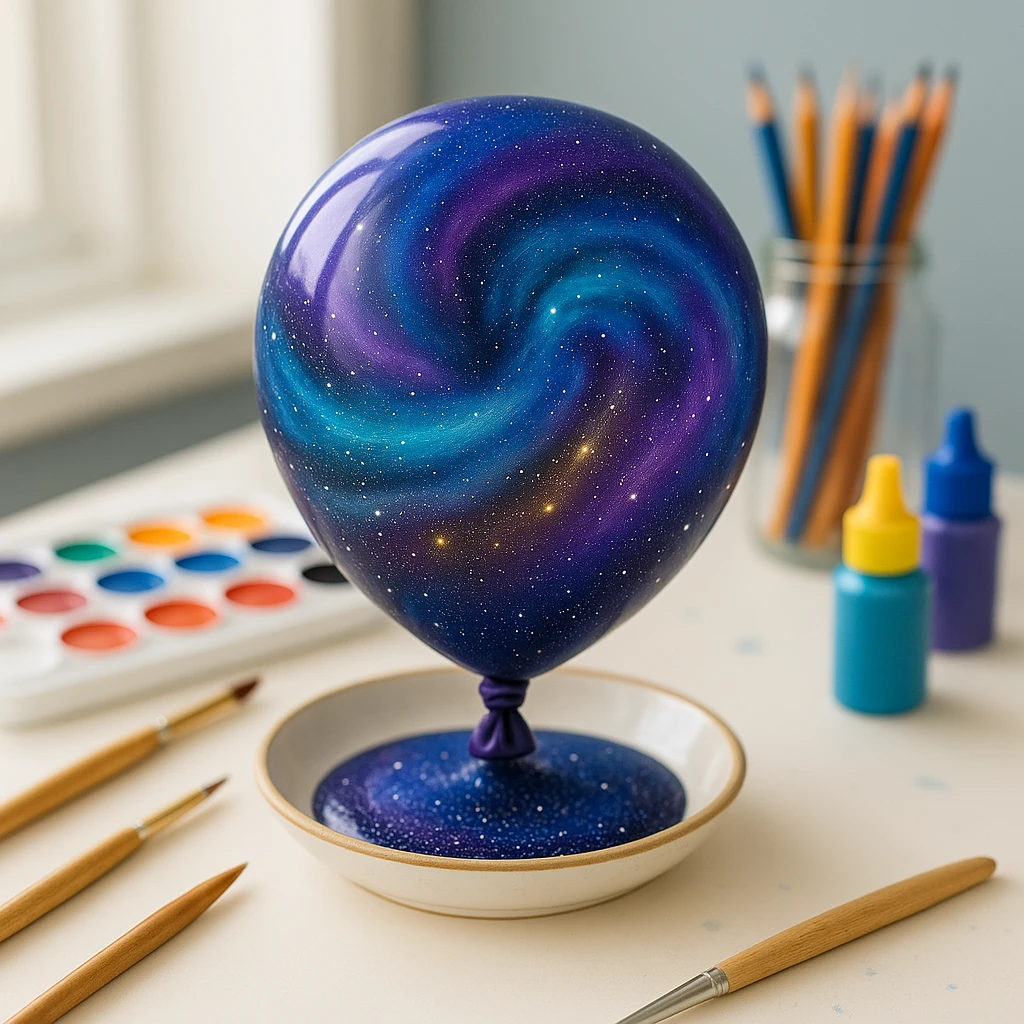
If you’re looking for a dazzling craft that combines science, creativity, and a little bit of mess, the Galaxy-Inside-a-Balloon project is a must-try. This craft turns an everyday balloon into a swirling universe, complete with cosmic colors and shimmering stars. It’s a beautiful visual representation of our galaxy, and a fun hands-on way to explore basic scientific concepts like air pressure, light, and color mixing.
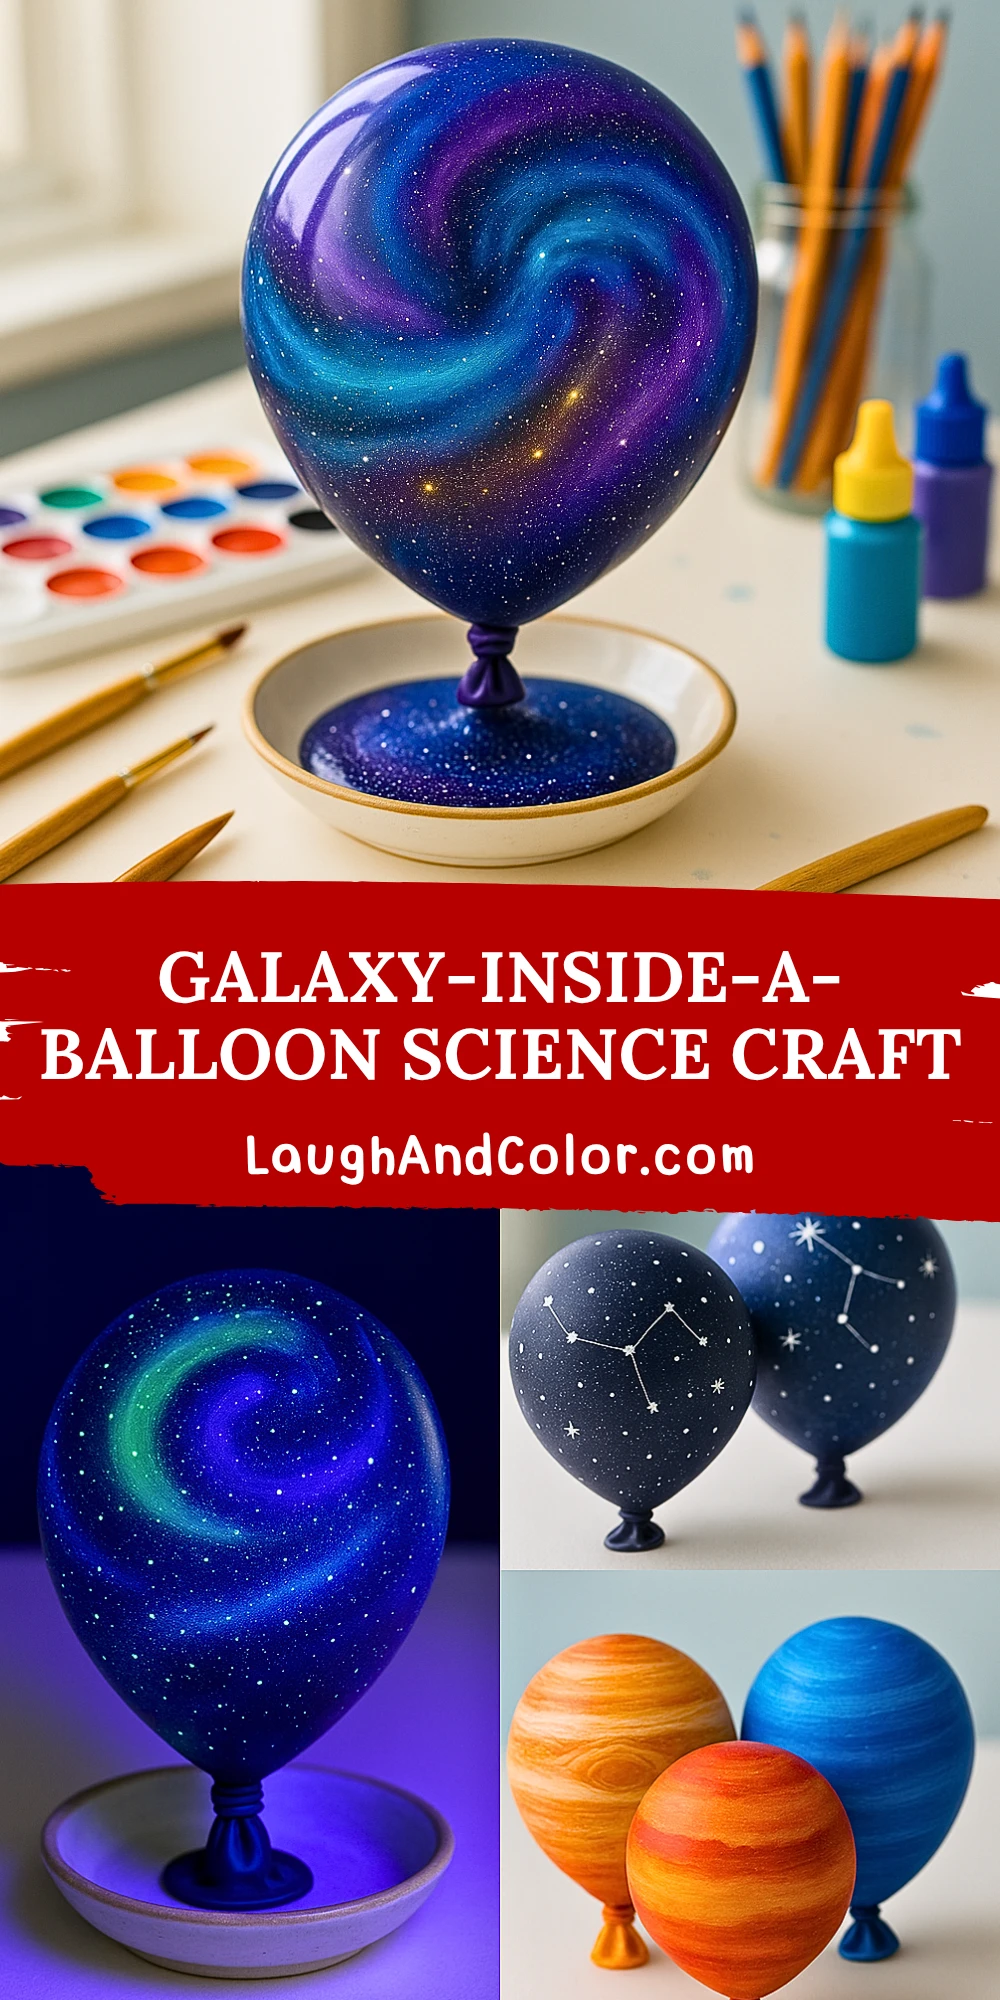
Perfect for space-themed weeks, science class, or just a rainy afternoon indoors, this project invites kids to dream big while getting their hands a little dirty. The best part? Each balloon ends up as unique as the stars themselves. With a few simple materials and a bit of drying time, your kids can craft their own miniature galaxy that they can hold in their hands.
Materials Needed
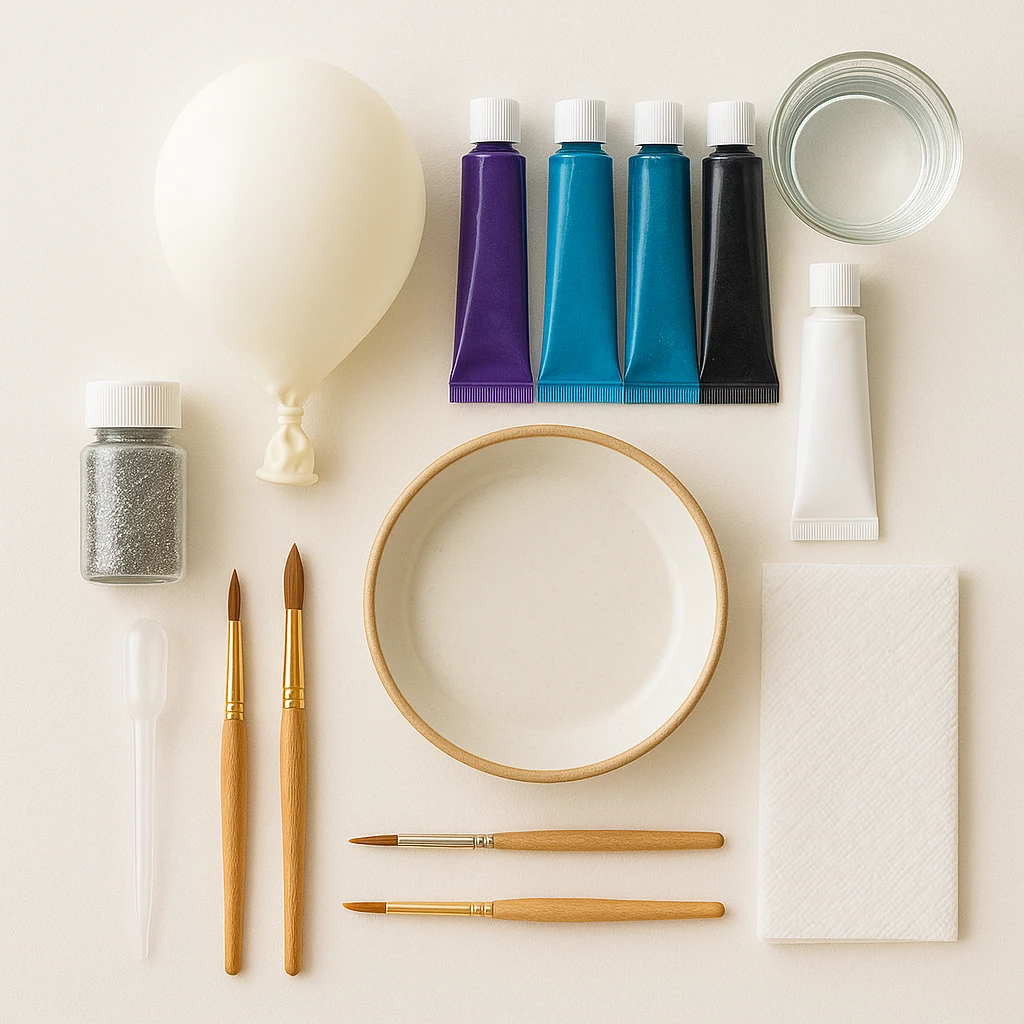
To create your own Galaxy-Inside-a-Balloon, gather the following materials:
- 1 latex balloon (preferably white or light-colored)
- Acrylic paints in galaxy colors (dark blue, purple, turquoise, black, white)
- Small paintbrushes
- A shallow dish or plate
- Water for mixing and rinsing
- Fine glitter (silver or holographic)
- Dropper or small spoon
- Cup or small bowl for holding balloon upright
- Paper towels or newspaper for workspace protection
- Optional: glow-in-the-dark or UV-reactive paint for extra effect
Step-by-Step Instructions
Step 1: Inflate and Prep the Balloon
Inflate the balloon to medium size (about 6–8 inches in diameter), then tie it securely. Place the tied end into a shallow dish or cup so the balloon stands upright. Make sure your workspace is covered with newspaper or paper towels to catch paint drips.
Step 2: Mix and Swirl the Galaxy Paint
Using a palette or paper plate, squeeze out small amounts of dark blue, purple, turquoise, and black paint. Dip your brush in water and swirl the colors together slightly—but don’t overmix. You want distinct colors with some blending, like a nebula in space.
Step 3: Dip and Coat the Balloon
Starting from the top of the balloon, use your brush to dab and swirl the paint mixture over the surface. Rotate the balloon as you go, creating a cosmic effect. Once most of the surface is covered, sprinkle a bit of glitter over the wet paint for a starry touch. Let the paint drip naturally into the dish below—it adds to the swirling galaxy illusion.
Step 4: Let It Dry and Set
Carefully move the balloon (still in its dish) to a safe drying area. Let it sit undisturbed for at least 3–4 hours, or overnight for best results. As it dries, the paint will continue to shift slightly, enhancing the galactic look.
Step 5: Optional Details and Display Tips
Once the balloon is dry, you can use a fine brush and white paint to add tiny stars or even constellations. For an eye-catching display, make several balloons in different color schemes and hang them as a space mobile or line them up like a solar system.
Customization Ideas
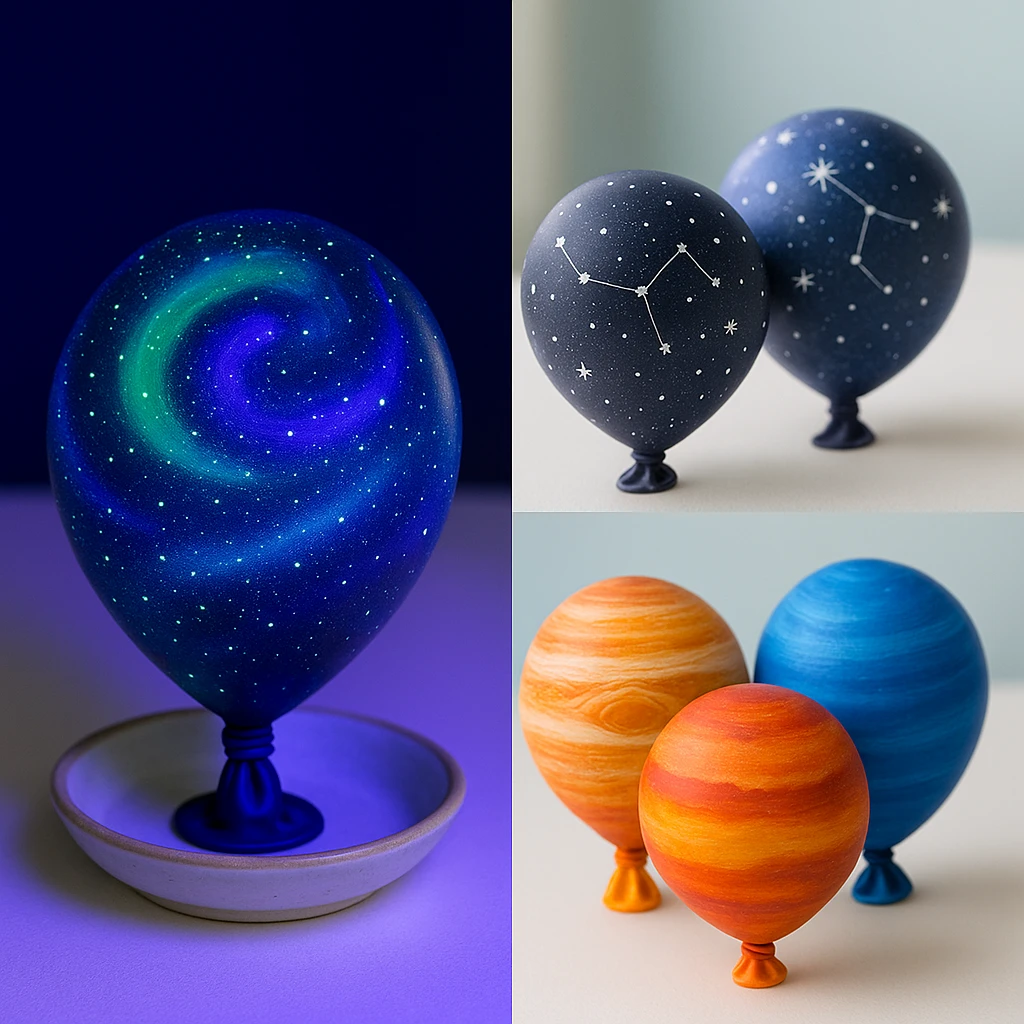
Glow-in-the-Dark Galaxy: Swap in glow-in-the-dark or UV-reactive paints to create a glowing night-sky effect. Perfect for dark rooms or evening science parties.
Constellation Balloon: After the paint dries, use a fine white marker or paint pen to draw real constellations onto the balloon. Kids can learn to identify star patterns while decorating.
Planet Collection: Create a whole set by varying balloon sizes and color schemes—some for Jupiter’s swirls, Mars’ red tones, or Neptune’s blues. This adds educational value and creates a planetary display.
Educational and Seasonal Uses
This craft fits beautifully into a variety of educational and seasonal themes:
- STEM & Classroom Use: Teach about galaxies, air pressure, and how light interacts with curved surfaces.
- Astronomy Events: Use during Space Week, science fairs, or astronomy club meetups.
- Parties & Seasonal Crafts: Make it part of a space-themed birthday party, Halloween decor, or even Earth Day projects to inspire cosmic curiosity.
Printable Template
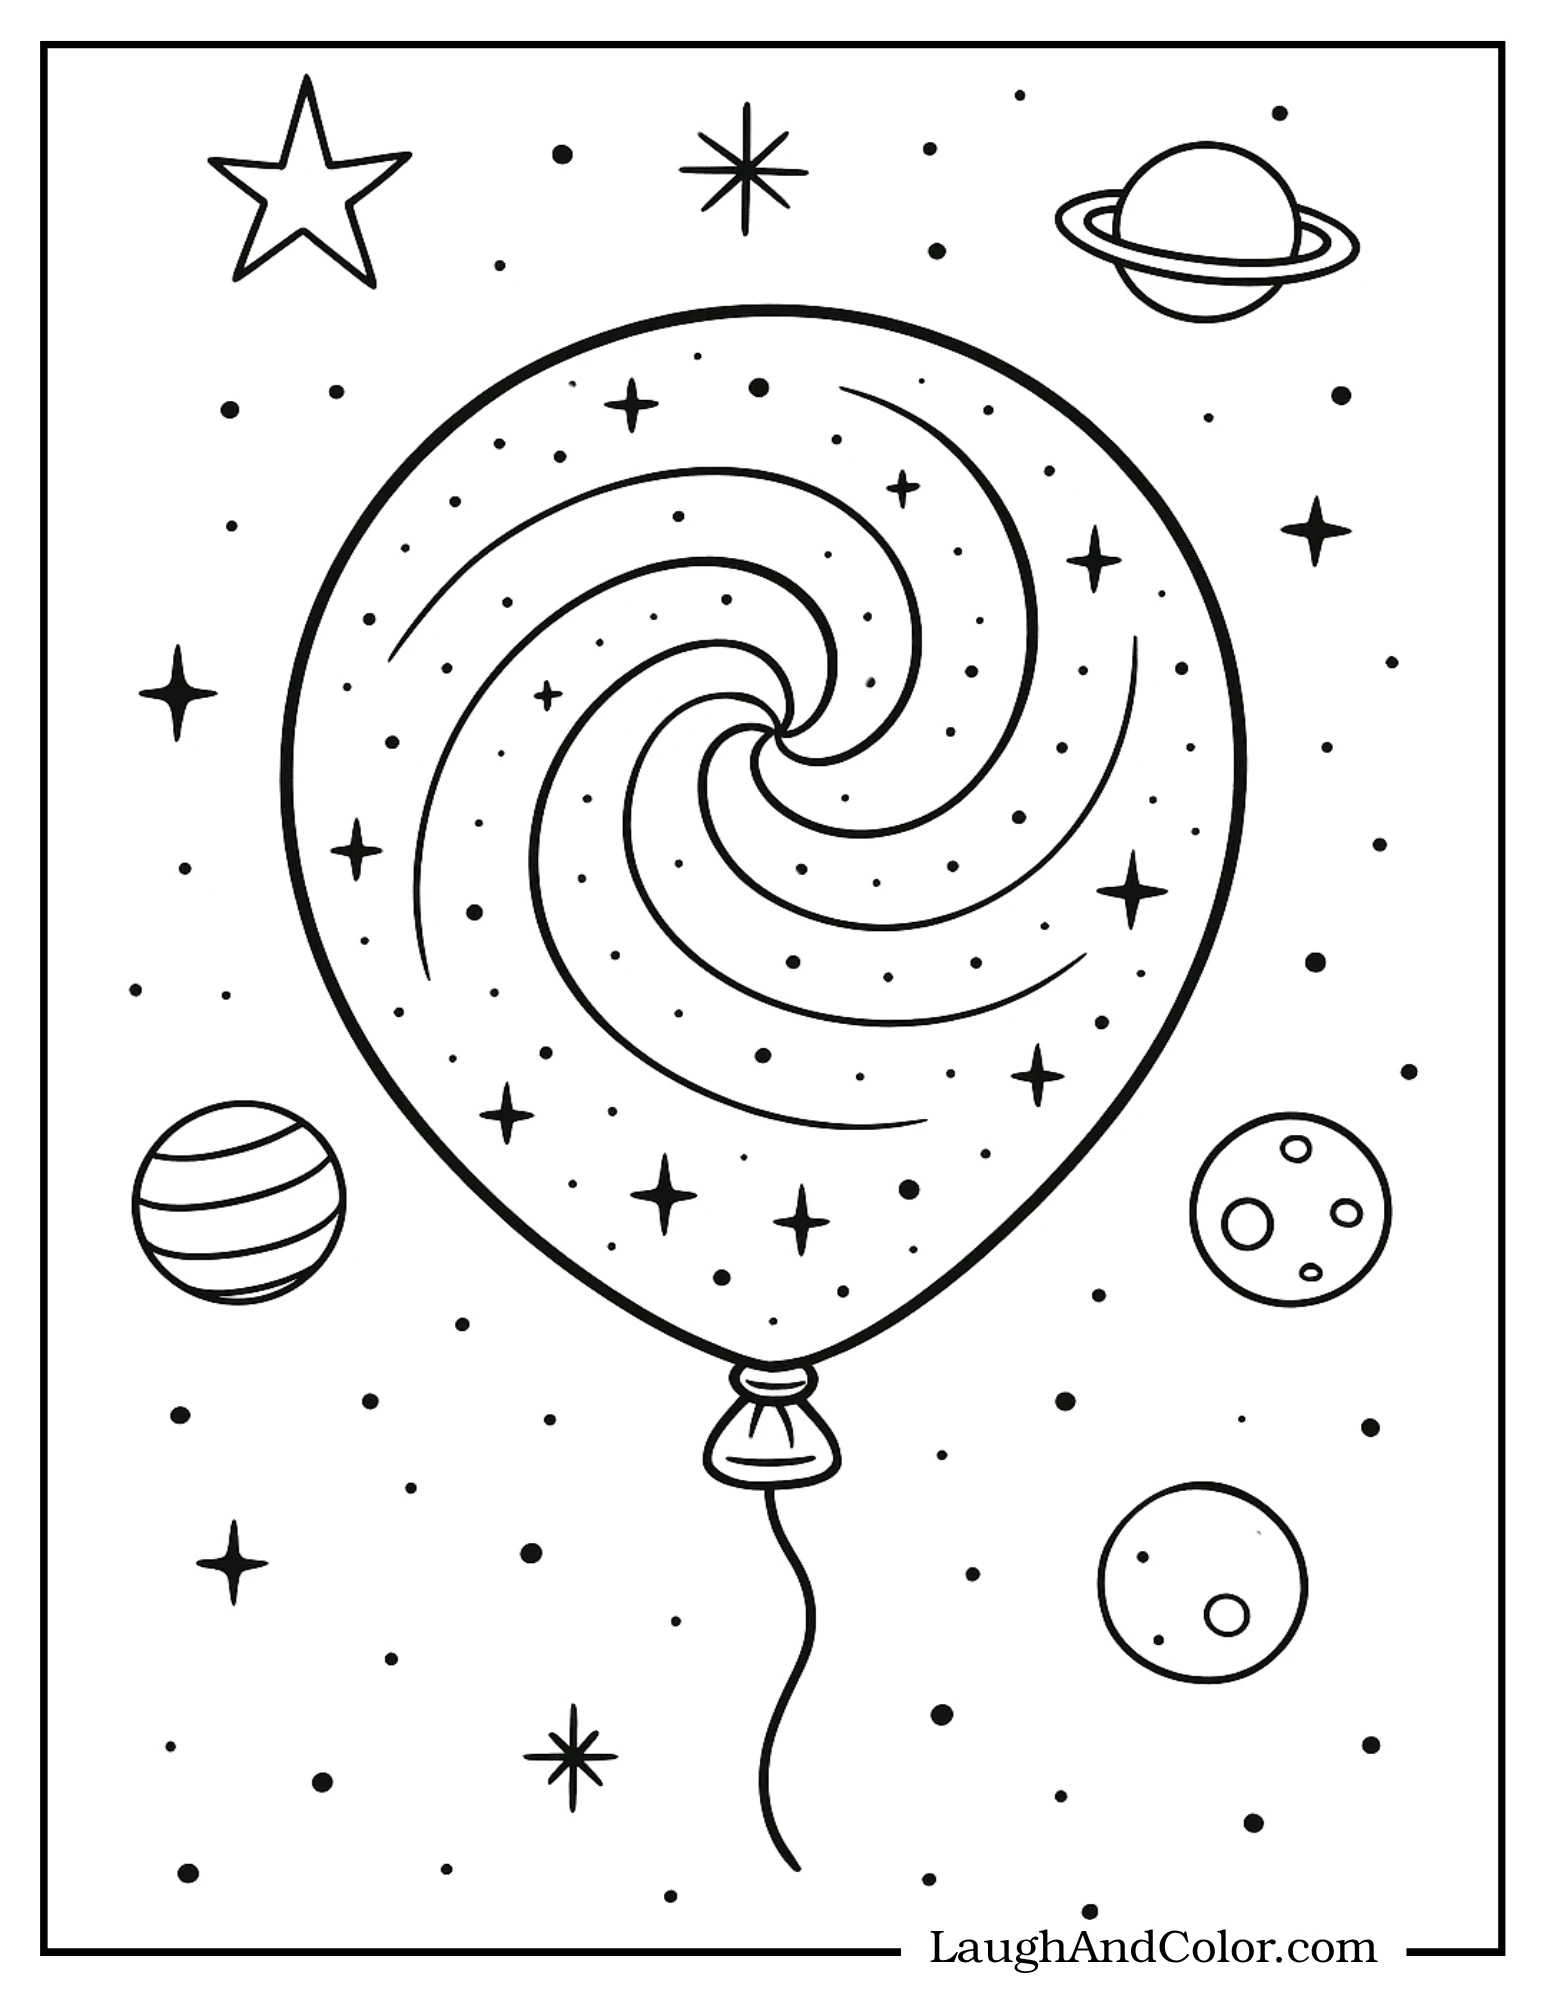
To enhance the fun, we've included a black-and-white printable version of this Galaxy Balloon craft. Kids can color their own version before or after completing the real balloon project, making it ideal for classrooms or party settings.
Simply print the template, grab some coloring pencils or markers, and let the creativity continue! It’s also a great quiet-time activity while the painted balloons are drying.
Conclusion
The Galaxy-Inside-a-Balloon Science Craft is more than just a pretty project—it’s a magical blend of learning and fun. With simple supplies and a bit of imagination, kids can explore the mysteries of the universe, one swirl of paint at a time. Whether you're a teacher, parent, or creative kid, this craft is sure to be a hit. Try different styles, make a whole galaxy, and let your creativity take flight!
Galaxy-Inside-a-Balloon Science Craft
Equipment
- Paintbrushes
- Shallow Dish
- Dropper or Spoon
- Cup or Bowl
Materials
Materials
- 1 Latex balloon (white or light-colored)
- Acrylic paints (dark blue, purple, turquoise, black, white)
- Fine glitter (silver or holographic)
- Water
- Paper towels or newspaper
- Glow-in-the-dark paint (optional)
Instructions
- Inflate the balloon to about 6–8 inches in diameter and tie it. Set it upright in a dish or cup.
- On a palette, swirl together galaxy-colored paints: blue, purple, black, and turquoise. Don’t overmix to keep the swirled effect.
- Use a brush to dab and swirl the paint mixture over the balloon. Sprinkle glitter onto the wet paint to simulate stars.
- Let the balloon dry upright for at least 3–4 hours, or overnight for best results.
- Once dry, add white dots or constellation patterns with a fine brush for extra detail. Display individually or as a group.