
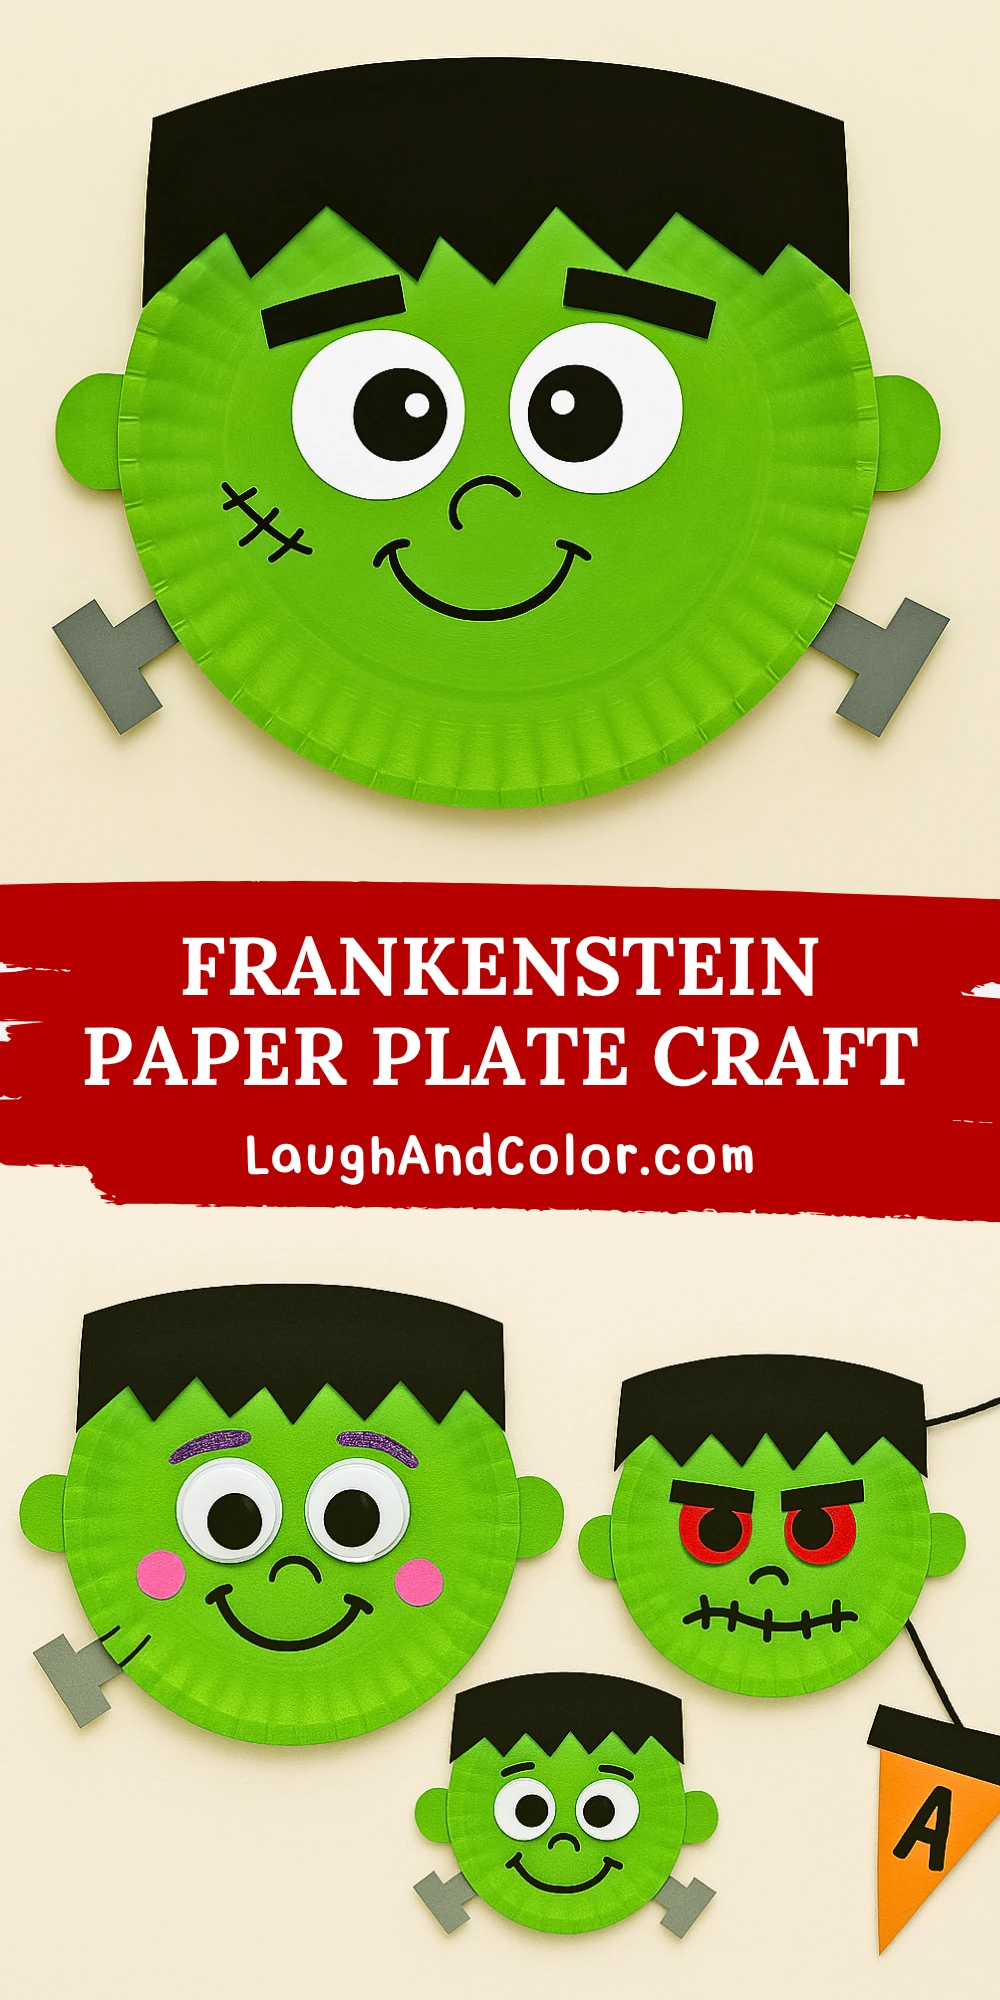
Halloween is the perfect time to get creative with crafts, and this Frankenstein Paper Plate Craft is a fun, simple project that kids of all ages will enjoy. Whether you're planning a classroom activity, a festive party craft, or just looking for a rainy-day art idea, this adorable Frankenstein face will bring spooky fun without the fright. It uses basic supplies like paper plates, paint, and colored paper, making it both accessible and budget-friendly.
Not only is this craft entertaining, but it also helps young kids develop fine motor skills through cutting, gluing, and painting. Plus, it provides an opportunity to explore facial features, Halloween characters, and storytelling. Best of all, the finished Frankenstein can be hung on a wall, door, or even strung together to make a Halloween banner.
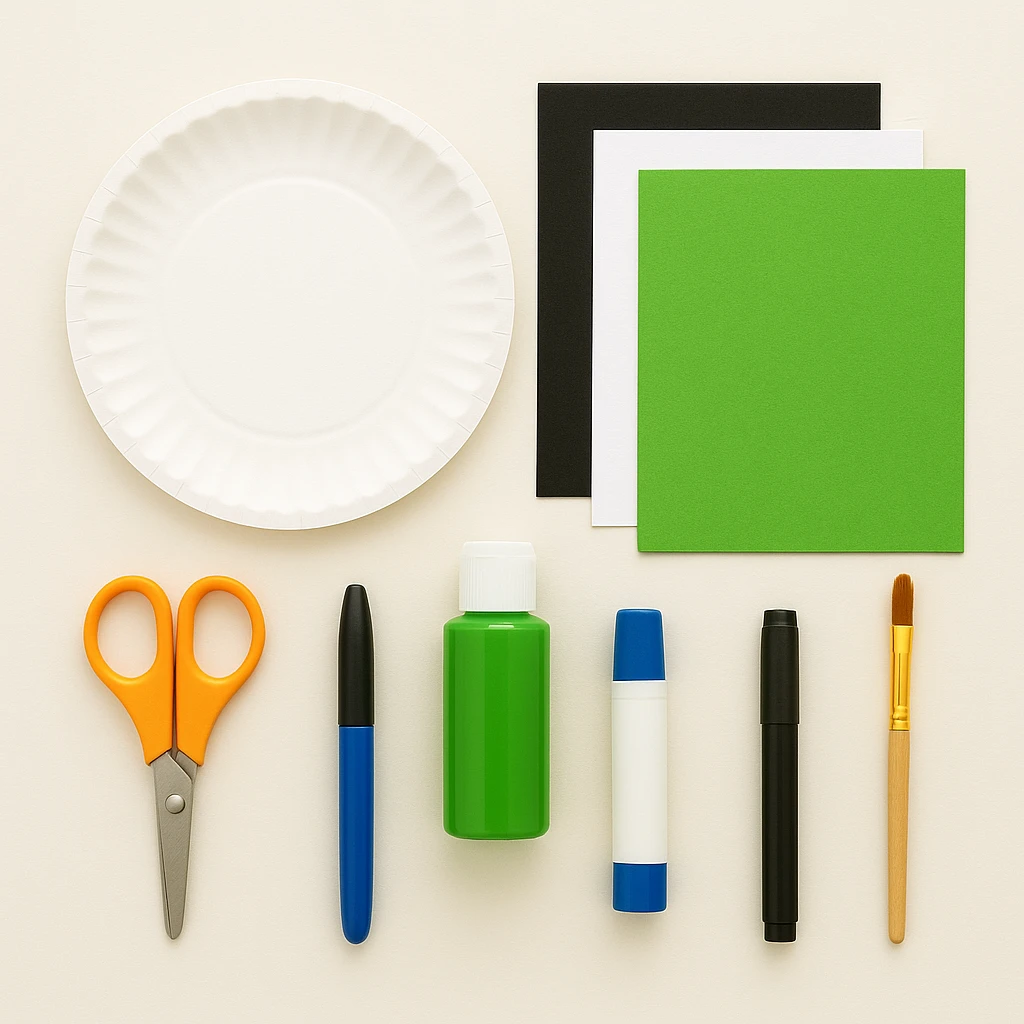
Materials Needed
- 1 white paper plate (9-inch)
- Green acrylic paint
- Black construction paper
- White and black construction paper (for eyes)
- Gray and green construction paper (for bolts and ears)
- Glue stick or white school glue
- Scissors (safety scissors for kids)
- Black marker or crayon
- Paintbrush
- Optional: googly eyes, glitter, colored pencils
Step-by-Step Instructions
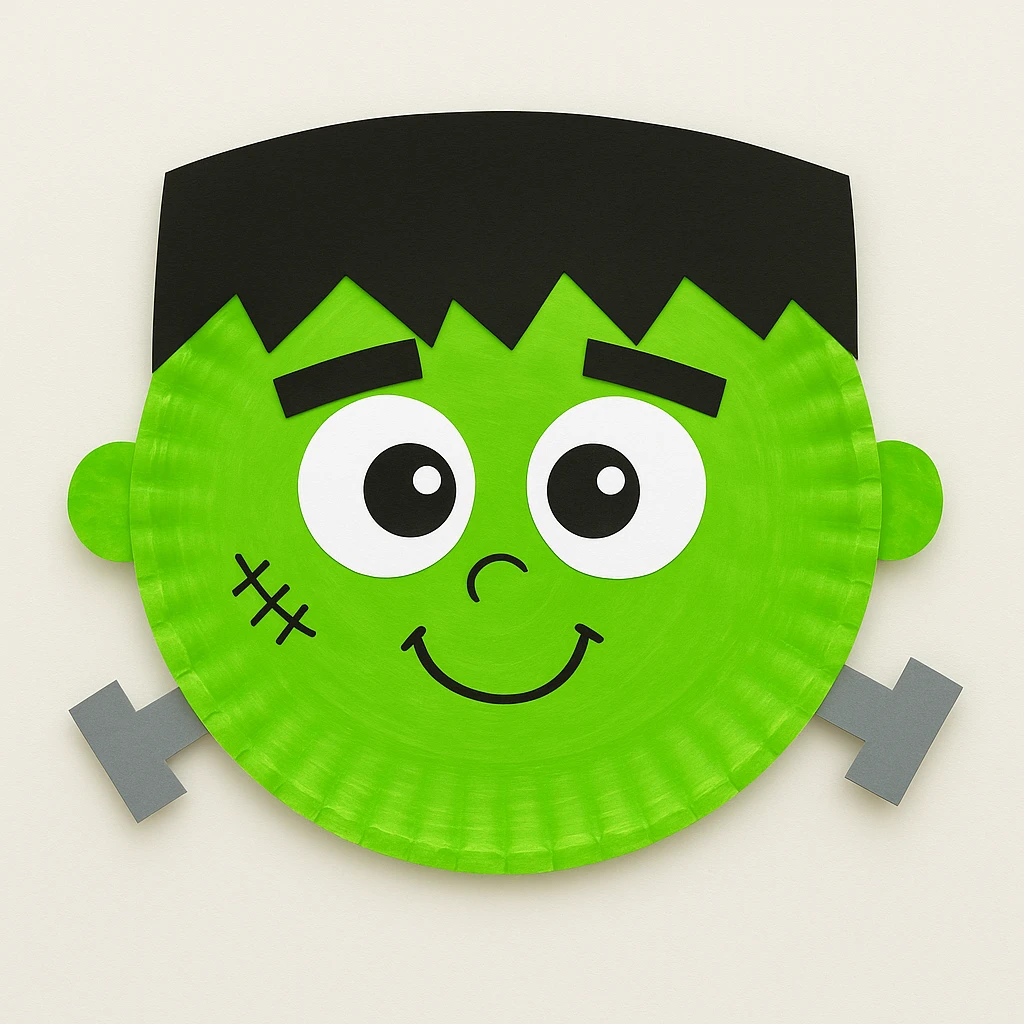
Step 1: Paint the Paper Plate
Use green acrylic paint to cover the entire front of the paper plate. Apply an even coat and let it dry completely before moving to the next step. This will form Frankenstein's face.
Step 2: Cut and Attach the Hair
Cut a jagged strip from black construction paper to represent Frankenstein’s hair. The hair should span the top curve of the paper plate. Once the paint is dry, glue the hair along the top edge of the plate.
Step 3: Create and Glue the Eyes and Eyebrows
Cut two large white circles and two smaller black circles from construction paper to make eyes. Glue the black circles inside the white ones. Attach both eyes to the upper half of the green face. Then cut two thick black rectangles to make eyebrows and glue them above the eyes.
Step 4: Add Ears and Bolts
Cut two small green circles for ears and glue them on either side of the plate. For the bolts, cut two short rectangles from gray paper and glue them near the bottom sides of the plate, angled slightly outward.
Step 5: Draw the Face Details
Using a black marker, draw on a big smile, a nose, and stitches to complete Frankenstein’s look. Let kids customize the expression—some may want to add fangs or even a surprised mouth!
Step 6: Let Dry and Display
Allow any glued pieces or added decorations to dry fully. Once dry, your Frankenstein is ready to display. Use tape to hang it on walls, doors, or windows—or punch holes and string it for a garland.
Customization Ideas

Cute & Silly Frankenstein: Swap the construction paper eyes for googly eyes, add glittery eyebrows, and use a pink crayon to give Frankenstein rosy cheeks.
Spooky Frankenstein: Add more jagged scars with a red marker, draw dark circles under the eyes, and give him a stitched mouth for a scarier look.
Classroom Banner Style: Make multiple mini versions using smaller plates and string them together to form a Halloween banner. Great for classroom décor or party setups.
Educational and Seasonal Uses
This Frankenstein Paper Plate Craft is excellent for preschool or early elementary classrooms, especially during Halloween. It can support lessons on emotions (through facial expressions), shapes (circles for eyes, rectangles for bolts), and sequencing (following steps in order).
For seasonal programs, this craft works well at library Halloween events, fall festivals, or themed birthday parties. Pair it with a Halloween-themed book like "Frankenstein Makes a Sandwich" or "Frankenstein Doesn't Plant Petunias" for an engaging story-and-craft session.
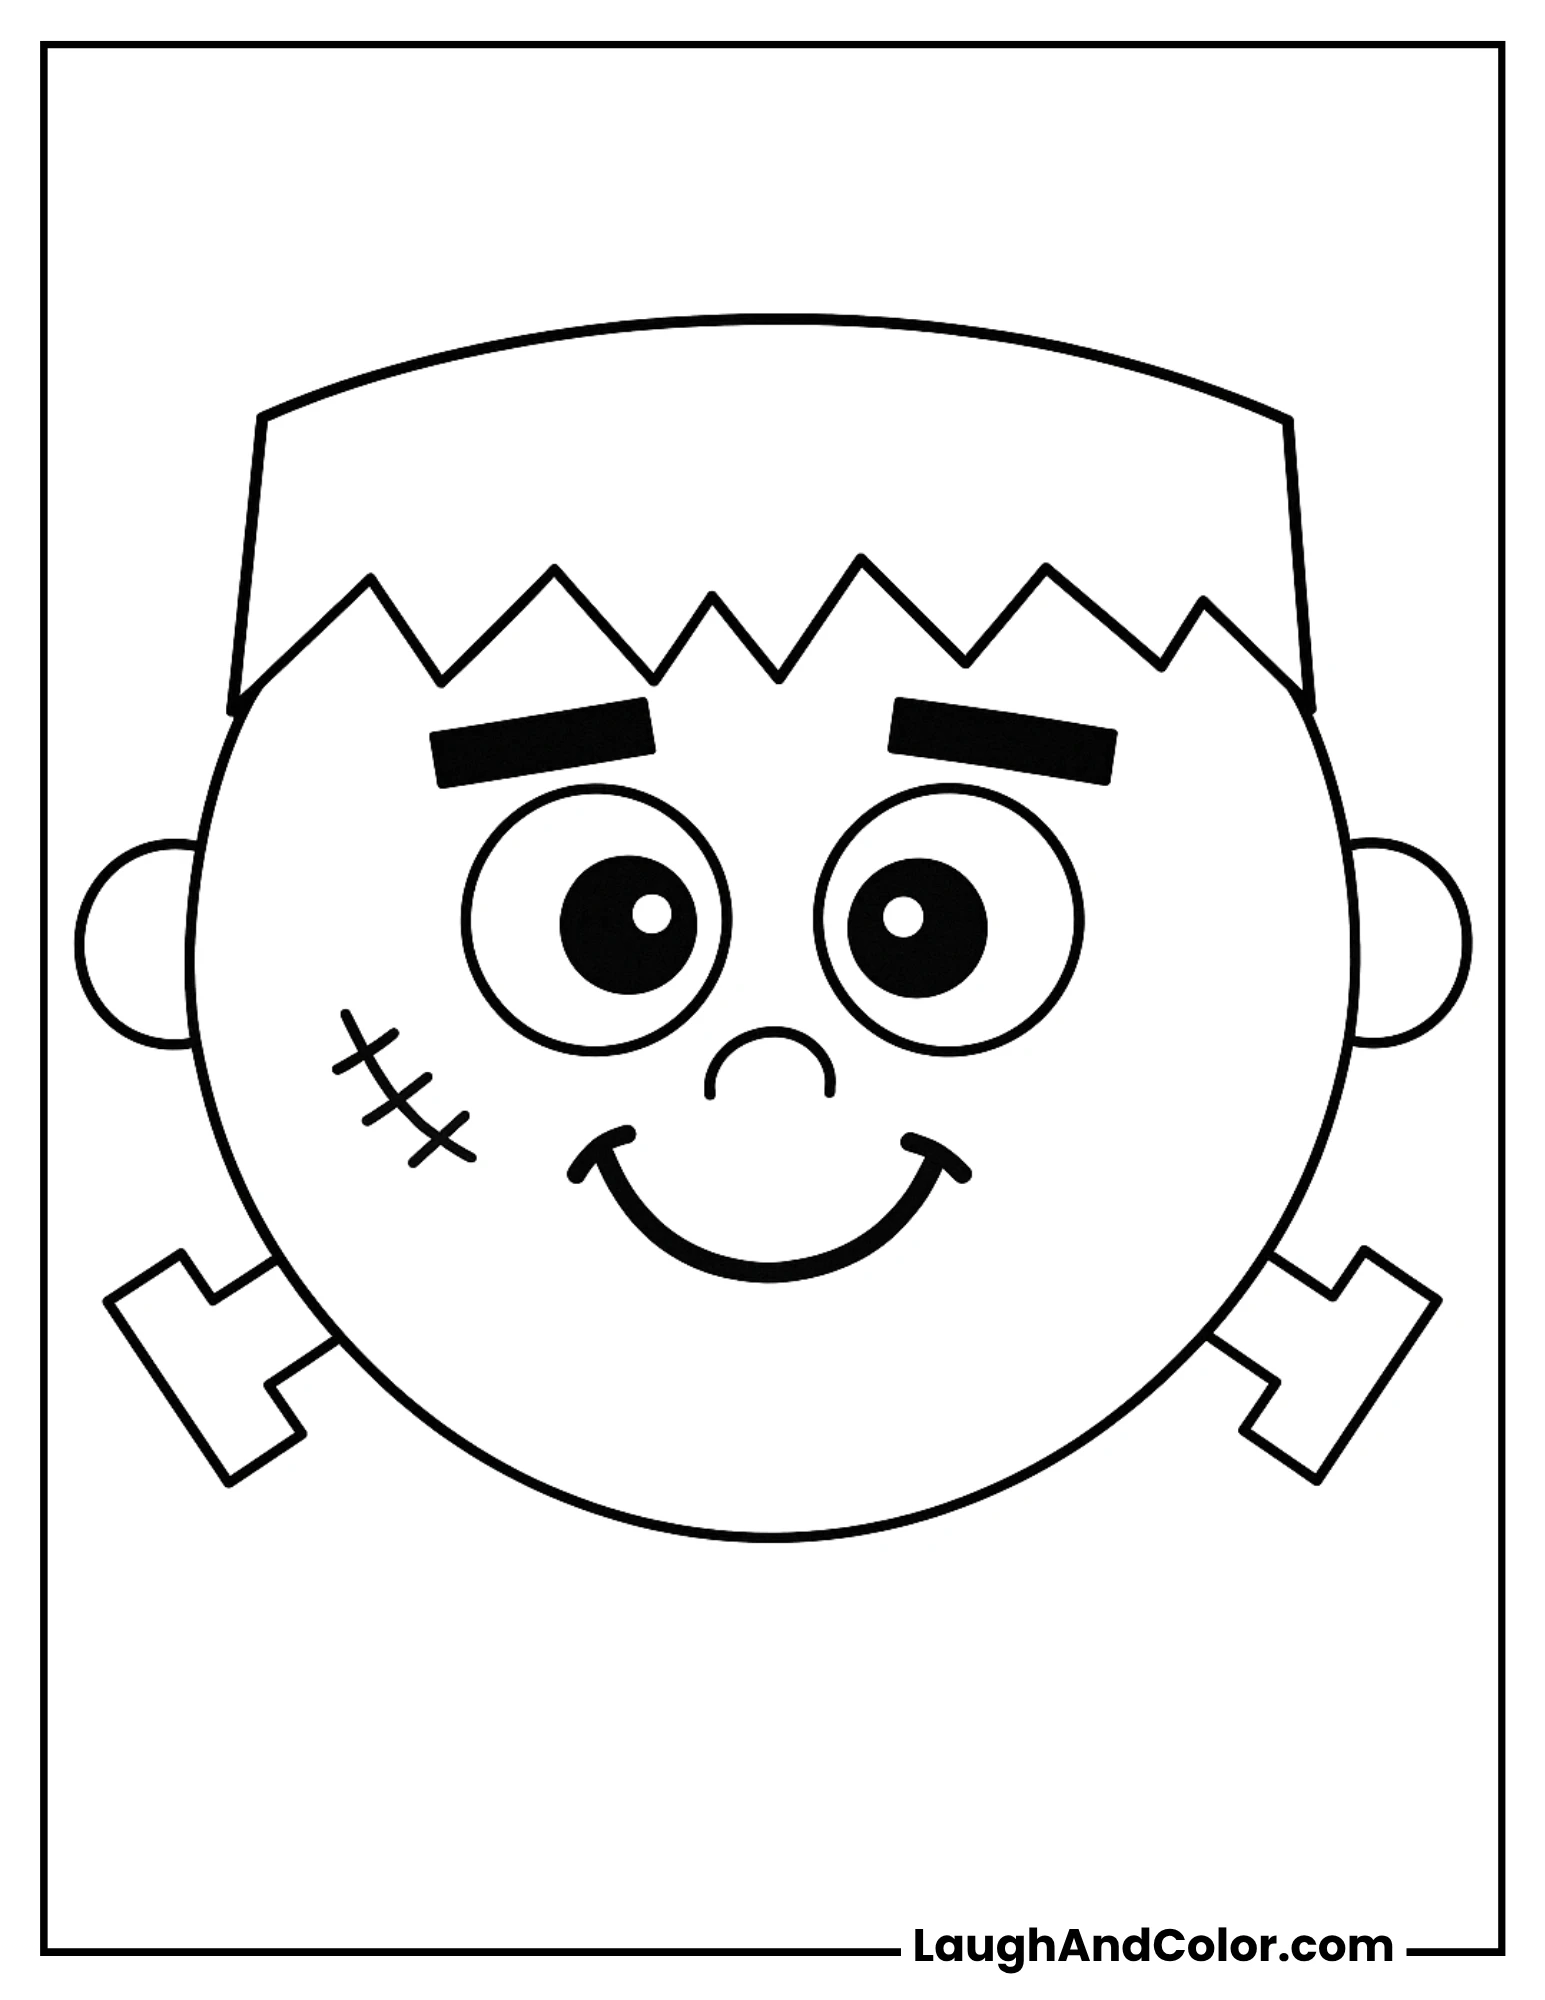
Printable Template
To make this craft even easier, especially in classroom or group settings, a printable template is included. The template features black-and-white outlines of Frankenstein’s hair, eyes, bolts, and facial features. Kids can simply color in the pieces, cut them out, and glue them onto a painted or plain paper plate.
This option is perfect for younger children or for quick prep when time is limited. Simply print, color, and go—no tracing or guesswork needed.
Conclusion
This Frankenstein Paper Plate Craft is the perfect blend of fun and creativity, making it ideal for Halloween festivities at home or in the classroom. It’s easy to adapt for different age levels, and it’s a great way to involve kids in the spooky season with a smile. Display your mini monsters with pride and enjoy the Halloween spirit!
Frankenstein Paper Plate Craft
Equipment
- Scissors
- Paintbrush
- Glue stick or school glue
Materials
Main Materials
- 1 White paper plate (9-inch)
- Green acrylic paint
- Black construction paper for hair and eyebrows
- White and black construction paper for eyes
- Gray and green construction paper for bolts and ears
- Black marker or crayon
- Optional: googly eyes, glitter, colored pencils
Instructions
- Step 1: Paint the paper plate entirely with green acrylic paint. Let it dry completely.
- Step 2: Cut jagged hair from black construction paper and glue it to the top edge of the plate.
- Step 3: Cut and glue large white circles and smaller black ones to make the eyes. Add black rectangles for eyebrows above them.
- Step 4: Cut small green circles for ears and gray rectangles for bolts. Attach them to the sides of the plate.
- Step 5: Use a black marker to draw a smile, nose, and stitches to complete the face.
- Step 6: Allow all glued pieces to dry. Then display your Frankenstein on a wall or door!