
Woodland-themed crafts are a favorite for children and adults alike, blending nature-inspired charm with simple creativity. This DIY Woodland Owl Paper Craft with Acorn captures the cozy feeling of fall and the wonder of forest creatures in a project that’s fun, educational, and eye-catching. Whether you're decorating for a seasonal event or engaging kids in a hands-on learning activity, this paper owl brings personality and woodland magic to any setting.
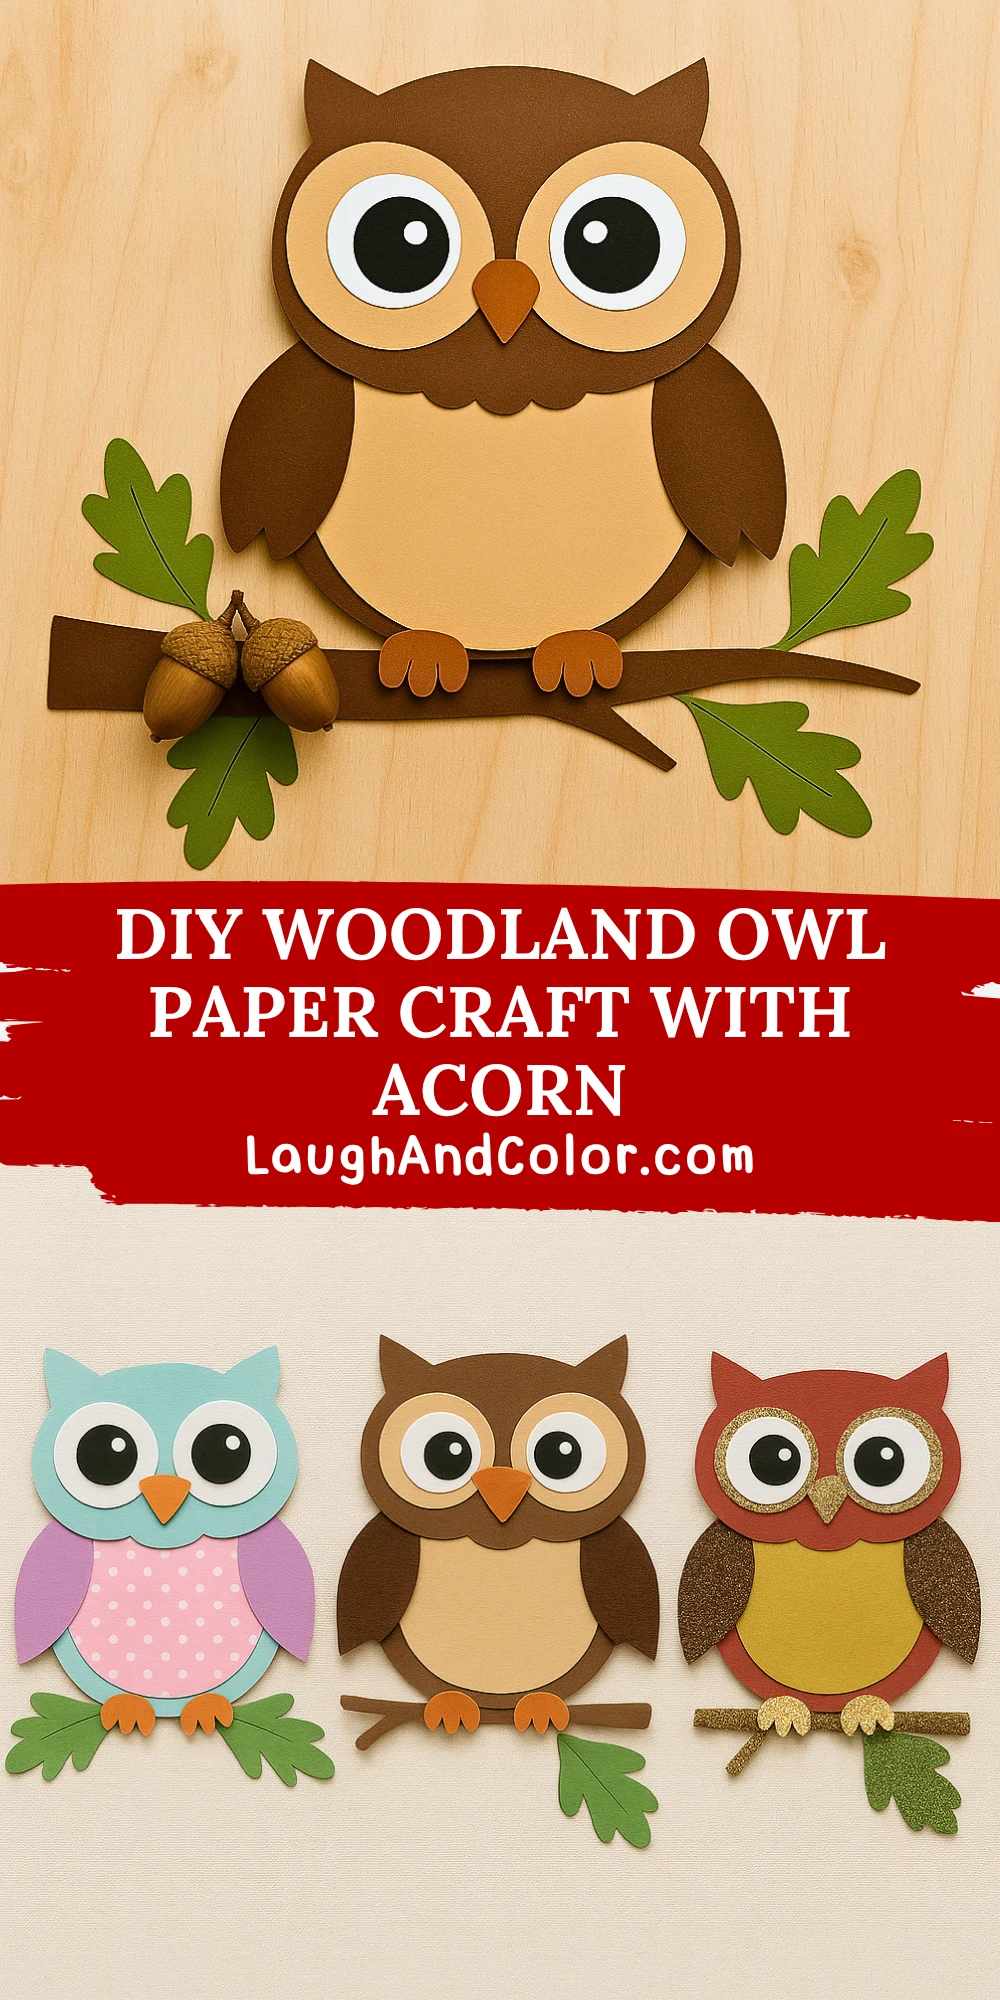
The best part? It’s an easy-to-make project using basic craft materials like construction paper, glue, and scissors. With large eyes, a cute beak, and little paper feet perched on a branch, this owl is full of character. Plus, with the optional printable template and simple instructions, even younger crafters can join in (with a little help). Add acorns and paper leaves to complete the woodland vibe.
Materials Needed
- Brown construction paper (for body and wings)
- Tan construction paper (for belly)
- Orange paper (for beak and feet)
- White and black paper (for eyes)
- Green construction paper (for leaves)
- Small faux or real acorns (optional)
- Scissors
- Glue stick or tacky glue
- Pencil
- Printable owl template (optional)

Step 1: Prepare Your Paper Shapes
Start by tracing or printing your owl template pieces onto the appropriate colored paper. You’ll need: a large brown oval for the body, two matching brown wing shapes, one tan oval for the belly, two large white circles for eyes, two smaller black circles for pupils, one orange triangle for the beak, and two small orange feet shapes. Cut out each piece carefully.
Step 2: Assemble the Owl’s Body
Glue the tan belly piece onto the center of the brown body oval. Make sure it's centered vertically so there’s room at the top for the face and at the bottom for the feet. Smooth it down to remove any bubbles.
Step 3: Add the Eyes and Beak
Attach the white eye circles near the top of the body, leaving a small space between them. Layer the smaller black circles on top of the white ones to make the pupils. Next, glue the orange triangle beak in the center just beneath the eyes, pointing down.
Step 4: Attach the Wings and Feet
Glue the brown wings to each side of the owl's body, angling slightly outward. Then attach the orange feet at the bottom of the owl so they appear to be resting on a branch.
Step 5: Create and Glue the Branch
Cut a strip of brown paper about 8 inches long and 1 inch wide to make the branch. Glue it to the bottom of your page or background. Place the owl’s feet directly on the branch so it looks like the owl is perched comfortably.
Step 6: Add Leaves and Acorns
Cut leaf shapes out of green paper and glue them around the branch. You can add as many as you like. For an extra touch, glue one or two faux or real acorns onto the branch next to the owl. This adds texture and enhances the woodland theme.
Customization Ideas
Woodland Animal Set: Don’t stop with the owl! Use the same technique to make other adorable animals like foxes, raccoons, or deer. Keep the shapes simple and coordinate the colors to create a full forest crew.
Color Variations: Change up the look with fun patterns or bright paper colors. Try pastel hues for a springtime owl or metallic papers for a festive winter version.
3D Add-Ons: Add felt wings, googly eyes, or even small fabric scraps for a mixed media effect. Real twigs for branches and cotton balls for fluffy accents can give your craft more dimension.

Educational and Seasonal Uses
This craft is perfect for fall-themed classrooms or homeschool units on forest animals. Use it to spark lessons about owl species, nocturnal creatures, or tree habitats. It pairs beautifully with books like Owl Moon or The Mitten. Around Thanksgiving, it can double as a handmade decoration or be used in nature craft tables at events.
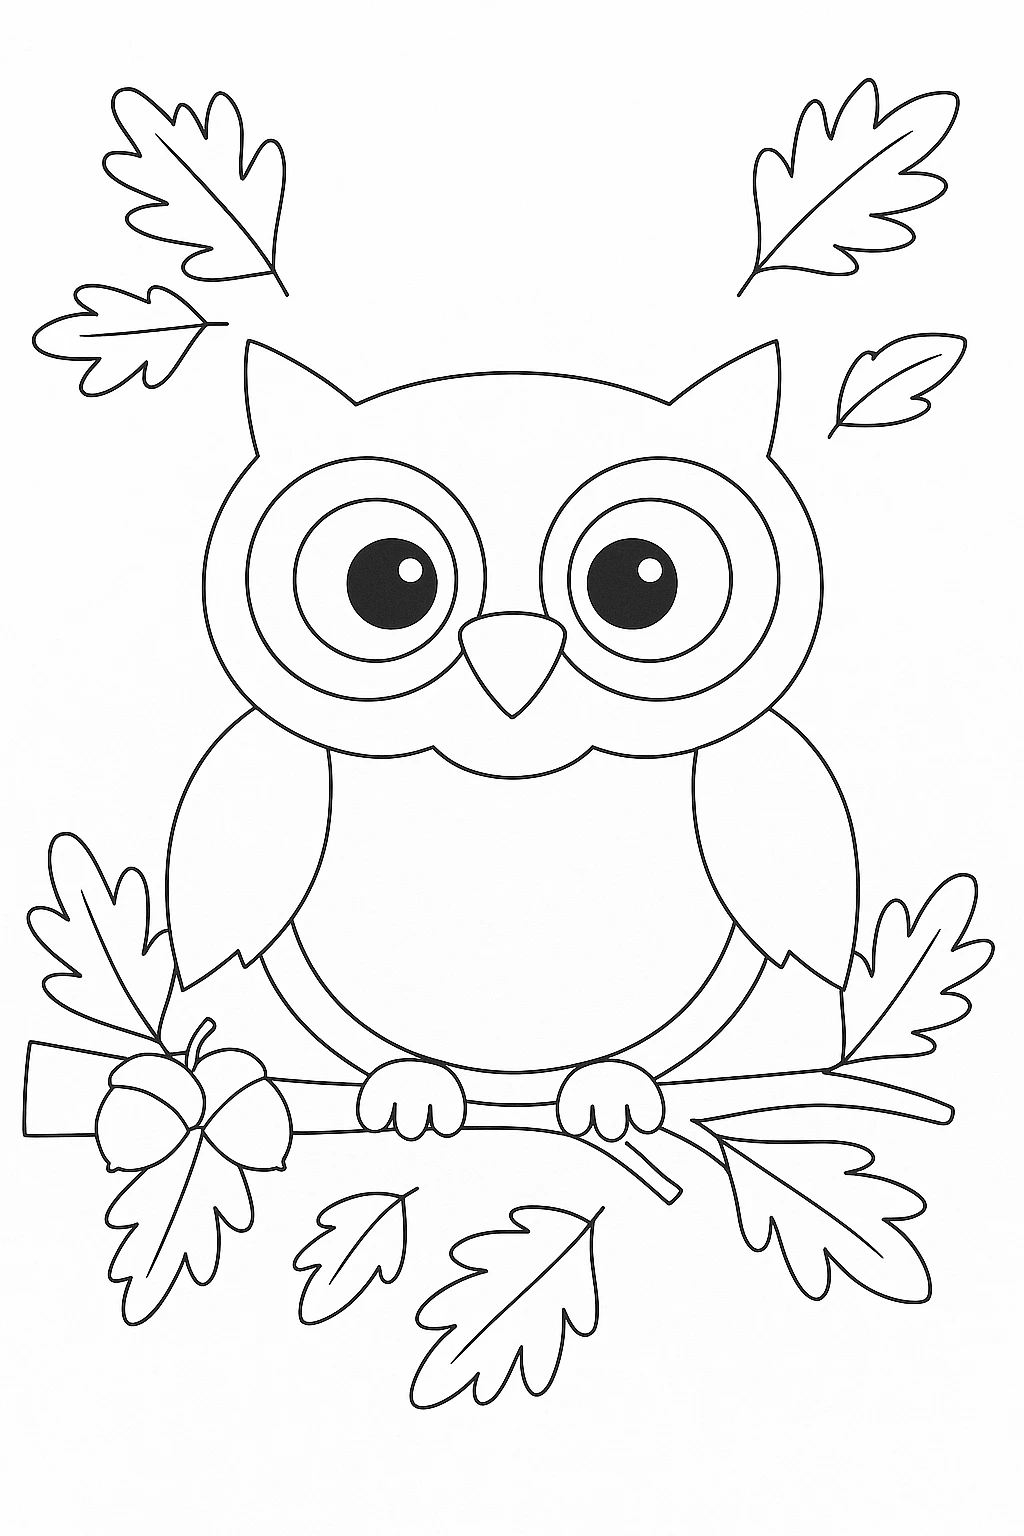
Printable Template
For an easier experience with younger children or large groups, use the included printable template. Just print on cardstock, color in the shapes, and cut them out for quick assembly. This method cuts down on tracing time and ensures consistent shapes every time.
Print the template, color as desired, and follow the steps above to glue and assemble. It’s a great mess-free activity that’s both relaxing and educational for kids.
Conclusion
This Woodland Owl Paper Craft with Acorn is a cozy, creative project that celebrates nature, animals, and artistic fun. Whether you're crafting with your children, decorating for the season, or adding charm to a lesson plan, this owl makes the perfect companion. Try different versions, gather your materials, and start crafting your own forest friend today!

DIY Woodland Owl Paper Craft with Acorn
Equipment
- Scissors
- Glue stick or tacky glue
- Pencil
Materials
- Brown construction paper For body and wings
- Tan construction paper For belly
- Orange construction paper For beak and feet
- White construction paper For eyes
- Black construction paper For pupils
- Green construction paper For leaves
- Faux or real acorns Optional, for added decoration
- Printable owl template Optional, for easier crafting
Instructions
- Start by tracing or printing your owl template pieces onto colored paper. Cut out shapes for the body, wings, belly, eyes, pupils, beak, and feet.
- Glue the tan belly piece onto the center of the brown owl body. Smooth it down firmly.
- Glue the white eye circles near the top of the body, then add black pupils. Place the orange beak just below the eyes.
- Glue the brown wings to each side of the owl's body. Then glue the orange feet to the bottom of the body.
- Cut a brown strip of paper to create a branch and glue it onto your background. Place the owl so it looks perched on the branch.
- Cut and glue green paper leaves around the branch. Add faux or real acorns for a fun woodland effect.