
Spooky season is the perfect time to get crafty with your little ghouls and goblins, and this DIY Vampire Toilet Paper Roll Craft is a fang-tastic choice! It’s simple, budget-friendly, and uses recycled materials—making it a hit for both eco-conscious parents and enthusiastic kids. Whether you're preparing for a Halloween party, planning a themed homeschool project, or just looking for a fun rainy-day activity, this vampire craft is guaranteed to entertain and delight.

What makes this project especially fun is the opportunity for kids to express creativity. From choosing different colors for the cape to designing the vampire's expression, each vampire ends up with its own unique personality. Plus, the process helps develop fine motor skills and patience—all while enjoying spooky Halloween vibes.
Let’s dive into the materials and then walk step-by-step through creating your own paper roll vampire.
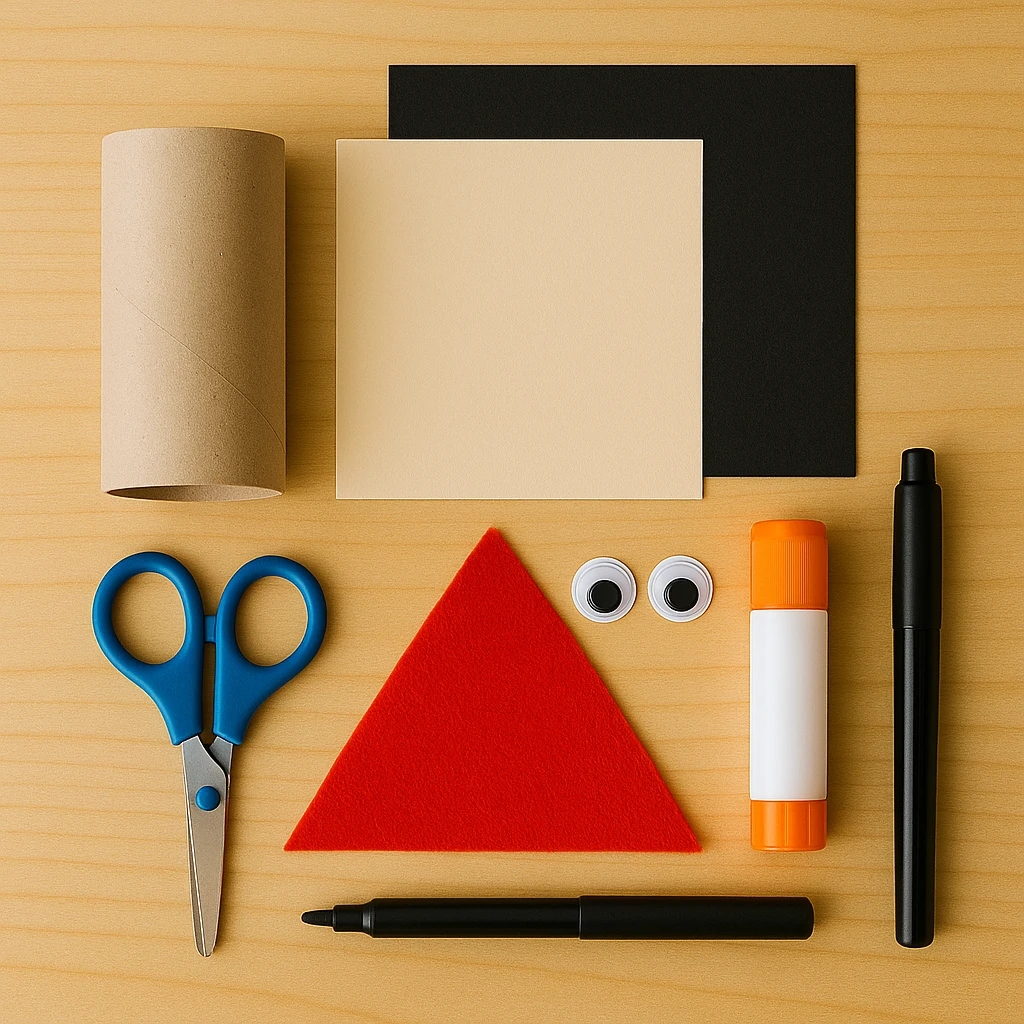
Materials Needed
- 1 empty toilet paper roll
- Cream or light beige craft paper (for the face)
- Black craft paper (for hair)
- Red felt or red paper (for cape)
- Googly eyes (medium size)
- White cardstock (for fangs)
- Glue stick or craft glue
- Scissors
- Black marker
- Optional: black construction paper or small accessories for extra detail
Step 1: Prepare the Toilet Paper Roll Base
Start by making sure your toilet paper roll is clean and smooth. If there are any loose edges or paper remnants, trim them off. Then, measure and cut a piece of cream-colored craft paper large enough to wrap around the roll. Apply glue evenly and wrap the paper tightly around the roll to create the vampire's face base.
Step 2: Wrap with Paper for the Face
Once your roll is covered, smooth out any bubbles or wrinkles. This gives your vampire a neat, polished look. Make sure the seam is on the back so the front stays clean for the face details.
Step 3: Add Hair and Facial Details
Cut a piece of black paper into a widow’s peak shape for the vampire’s hair. Glue this to the top of the roll, lining it up with the front. Use a black marker to draw on eyebrows and a simple smile. Set it aside to dry briefly.
Step 4: Create and Attach the Vampire Cape
Take your red felt and cut a triangle or half-moon shape wide enough to wrap around the lower half of the roll. Position it like a cape and glue the top corners slightly up, mimicking a dramatic vampire collar. Secure the edges at the back with glue.
Step 5: Finish the Face with Googly Eyes and Fangs
Glue two googly eyes above the smile. For the fangs, cut two tiny triangles from white cardstock and glue them just under the smile’s edge. Make sure they slightly angle down for that iconic vampire look.
Step 6: Final Touches and Assembly
Double-check that all elements are secured. Add optional extras like a mini paper bowtie, a top hat, or glitter on the cape for flair. Let everything dry completely before displaying your vampire proudly.
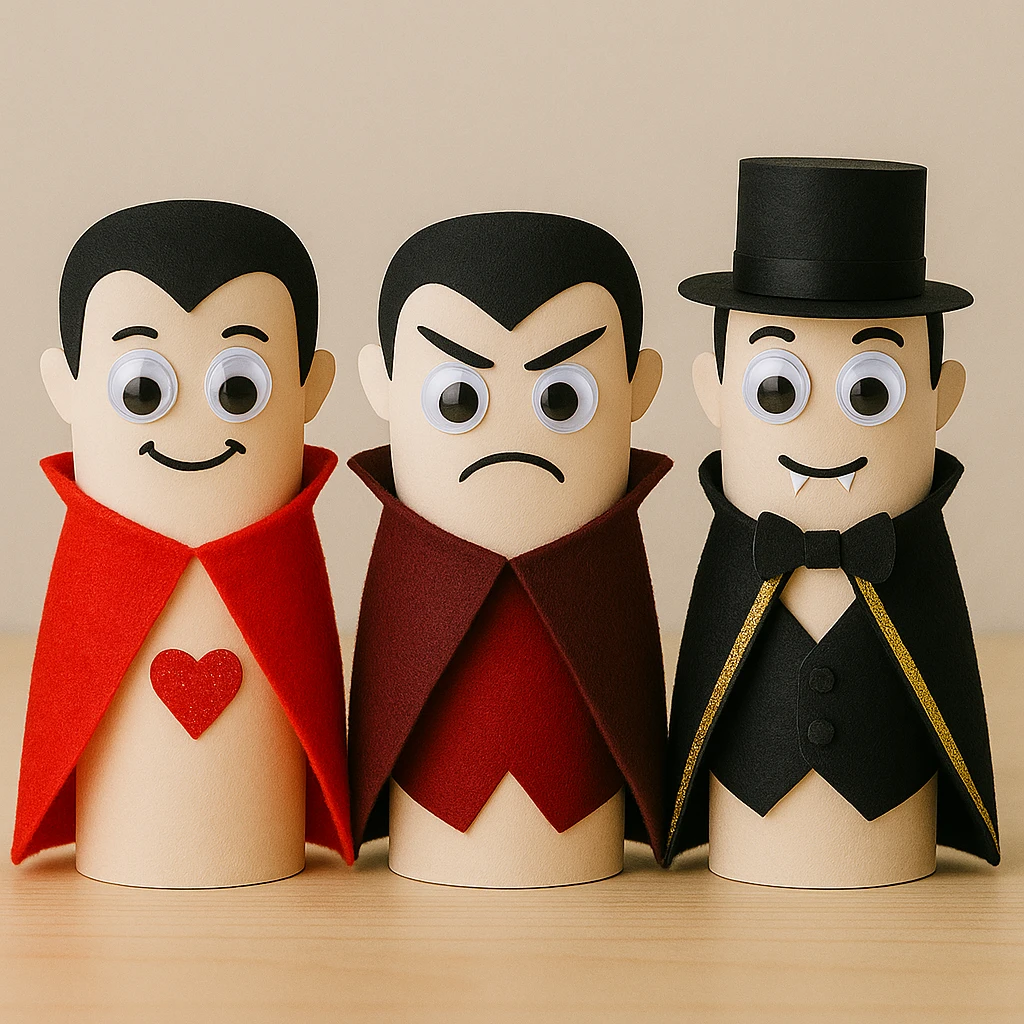
Customization Ideas
1. Cute Vampire: Use glitter red felt for a sparkly cape, heart-shaped fangs, and blush on the cheeks for a friendly twist.
2. Scary Vampire: Opt for darker shades like maroon and black, use a sharp widow’s peak, and add tiny blood droplets near the fangs with red marker.
3. Elegant Vampire: Create a paper top hat, add a small bowtie with ribbon, and use metallic paper for the cape lining.
Educational & Seasonal Uses
This craft fits perfectly into Halloween lesson plans or at-home themed learning. It's great for practicing cutting and gluing skills, learning about recycling through reused toilet rolls, and encouraging storytelling by giving each vampire a name and backstory. Ideal for classrooms, libraries, or weekend crafting at home.
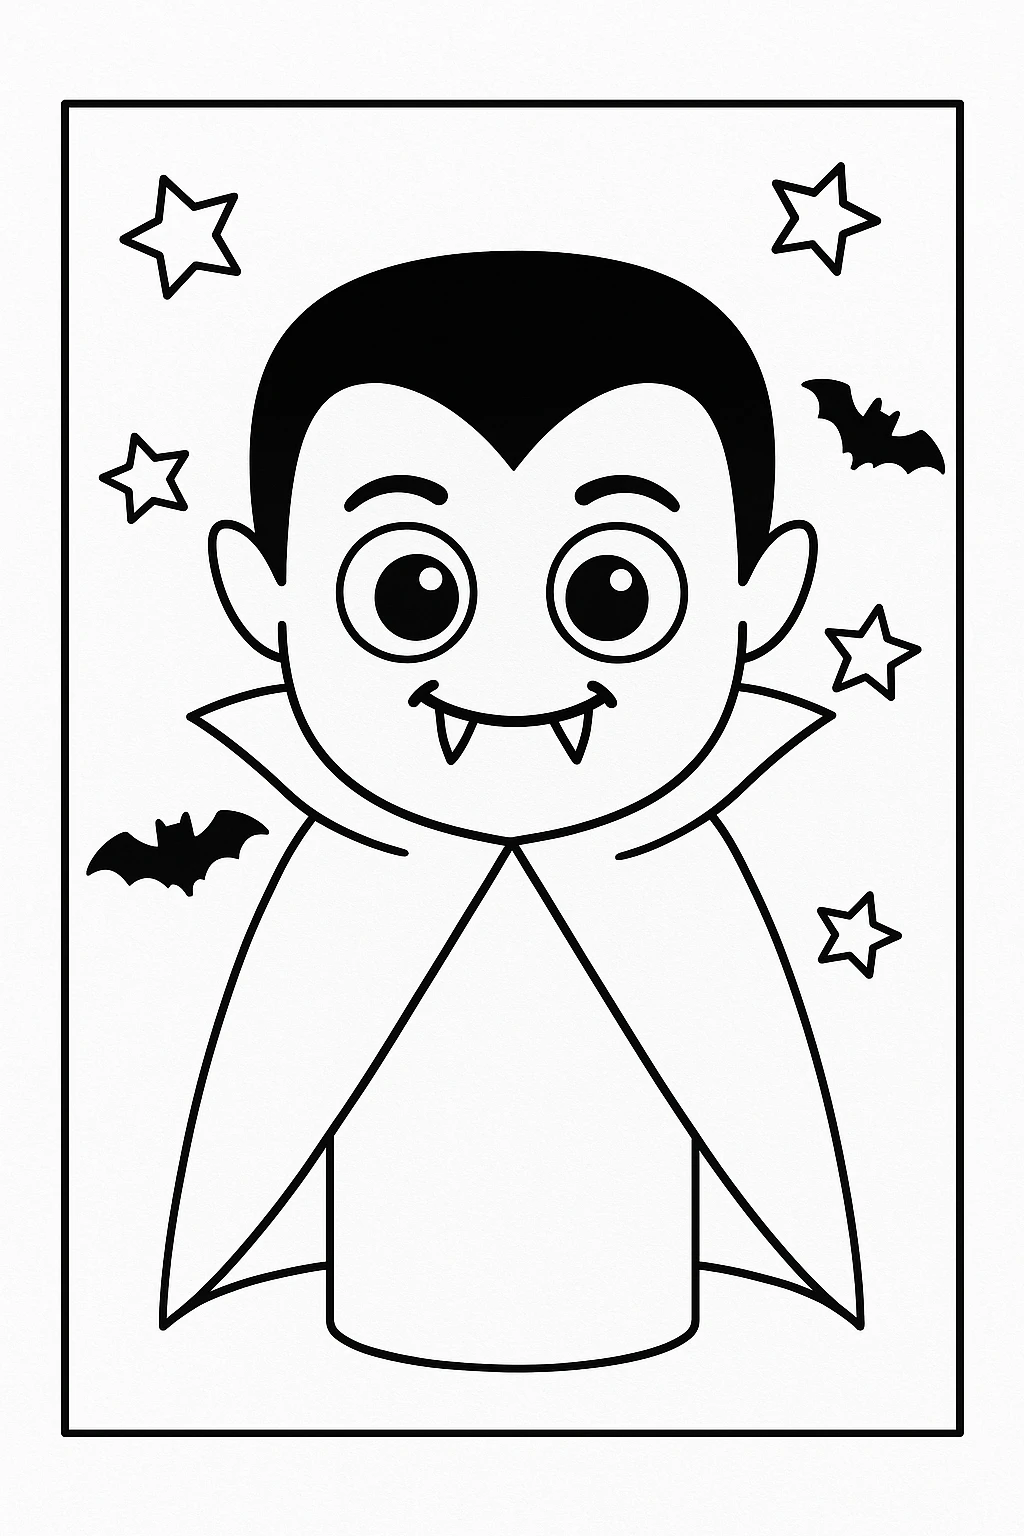
Printable Template
For a quicker and easier version, you can use our printable vampire template. Simply print it out on white cardstock, have your kids color it in using crayons or markers, and then cut and glue the pieces together following the same steps above.
The template includes the vampire’s face, hair, cape, and fangs all ready to color. This version is especially helpful for younger kids or group activities where pre-made pieces save time.
Conclusion
This DIY Vampire Toilet Paper Roll Craft is a fun, simple, and spooky activity to enjoy with kids during Halloween. With just a few basic materials and your imagination, you can turn a plain toilet roll into a charming little vampire. Whether you're decorating the house, crafting with a class, or just having fun at home, this vampire is sure to bring smiles—and maybe a few friendly frights!

DIY Vampire Toilet Paper Roll Craft
Equipment
- Glue stick or craft glue
- Scissors
Materials
- 1 Toilet paper roll
- Cream or light beige craft paper For the face
- Black craft paper For the hair
- Red felt or red paper For the cape
- 2 Googly eyes Medium size
- White cardstock For the fangs
- Black marker For facial features
Instructions
- Start by wrapping the toilet paper roll with cream-colored paper to create the vampire's face base. Glue and smooth it around the roll.
- Ensure the paper seam is at the back of the roll. Press flat to avoid wrinkles or bubbles.
- Cut a widow’s peak shape from black paper and glue it to the top front of the roll. Draw eyebrows and a smile using the black marker.
- Cut a red felt cape in a triangle or half-moon shape. Glue it around the roll, securing the top corners like a vampire collar.
- Glue two googly eyes above the smile. Cut small triangles from white cardstock and glue under the mouth as fangs.
- Add any extra details like a paper bowtie or glitter. Allow everything to dry before displaying.