
Bring a splash of color and whimsy into your home or classroom with these delightful DIY Rainbow Butterfly Lights. This craft combines the charm of rainbow watercolor wings with the cozy glow of LED lights, creating a magical decoration perfect for springtime or summer evenings. Whether you're crafting with kids or decorating for a party, these butterfly lights will brighten any space with their cheerful faces and fluttery wings.
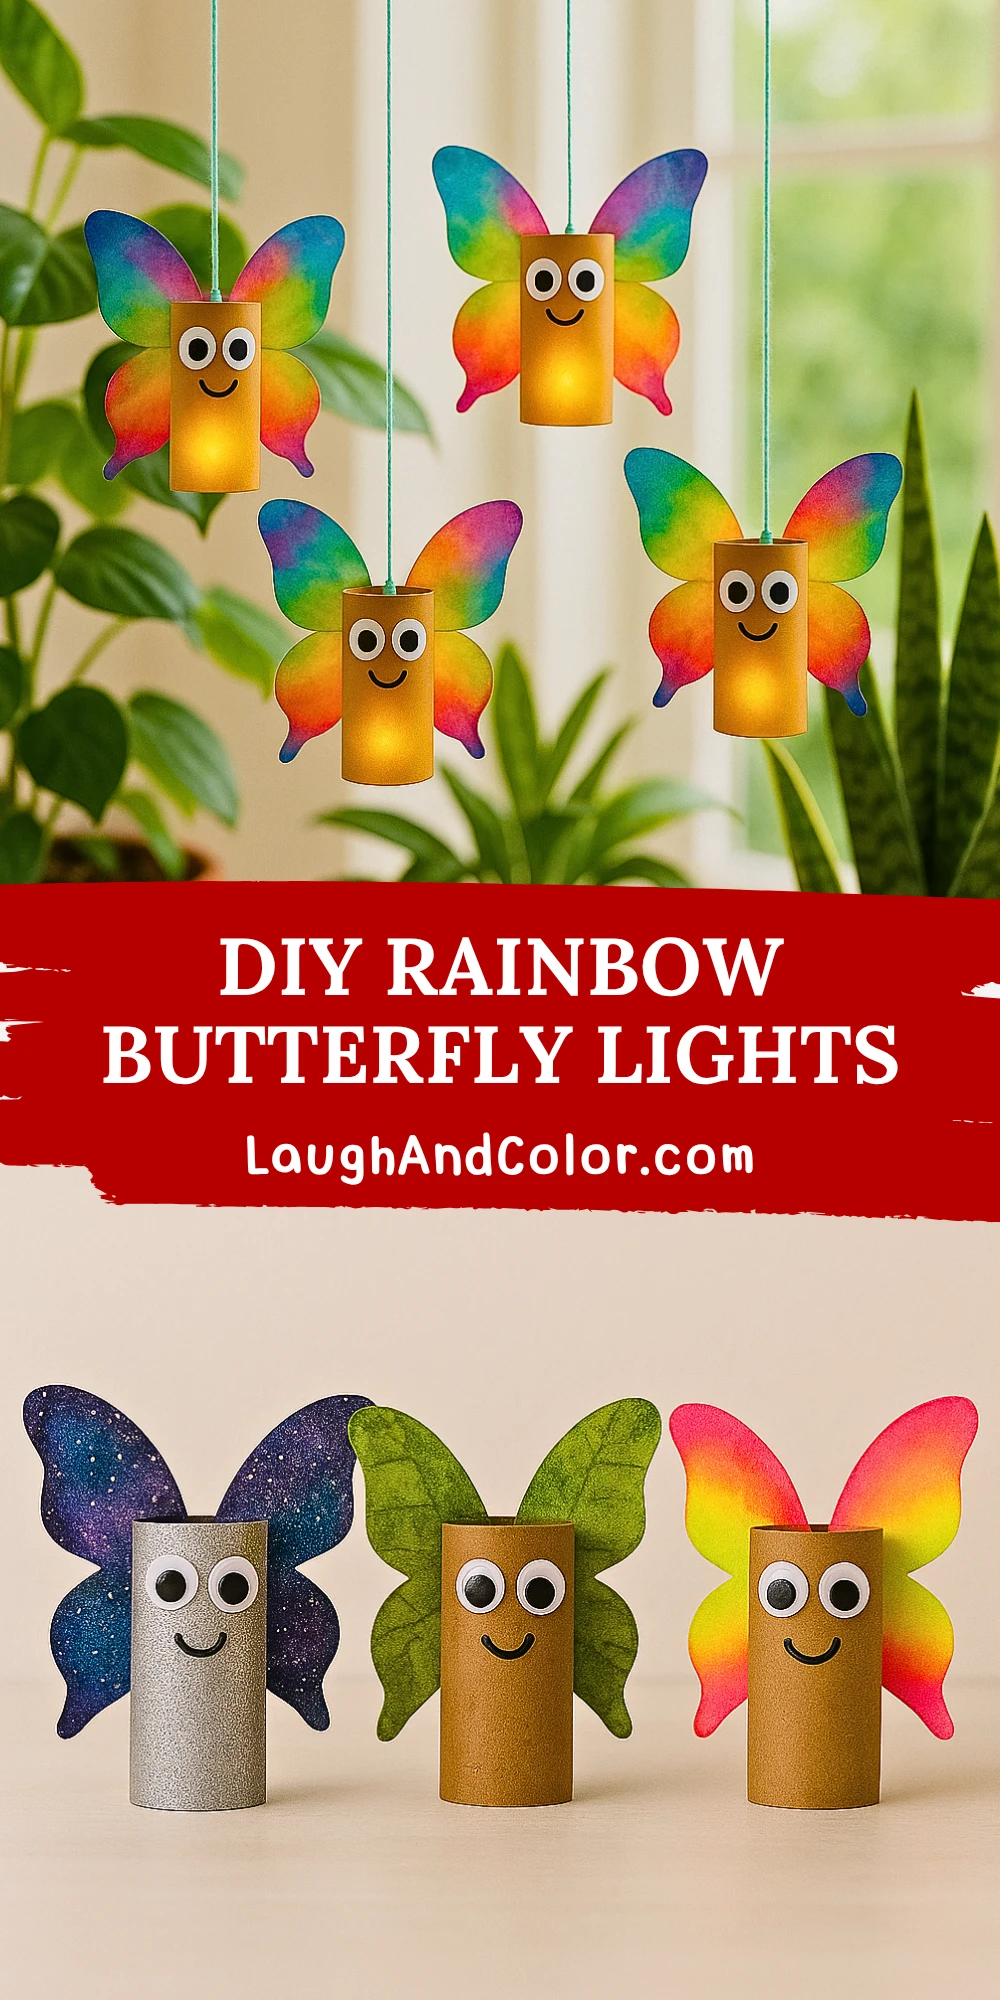
This hands-on project is not only fun but also encourages creativity, fine motor skills, and imaginative thinking. Kids will love mixing colors to make unique wings and watching their creations come to life with a flick of light. With simple supplies and easy steps, this DIY is ideal for a weekend craft, classroom art project, or even as a nature-inspired décor piece.
Materials Needed
To create your own Rainbow Butterfly Lights, gather the following supplies:
- 4 empty toilet paper rolls (or cardboard tubes of similar size)
- LED tealights (battery-operated, one per butterfly)
- Watercolor paper or sturdy white cardstock
- Watercolor paints or washable markers
- Paintbrush and water (if using watercolors)
- Black marker or pen (for smiley faces)
- Large googly eyes (2 per butterfly)
- Craft glue or hot glue gun (with supervision)
- Hole punch
- String or yarn for hanging
- Scissors
- Pencil (for wing sketching)
Helpful Tip: Pre-cutting the wings for younger children can save time and ensure symmetry. You can also pre-paint paper and let it dry before cutting for smoother crafting.

Step 1: Paint the Wings
Start by cutting out wing shapes from your watercolor paper or cardstock. Each wing set should be symmetrical and large enough to peek out behind the toilet paper roll. Let kids paint them using rainbow watercolors, blending colors as they like. Allow them to dry completely.
Step 2: Create the Butterfly Body
Take each toilet paper roll and punch a small hole on either side at the top edge—this is where your string for hanging will go. Then, use a marker to draw a smiley face on the roll.
Step 3: Add the Googly Eyes
Glue two large googly eyes above the smiley face on each roll. Let the glue dry completely before moving to the next step.
Step 4: Insert the LED Tealight
Turn on your LED tealight and place it inside the toilet paper roll. If your tealight is small, you can add a small folded paper base inside the roll to lift the light closer to the top for better glow.
Step 5: Attach the Wings
Apply glue to the back of each roll and attach your dried, painted wings. Hold them in place for a few seconds to ensure a firm stick. Double-check that the wings are centered and symmetrical.
Step 6: Add String for Hanging
Thread a piece of string through the two punched holes and tie a knot at the top. Now your rainbow butterfly is ready to fly! Hang it in a sunny window, from the ceiling, or outdoors for a glowing display.
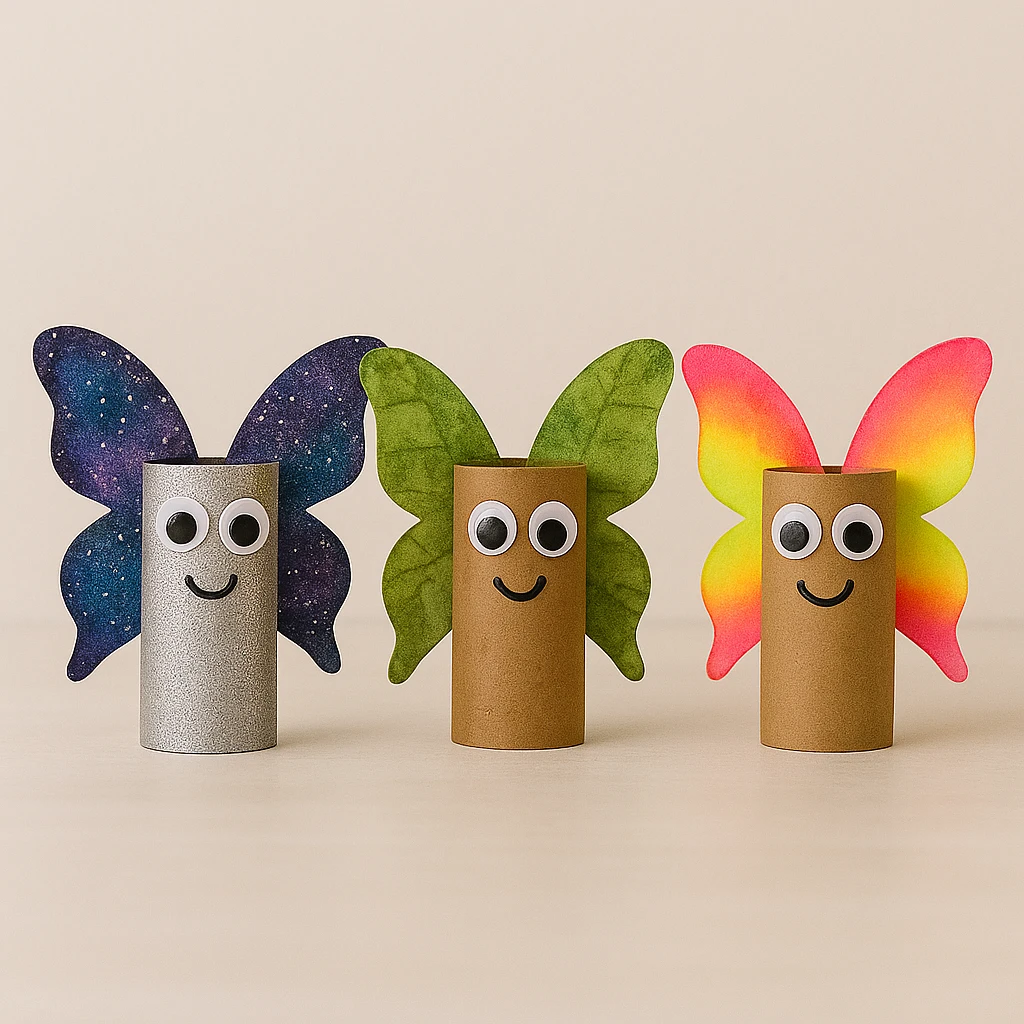
Customization Ideas
Glitter Galaxy Wings: Use black or dark blue paper and add silver or gold glitter glue for a night-sky effect. Pair with white LED lights for a starry glow.
Nature-Inspired Look: Try using leaf-patterned scrapbook paper or real leaves pressed and glued to the wings. Add earthy tones with brown or green rolls.
Neon Party Butterflies: Use neon highlighters or bright tempera paints for bold, vibrant wings. Perfect for birthday parties or fun indoor décor.
Educational or Seasonal Uses
This craft is excellent for spring themes in classrooms, especially when teaching about butterflies, metamorphosis, or nature cycles. It can also be used during summer camps or backyard playdates as part of a creative activity station. At night, the glowing butterflies create a soft ambiance that enhances storytelling time or sensory experiences.
Printable Template
We’ve included a printable template for easy wing shapes. Just print the sheet, color in the wings using your favorite materials, cut along the lines, and they’re ready to glue to your butterfly body. The template is perfect for younger crafters or when making multiples for a group activity.
Make sure to print on thick paper or cardstock for durability. You can also laminate the wings after coloring for a longer-lasting finish, especially if using outdoors.

Conclusion
DIY Rainbow Butterfly Lights are a joyful, colorful way to mix crafting with a bit of science and fun. With just a few simple materials and a splash of imagination, you can create a fleet of glowing butterflies to enchant any room or outdoor setting. Don’t forget to share your creations or hang them up proudly to enjoy their cheerful glow day and night!

DIY Rainbow Butterfly Lights
Equipment
- Scissors
- Glue or hot glue gun
- Hole punch
- Paintbrush
Materials
- 4 Toilet paper rolls
- 4 LED tealights Battery-operated
- Watercolor paper or white cardstock
- Watercolor paints or washable markers
- Black marker or pen For smiley faces
- 8 Googly eyes 2 per butterfly
- String or yarn For hanging
- Pencil For sketching wings
Instructions
- Step 1: Paint the Wings - Cut out symmetrical butterfly wing shapes from watercolor paper or cardstock. Let kids paint them using rainbow colors. Allow them to dry.
- Step 2: Create the Butterfly Body - Punch a hole on each side at the top of the toilet paper roll. Draw a smiley face with a marker.
- Step 3: Add the Googly Eyes - Glue two googly eyes above the smiley face on each roll. Let them dry fully.
- Step 4: Insert the LED Tealight - Turn on your tealight and place it inside the roll. Use a small base if needed to raise the light.
- Step 5: Attach the Wings - Glue the wings to the back of the roll. Hold to set, ensuring symmetry.
- Step 6: Add String for Hanging - Thread a piece of string through the two holes and tie a knot for hanging.