
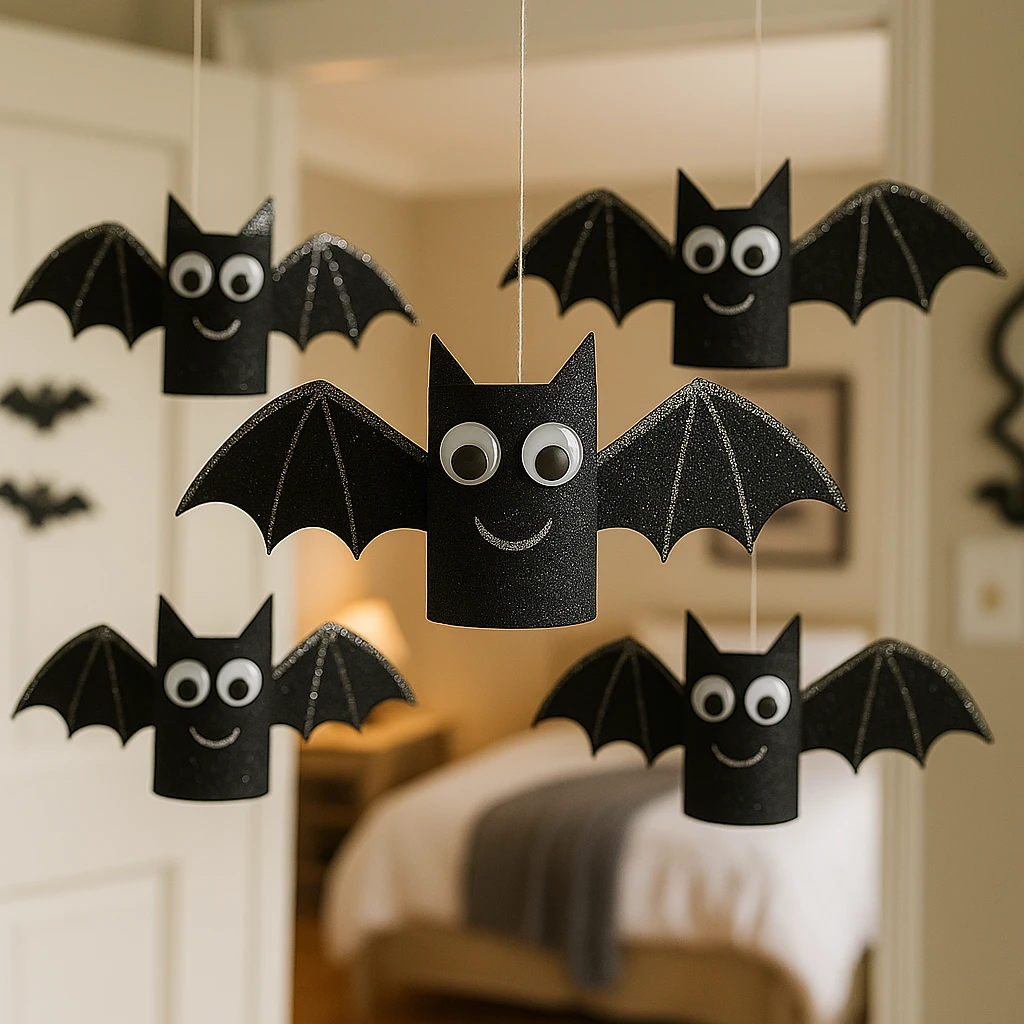
Get ready to add some sparkle and spook to your space with these DIY Glitter Bat Decorations! Whether you're decking the halls for Halloween or creating a playful bat-themed learning corner, this simple craft brings charm, creativity, and just the right amount of shimmer. It's perfect for kids, classrooms, and crafty adults looking for a fun weekend project.
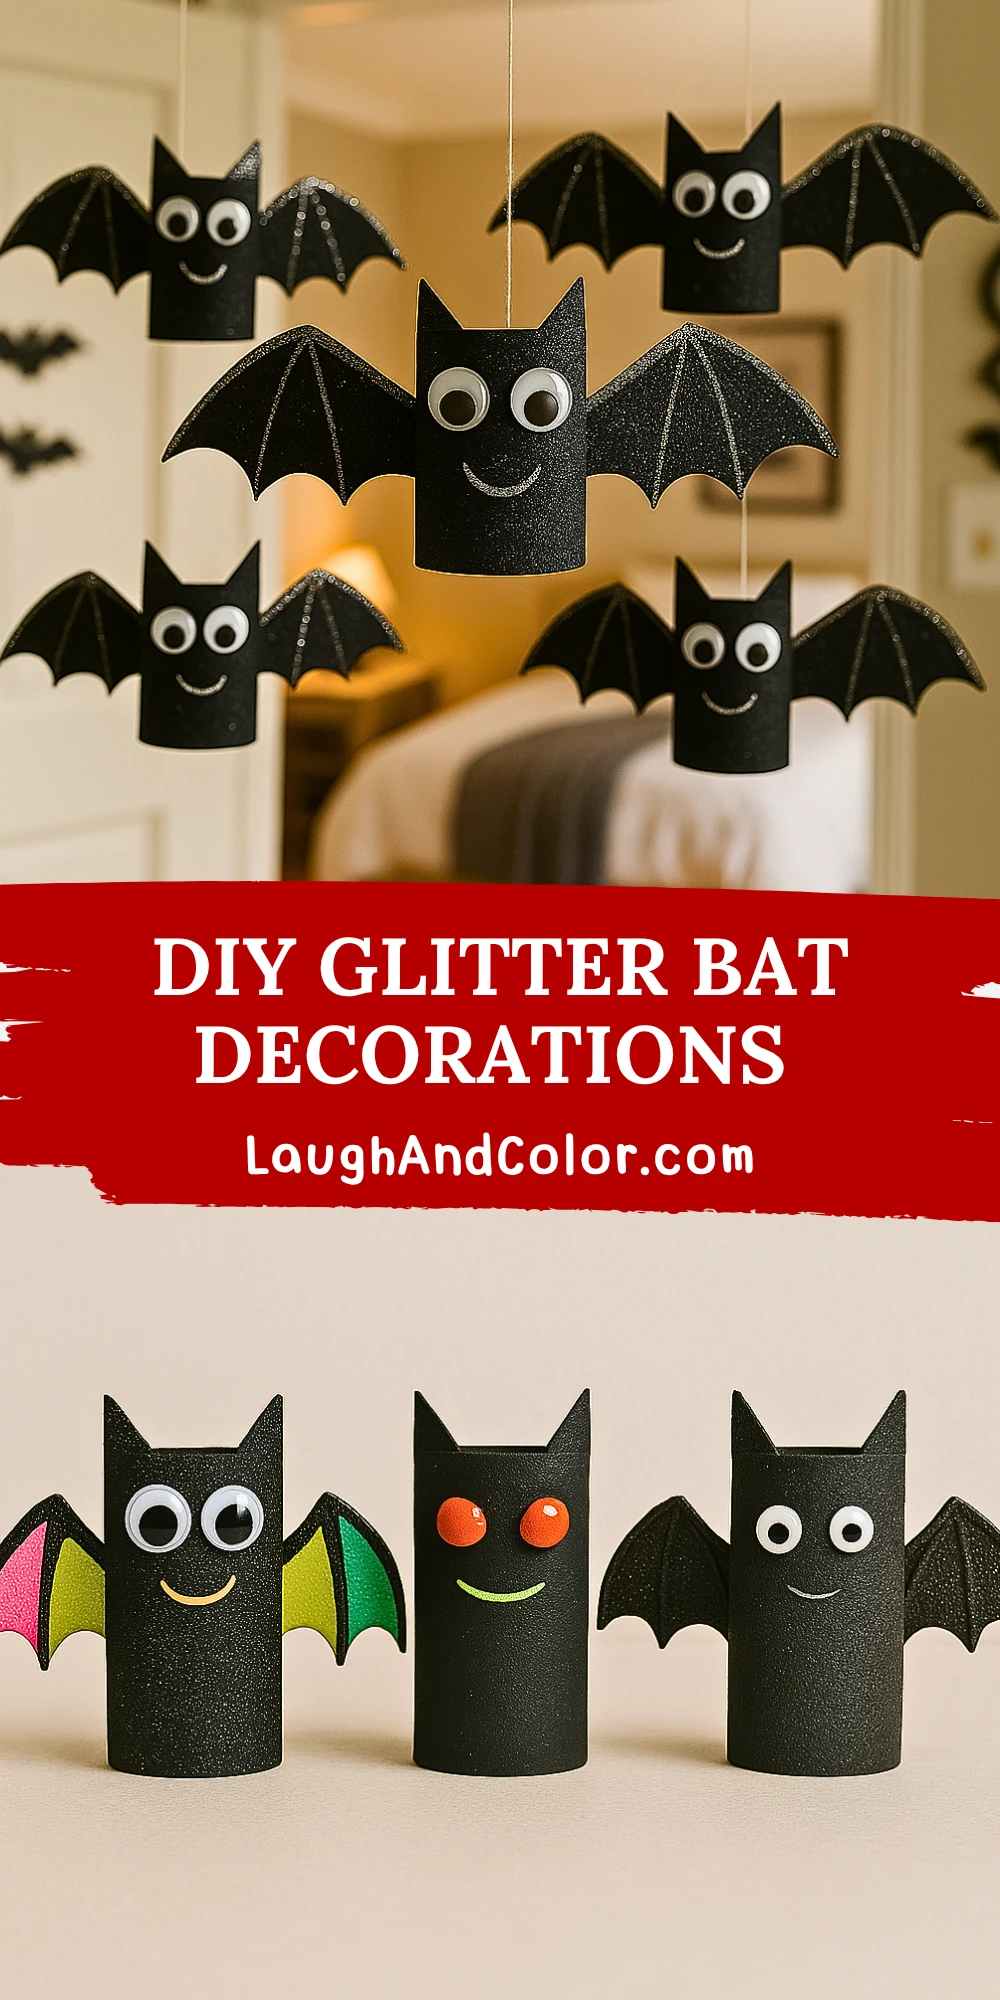
These hanging bat decorations use basic materials like cardboard tubes, glitter foam, and googly eyes to transform everyday items into adorable flying creatures. You can hang them from ceilings, windows, or even make a fun mobile to float above a party table. Best of all, it's a low-mess, high-impact craft that comes together in under an hour.
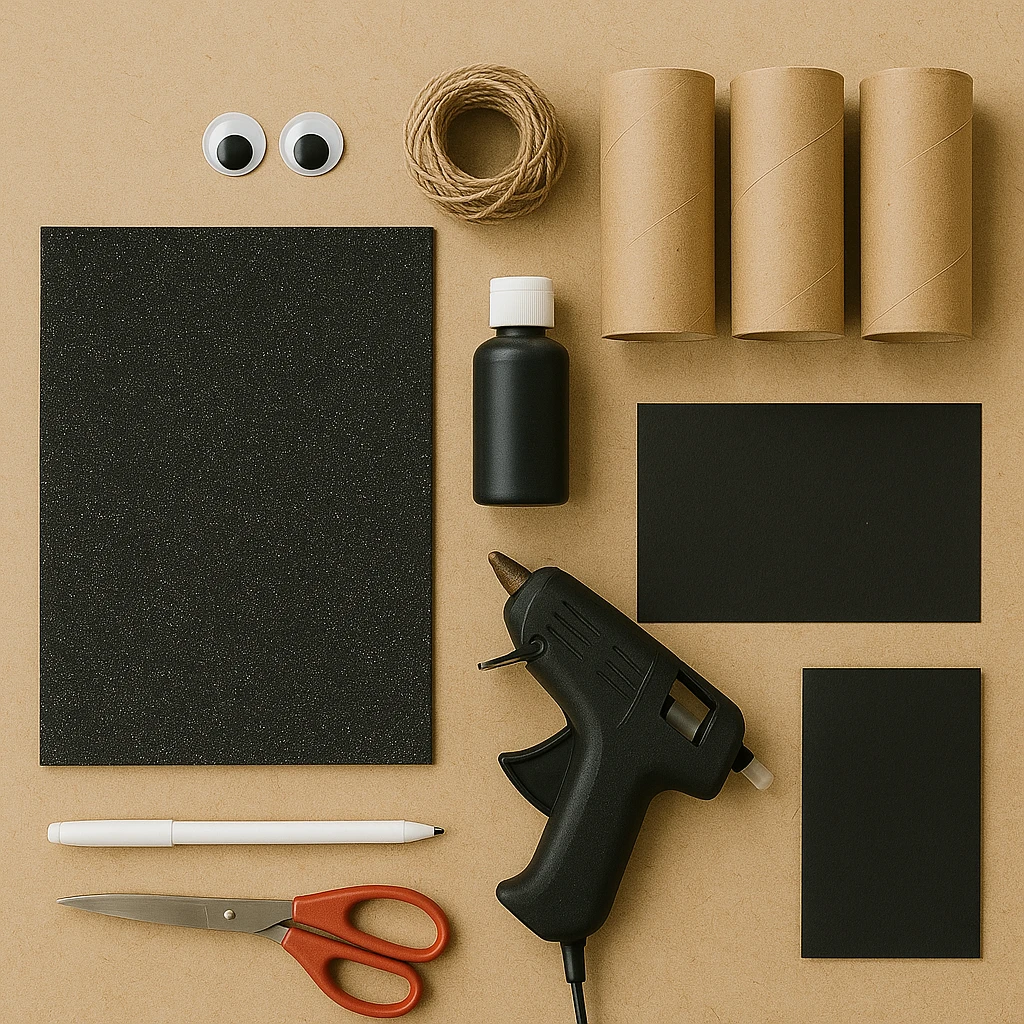
Materials Needed
- Empty toilet paper rolls or cardboard craft tubes (1 per bat)
- Black acrylic paint or spray paint
- Black glitter foam sheets
- Googly eyes (1 pair per bat)
- White gel pen or silver marker (for the smile)
- Black construction paper (for ears)
- Scissors
- Hot glue gun or strong craft glue
- String or clear thread (for hanging)
- Optional: glitter glue, glow-in-the-dark paint, mini clothespins
Step 1: Prepare the Tube Base
Start by painting each cardboard tube black. Use acrylic paint for quick drying or spray paint for a smooth finish. Let them dry completely. This will form the body of your bat.
Step 2: Create and Attach the Wings
While the paint dries, cut out a set of bat wings from the glitter foam sheet. Draw a symmetrical wing design about 7 inches wide and 3 inches tall, then cut it out and use it as a stencil for the rest. Glue the wings to the back of the painted tube, pressing firmly to make sure they stay in place.
Step 3: Add the Face and Ears
Attach a pair of googly eyes near the top front of the tube. Cut two small triangles from black construction paper to make the bat ears, then glue them on the inside edge of the tube so they peek out. Use a white gel pen or silver marker to draw a smile or fangs.
Step 4: Apply Glitter Details
To add some extra sparkle, outline the wings with glitter glue or use a fine brush to apply it along the wing edges. You can also dab a bit of glitter onto the bat's face or body—just don't overdo it to keep the details visible.
Step 5: Assemble Hanging Display
Poke a small hole through the top of the tube and thread a string or clear thread through it. Tie a knot to secure. Now your glitter bat is ready to hang! You can create a group of bats and hang them at different lengths to make a spooky bat mobile.
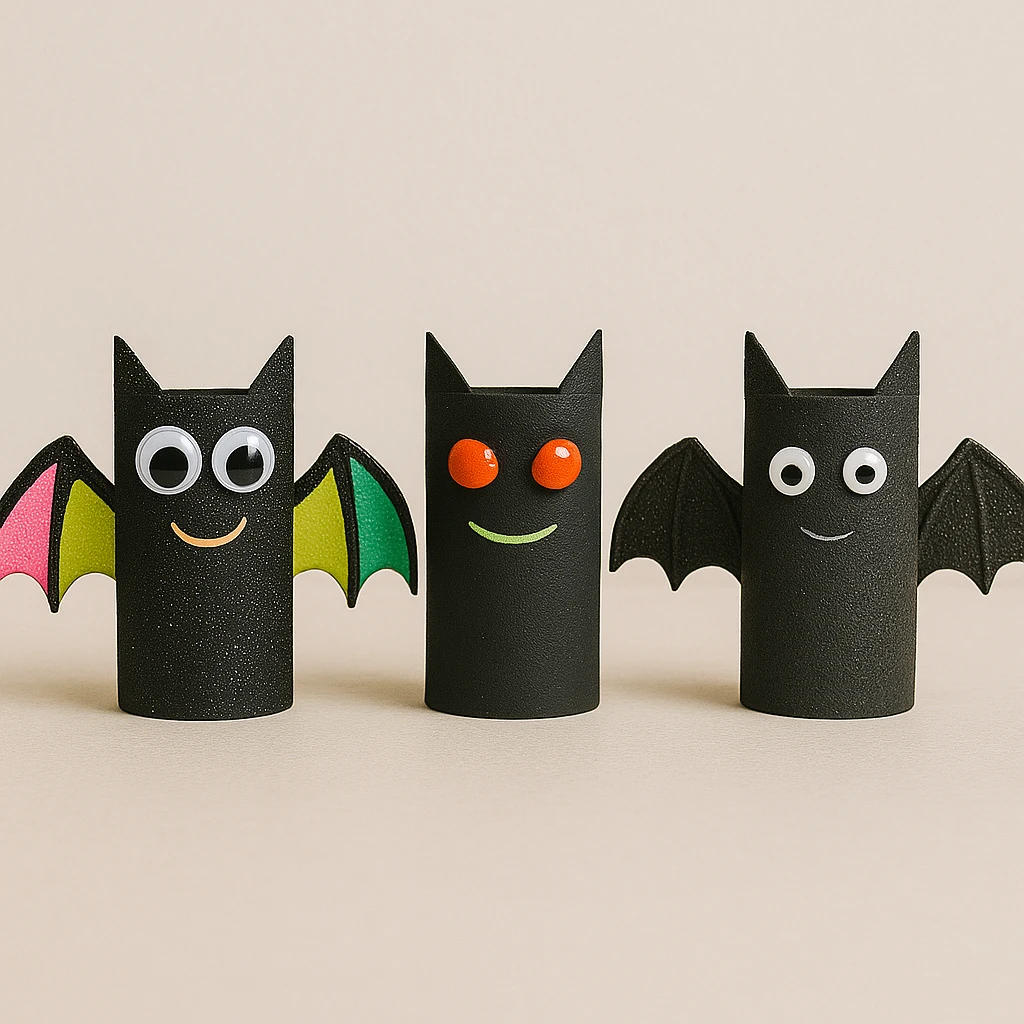
Customization Ideas
1. Cute & Colorful Bats: Use neon-colored foam sheets and googly eyes in different sizes. Add cheerful expressions or even mini bows!
2. Spooky Glow-in-the-Dark Bats: Paint the wings with glow-in-the-dark paint and use red eyes to make them more haunting. Perfect for nighttime displays.
3. Nature-Inspired Bats: Swap glitter for textured black paper and add small leaves or twigs for a rustic, woodland feel.
Educational or Seasonal Uses
These bats aren’t just for Halloween! Use them in a science unit about nocturnal animals or flying mammals. In classrooms, students can write bat facts on the wings or turn them into name tags for Halloween parties. They're also perfect for fall festivals, themed birthday parties, or hanging along a classroom bulletin board.
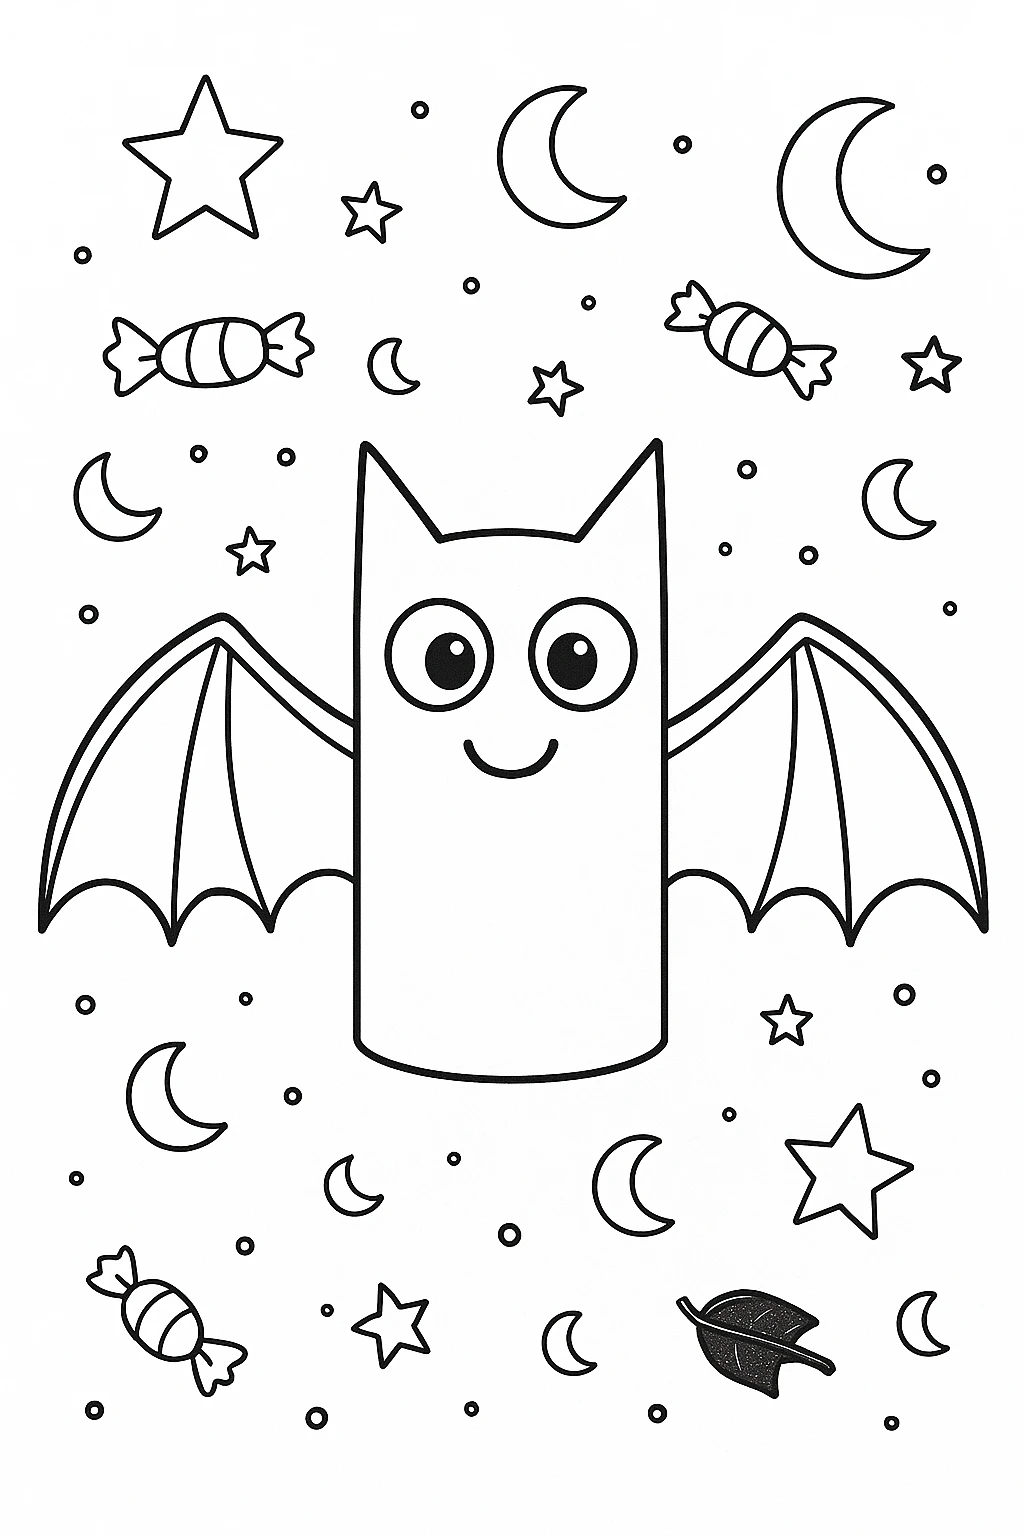
Printable Template
To make this craft even easier, use the printable bat wing and face templates provided. Simply print, cut, and trace onto your chosen material. These templates save time and help younger kids follow along more easily.
There’s also a black-and-white coloring version included. Kids can color their own wings and decorate their bats before assembly. Just print, color, cut, and glue—it’s that easy!
Conclusion
DIY Glitter Bat Decorations are a fun, creative way to bring Halloween vibes or bat-themed fun into any space. With just a few materials and some imagination, you can create a whole colony of glittery bats that will wow your guests or delight your students. Don’t forget to save and reuse them for next year!
DIY Glitter Bat Decorations
Equipment
- Scissors
- Hot glue gun or craft glue
- Paintbrush
Materials
- 1 Toilet paper roll or craft tube per bat
- Black acrylic paint or spray paint
- Black glitter foam sheet
- 2 Googly eyes per bat
- White gel pen or silver marker
- Black construction paper for ears
- String or clear thread for hanging
- Optional: glitter glue, glow-in-the-dark paint, mini clothespins
Instructions
- Paint each cardboard tube black using acrylic or spray paint. Allow to dry completely.
- Cut out symmetrical bat wings from the glitter foam sheet. Attach wings to the back of the tube using glue.
- Glue on googly eyes to the front of the tube. Cut out two small ears from black construction paper and glue them to the inside edge. Draw a smile or fangs with a white pen.
- Add glitter glue to the wings or bat body for extra sparkle. Let it dry thoroughly.
- Poke a small hole at the top of the tube, thread a string through, and tie it. Hang the bats from a ceiling, mobile, or window area.