
Día de los Muertos, or Day of the Dead, is a vibrant and deeply meaningful holiday celebrated in Mexico and other Latin American cultures. One of the most iconic symbols of this celebration is the sugar skull, or "calavera," often decorated with bright colors and intricate floral designs to honor loved ones who have passed. This craft brings that tradition to life in a fun, engaging way for kids to learn and participate.
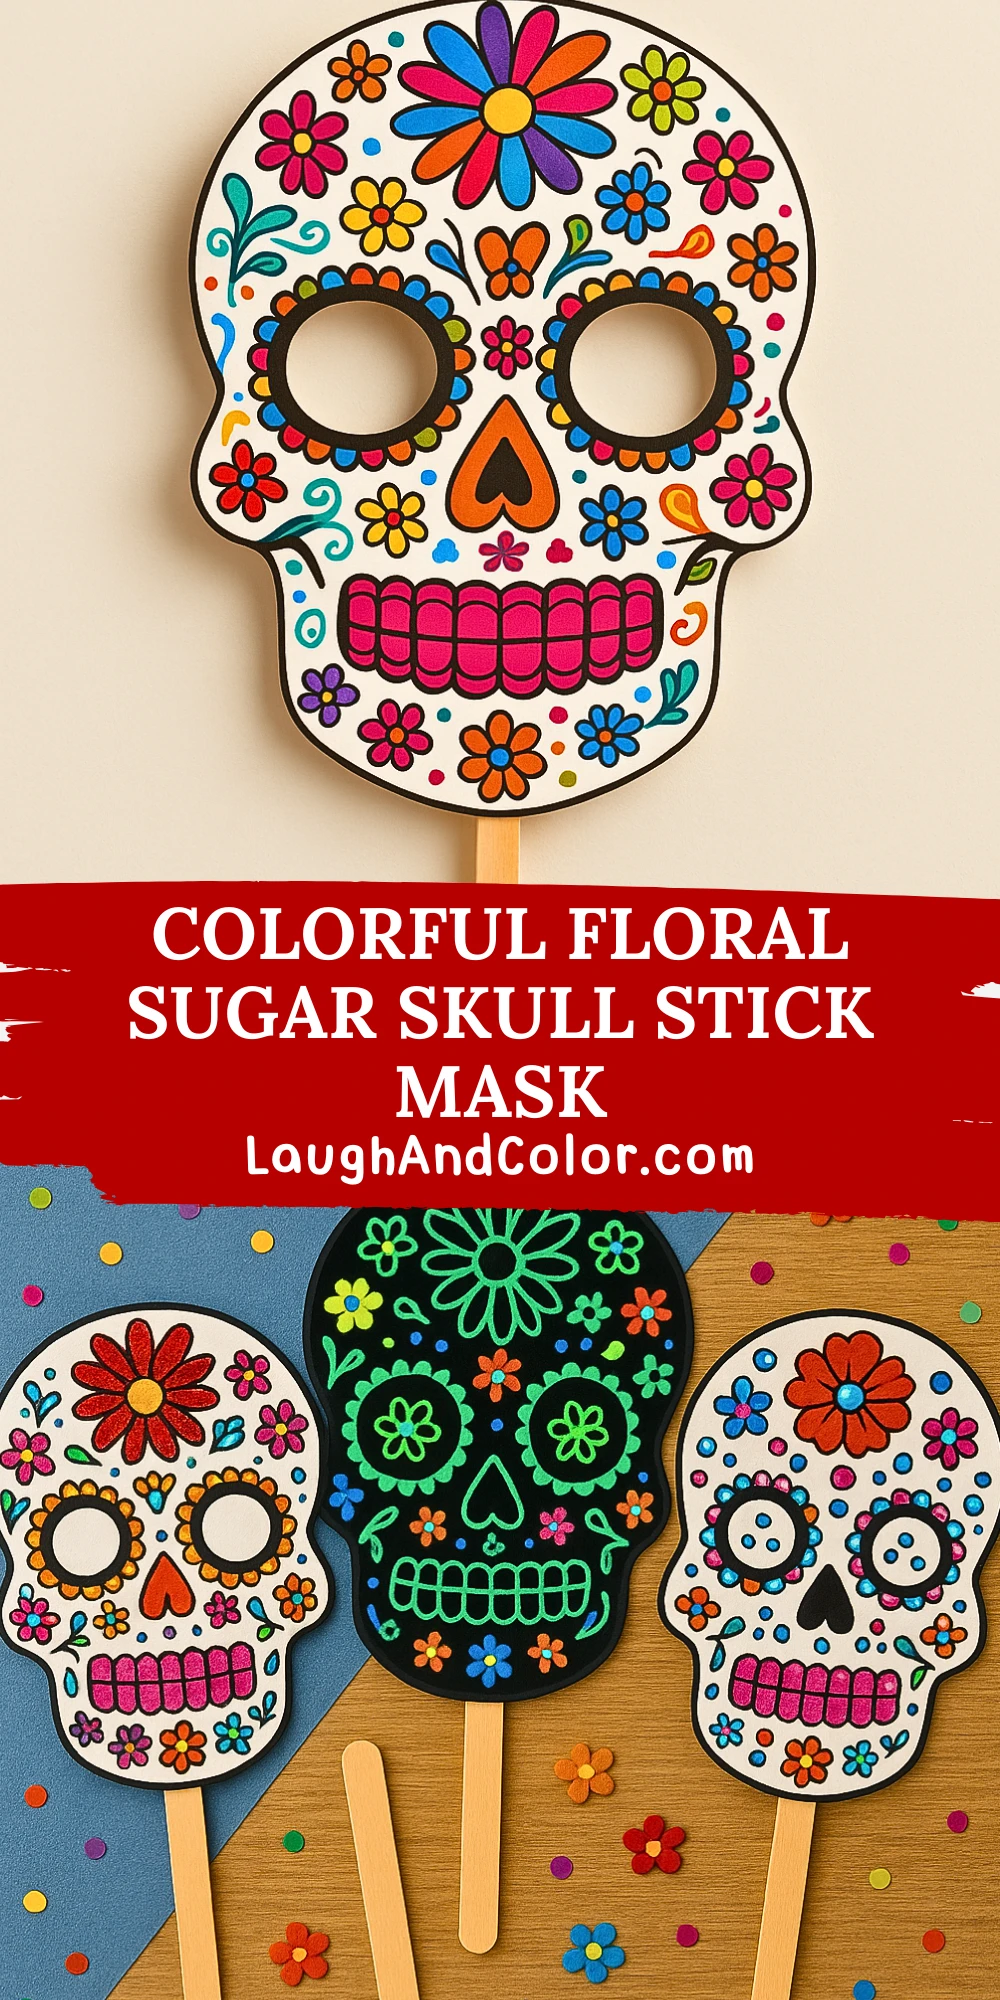
This Colorful Floral Sugar Skull Stick Mask is a great hands-on activity for children to explore Mexican culture while expressing their creativity. It’s simple to make, requires minimal supplies, and can be customized in endless ways. Whether you're preparing for a classroom celebration, a cultural learning unit, or just looking for a meaningful craft at home, this sugar skull mask will become a favorite.
With a printable template, basic coloring materials, and a craft stick, your child can create a stunning, hand-held mask perfect for both learning and play.
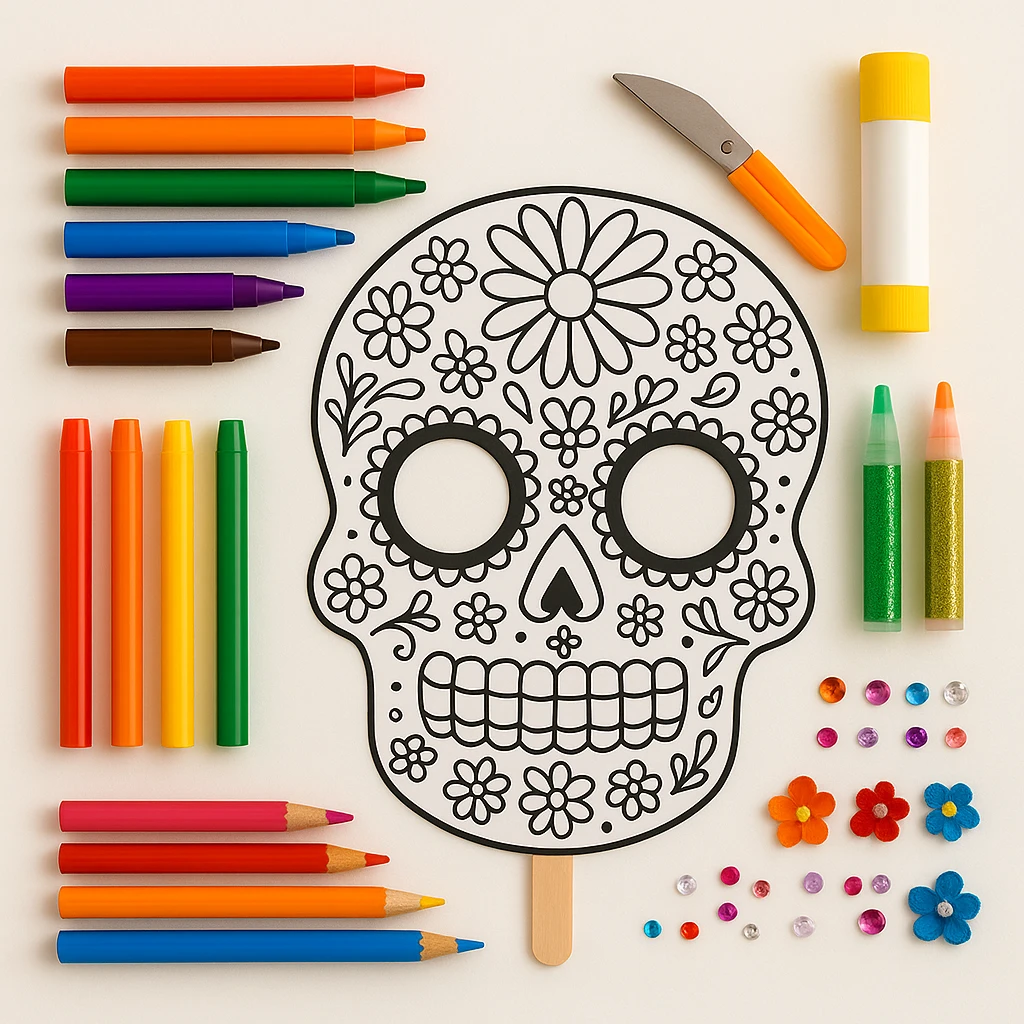
Materials Needed
- White cardstock or thick craft paper (8.5 x 11 inches)
- Printable sugar skull template
- Markers, crayons, or colored pencils
- Wooden craft stick or dowel (6 to 8 inches long)
- Scissors
- Glue or strong tape
- Optional: glitter glue, mini fabric flowers, sequins, rhinestones, or stickers
Step-by-Step Instructions
Step 1: Print and Cut Out the Template
Begin by printing the sugar skull mask template on white cardstock. Cardstock is ideal because it’s sturdy enough to hold its shape. Once printed, carefully cut out the entire skull shape along the outer lines.
Step 2: Color the Sugar Skull
Now it’s time for creativity! Use markers, crayons, or colored pencils to color in the floral and decorative elements of the skull. Bright, bold colors are traditionally used in Día de los Muertos skulls — think pinks, oranges, blues, and purples. Encourage kids to experiment with color combinations and even create patterns inside the flowers or shapes.
Step 3: Cut Out the Eye Holes
Using scissors or a craft knife (with adult supervision), cut out the two eye holes. These can be fully cut out to look through or left as is for decorative display. Be sure the mask is still sturdy around the edges.
Step 4: Attach the Stick Handle
Turn the mask over and glue or tape a wooden craft stick to the bottom center on the back side. Make sure it’s secure and straight. Allow a few minutes for the glue to fully dry before handling.
Step 5: Add Decorative Details
Now for the fun finishing touches! You can add glitter glue around the flowers for sparkle, glue on sequins or rhinestones for dimension, or even attach mini fabric flowers to the forehead area for a 3D effect. Let your child’s imagination guide the final design.
Customization Ideas
Glitter Fiesta
Add sparkle to your sugar skull mask by outlining the designs with glitter glue. This brings a festive and shiny effect that kids love, especially under light.
Glow-in-the-Dark Mask
Use glow-in-the-dark paint or stickers to decorate the skull. This version is perfect for nighttime celebrations or fall festivals.
3D Embellished Mask
Glue on small fabric flowers, puffy stickers, or flat-back gems for a mask that stands out. It’s a great option for older kids who want to elevate their design.

Educational and Seasonal Uses
This craft is an excellent way to teach kids about Día de los Muertos and the importance of honoring ancestors. It fits perfectly into multicultural lesson plans, and it's a creative activity for Hispanic Heritage Month. Teachers can pair the craft with books or videos about the holiday to enrich the experience.
Seasonally, this sugar skull mask is a fun alternative to Halloween crafts. It works well as a photo booth prop, party favor, or even as classroom decorations for fall celebrations.
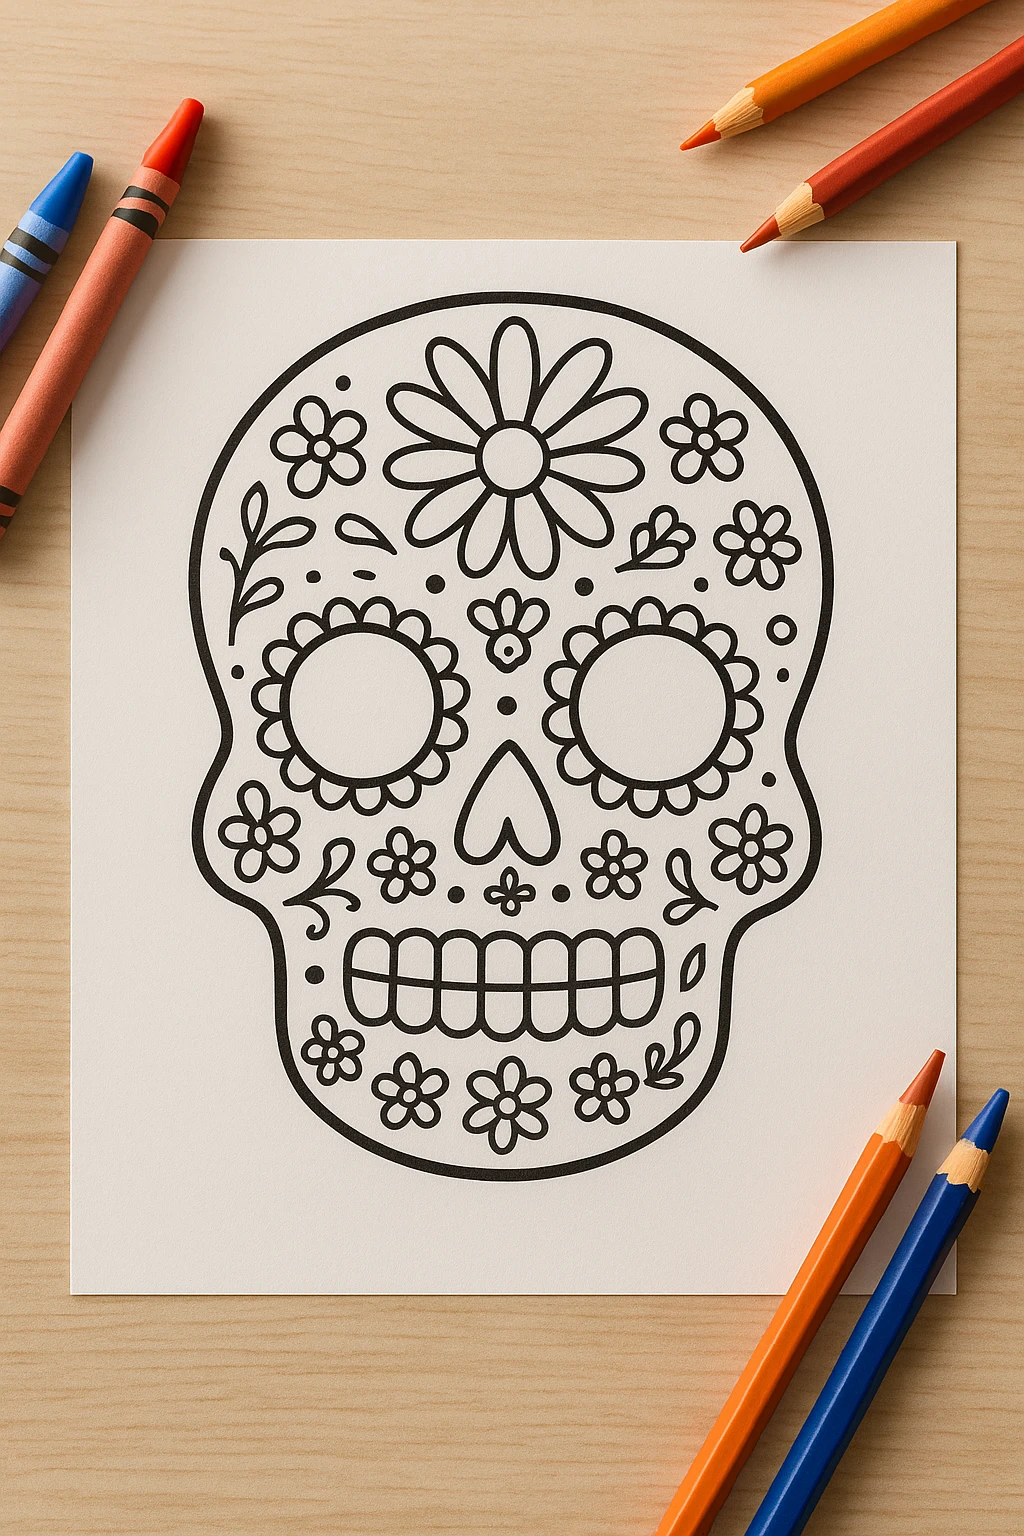
Printable Template Section
The printable sugar skull template makes this craft simple and accessible for all skill levels. Just download, print, and you’re ready to begin. Kids can enjoy coloring their unique design, then cut and assemble it for instant fun.
For best results, print the template on white cardstock. Once colored and cut out, the mask transforms into a vibrant handheld piece of art that kids can proudly show off.
Conclusion
Creating a Colorful Floral Sugar Skull Stick Mask is a meaningful way to engage kids in cultural exploration while encouraging artistic expression. With just a few simple materials and a printable template, this project is easy to set up and fun for children of all ages.
Bring a bit of color, creativity, and culture into your craft time with this beautiful sugar skull mask — a craft worth remembering and repeating year after year.

Colorful Floral Sugar Skull Stick Mask Craft for Kids
Equipment
- Scissors
- Glue or tape
- Printer
Materials
- 1 sheet White cardstock or thick craft paper 8.5 x 11 inches
- 1 Printable sugar skull template
- Markers, crayons, or colored pencils Various colors
- 1 Wooden craft stick or dowel 6 to 8 inches long
- Optional decorations Glitter glue, sequins, fabric flowers, rhinestones
Instructions
- Step 1: Print and Cut Out the Template – Print the sugar skull mask on white cardstock and cut out the skull shape carefully.
- Step 2: Color the Sugar Skull – Use bright colors to decorate the floral and design areas of the skull using crayons, markers, or colored pencils.
- Step 3: Cut Out the Eye Holes – Carefully cut out the circular eye holes so the mask can be used as a handheld face mask.
- Step 4: Attach the Stick Handle – Glue or tape the wooden craft stick to the back of the mask and let it dry completely.
- Step 5: Add Decorative Details – Embellish the mask with glitter, sequins, or mini flowers to make it stand out.