
Foam block crafts are a great way to combine creative play and hands-on crafting skills into one fun afternoon activity. Whether you're a parent looking for a screen-free weekend project or a teacher planning a themed activity, this Bluey Foam Block Buddy is an ideal choice. Inspired by the beloved animated character, this DIY project lets kids bring Bluey to life—block by block.

What makes this craft extra special is how it develops fine motor skills through precise cutting, gluing, and assembling. The layered foam adds dimension, and the finished character is sturdy enough for imaginative play or to decorate a desk or bookshelf. Perfect for kids aged 5 and up (with adult help), it’s a colorful, creative way to spend an hour crafting a character everyone loves.
Materials Needed
To create your own Bluey Foam Block Buddy, gather the following materials:
- Craft foam sheets (light blue, dark blue, yellow, white, black, red)
- Foam cutter or precision craft knife
- Scissors
- Ruler
- Cutting mat
- Pencil
- Glue stick or tacky glue
- Black marker (optional)

Step 1: Cut Out the Foam Block Shapes
Begin by cutting the base blocks that will form Bluey’s body. Use a ruler and pencil to mark out these measurements on your foam sheets:
- Head block: 2.5 x 2.5 x 2.5 inches (dark blue)
- Body block: 2.5 x 2 x 1.5 inches (light blue)
- Arms (2): 0.5 x 1.5 inches (light blue)
- Legs (2): 0.75 x 1.5 inches (light blue with dark blue feet)
- Tail: 0.5 x 2 inches, slightly curved (dark blue)
- Ears (2): Triangles, about 1 inch tall (dark blue with yellow inserts)
Cut these shapes carefully using scissors or a craft knife with adult supervision.
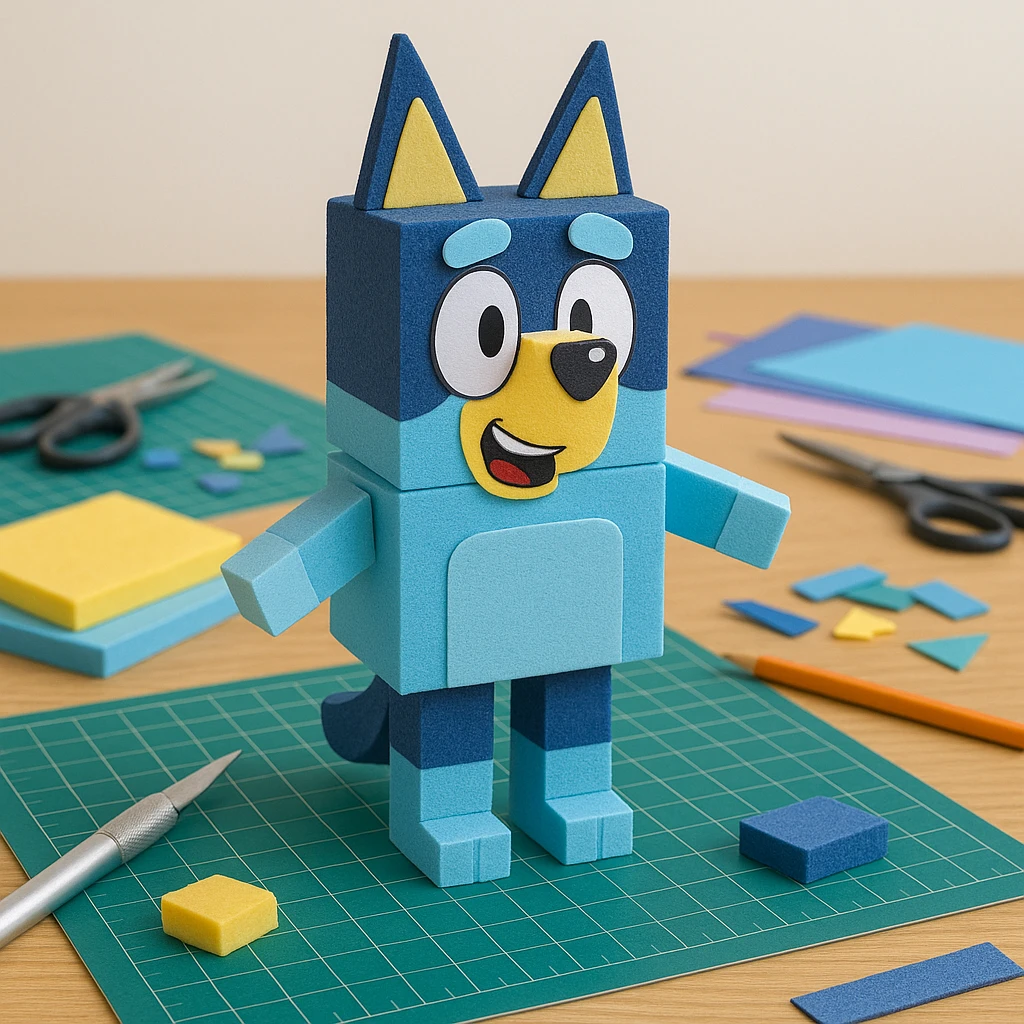
Step 2: Assemble the 3D Foam Blocks
Glue the body pieces together to form Bluey’s structure. Start with attaching the head to the body block. Let it set for a few minutes. Then, add the arms to each side of the body and the legs to the bottom. The tail can be glued to the back, slightly angled out for balance. Allow the entire structure to dry before moving on.
Step 3: Add Bluey’s Facial Features
Using white foam, cut out two large ovals for eyes. Glue them on the upper half of the head block. Cut two small black circles for pupils and place them inside the eyes. For the nose, use a small black oval; the mouth can be cut from red and yellow foam pieces to mimic Bluey’s expressive smile. Add eyebrows using small arched strips of blue foam above the eyes.
Step 4: Build and Attach Arms, Legs, Tail
Make sure the arms and legs are evenly aligned to keep your Bluey upright. Use small rectangular pieces of dark blue foam at the base of the legs to mimic Bluey’s paws. Secure all pieces with glue, holding them in place for a few seconds to ensure adhesion. Attach the tail securely at the back.
Step 5: Add Final Details and Let Dry
Check that all parts are correctly aligned and symmetrical. Touch up with a black marker if you'd like to outline the eyes or mouth for more definition. Set the finished Bluey aside to dry completely—at least 30 minutes—before playing or displaying.
Customization Ideas
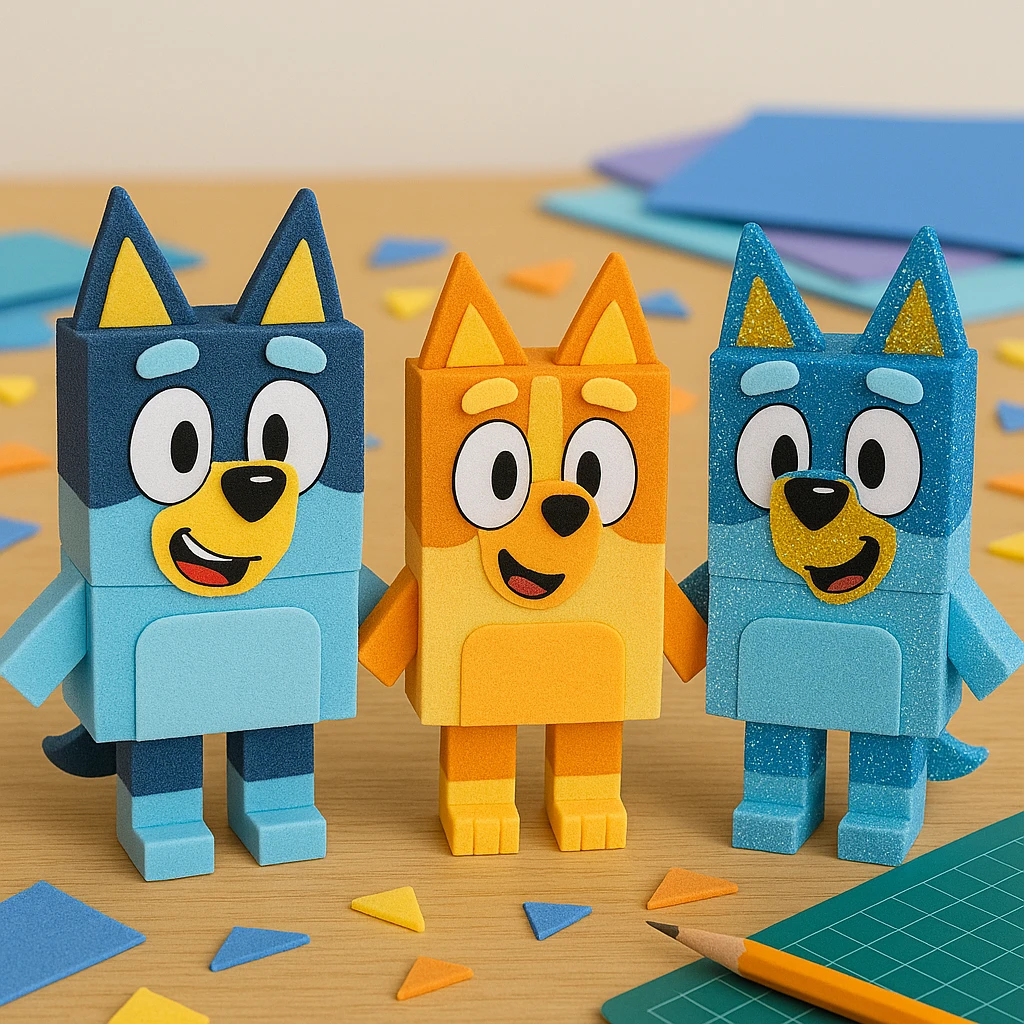
Want to build Bluey’s whole family? Here are some fun ways to expand this DIY:
- Bingo Foam Buddy: Use orange and tan foam sheets with similar dimensions to create Bluey’s younger sister.
- Bandit or Chilli: Make the parents using taller block shapes and adding glasses or accessories like aprons.
- Glitter & Glow Foam: For a dazzling effect, use glittery foam or glow-in-the-dark accents to make a magical version of Bluey.
Educational and Seasonal Uses
This craft is a fantastic addition to early education lessons focused on colors, shapes, and spatial awareness. Teachers can also use it in storytelling units, letting students create characters to act out their own tales. During holidays, the foam buddy can be adapted into gift tags, tree ornaments, or personalized party favors.
Printable Template
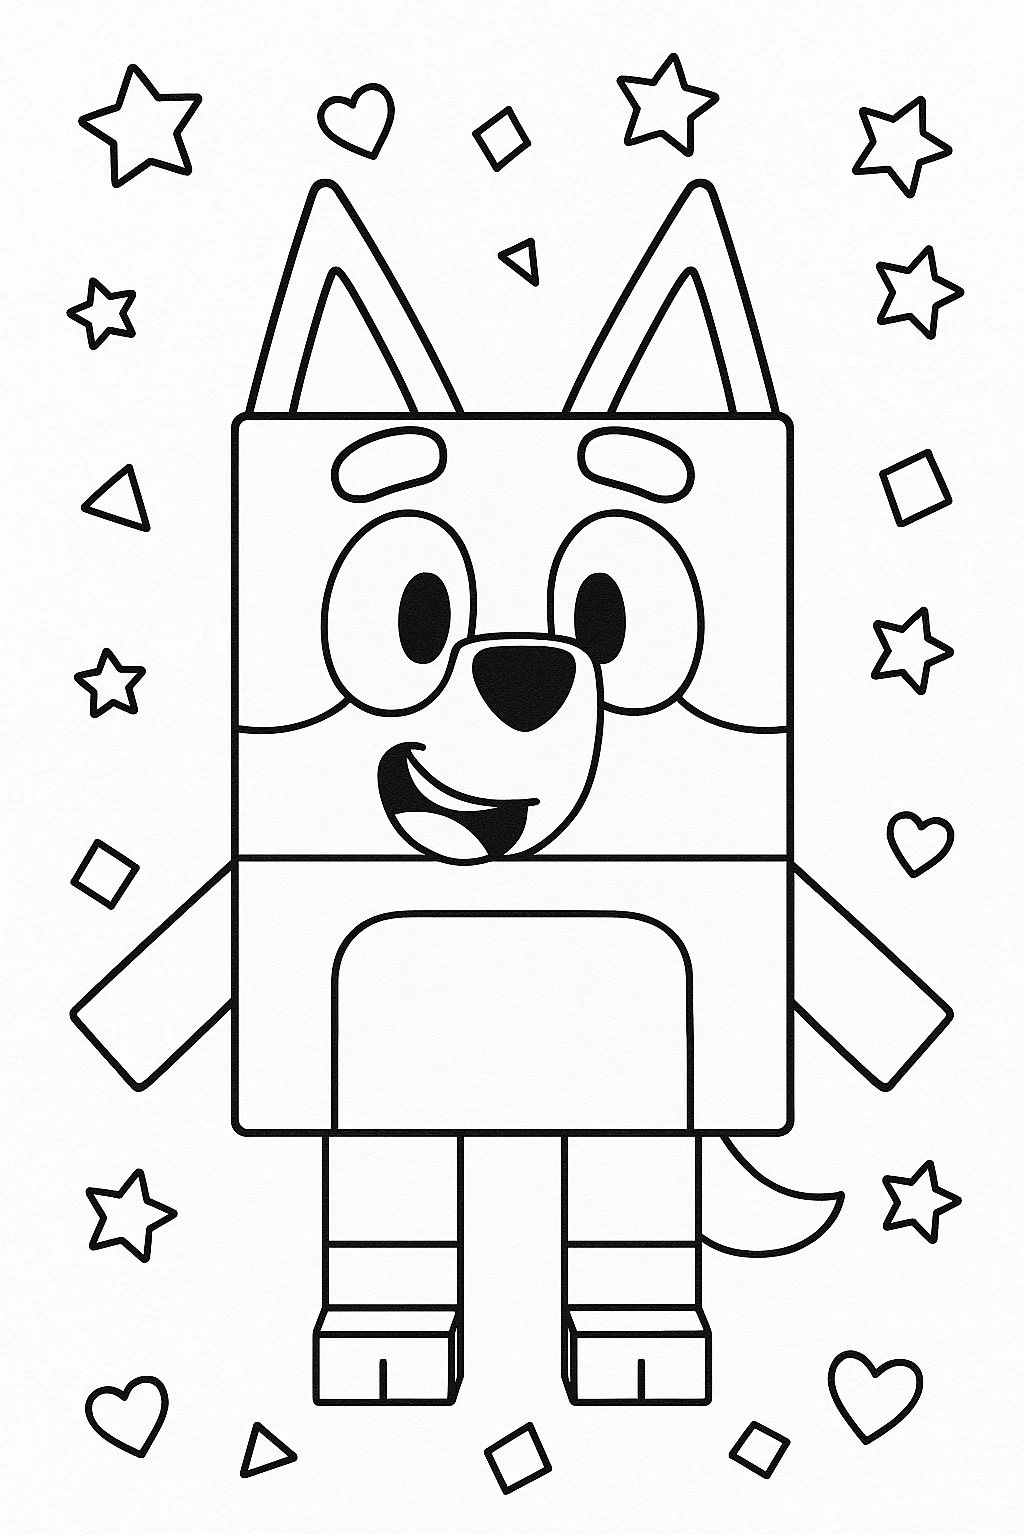
For an easier and faster version of this craft, you can use the printable Bluey Foam Buddy template included below. This template has pre-sized outlines for every shape needed—just print on cardstock, cut them out, and use them as stencils for your foam sheets. It’s perfect for classroom use or younger children who need a little help with precision.
All you have to do is color, cut, and glue! With the template, the process becomes more about fun and less about measuring.
Conclusion
Making your own Bluey Foam Block Buddy is more than just a fun craft—it’s a chance to slow down, be creative, and connect with a beloved character. Whether done solo or in a group, this DIY brings joy to little Bluey fans and offers a delightful finished product to play with or display. Try out different characters and keep the foam fun going!
Build a Bluey Foam Block Buddy DIY Project
Equipment
- Foam cutter or precision craft knife
- Scissors
- Ruler
- Cutting mat
- Pencil
- Glue stick or tacky glue
Materials
Materials
- Craft foam sheets (light blue, dark blue, yellow, white, black, red)
- Black marker (optional)
Instructions
- 1. Cut out the foam block shapes using the measurements provided (head: 2.5" cube, body: 2.5x2x1.5", arms: 0.5x1.5", legs: 0.75x1.5", ears: 1" triangles, tail: 0.5x2").
- 2. Assemble the 3D foam blocks by gluing the head, body, arms, legs, and tail together. Let dry for a few minutes between steps.
- 3. Add Bluey’s facial features: white ovals for eyes, black circles for pupils, black nose, red and yellow for the mouth, and blue foam for eyebrows.
- 4. Attach arms, legs, and tail carefully to keep everything aligned. Add dark blue paw accents to the legs for detail.
- 5. Finalize by checking symmetry and letting the craft dry for at least 30 minutes. Touch up details with a black marker if desired.