
Bring your child's favorite TV character to life with this cheerful Bluey paper lantern craft! This easy and fun project is a perfect combination of creativity and functionality, turning simple cardstock into a glowing Bluey nightlight. Whether you're planning a Bluey-themed birthday party or just want a cozy craft for a rainy afternoon, this DIY is a sure hit.
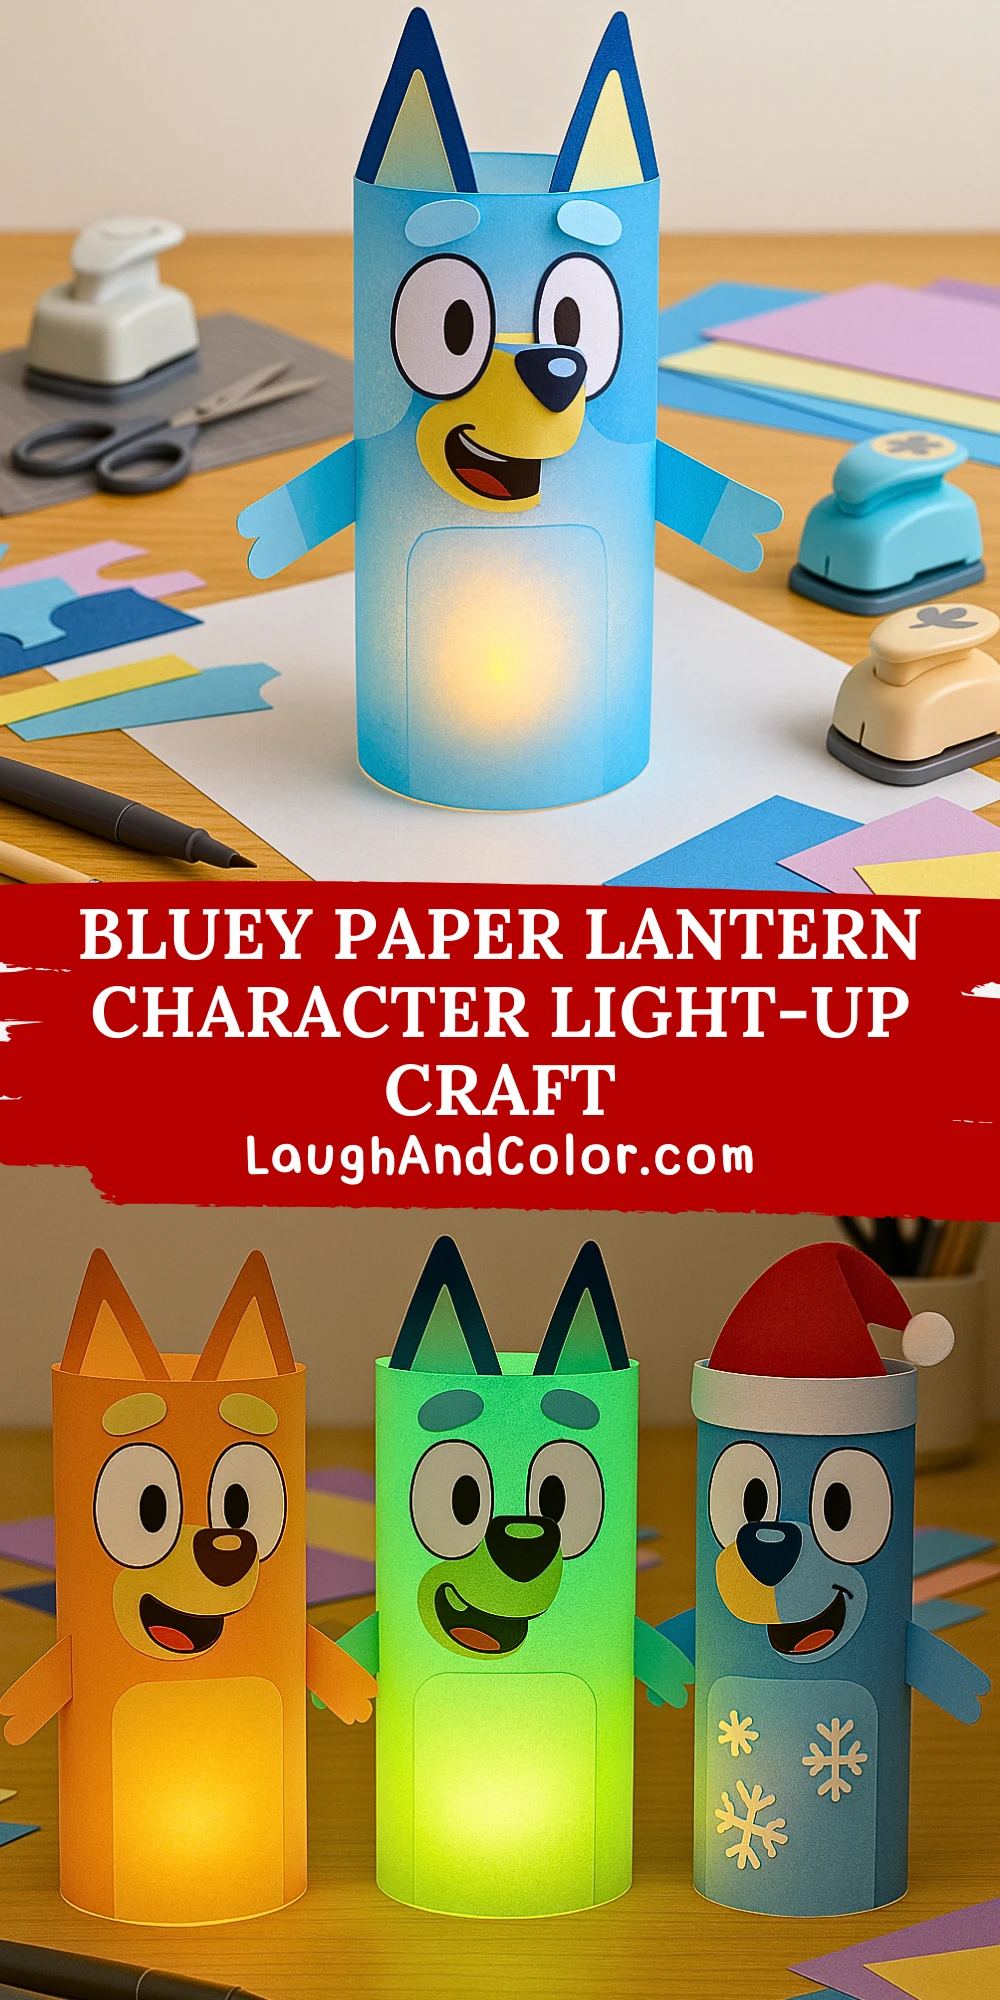
This paper lantern features a cylindrical design with Bluey's unmistakable blue hues, big eyes, and playful expression. With a battery-operated tealight inside, it becomes a charming bedside nightlight that kids will love. All you need are a few basic supplies, a printable template, and about 30–40 minutes of craft time to make something both adorable and useful.
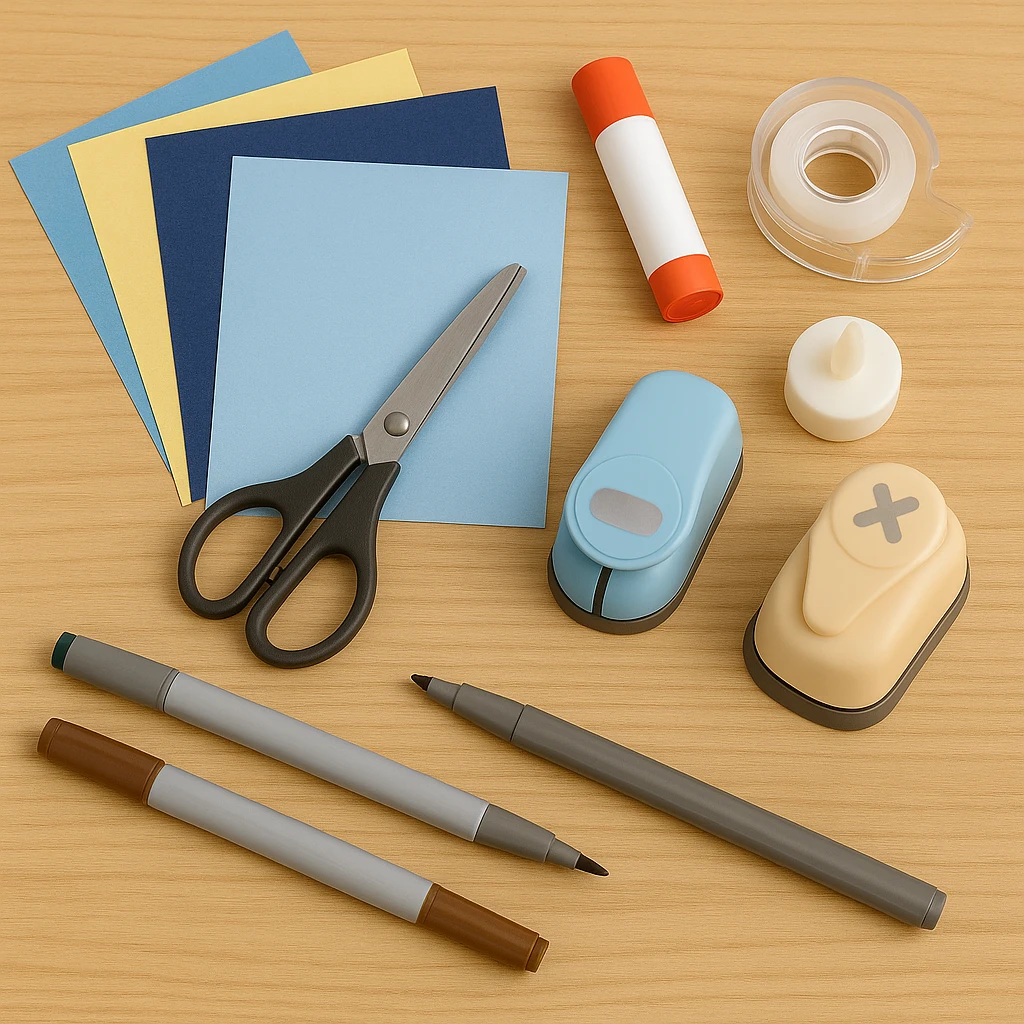
Materials Needed
- Printable Bluey paper lantern template (available in the printable section below)
- Blue, navy blue, light blue, and yellow cardstock or construction paper
- Scissors
- Glue stick or craft glue
- Clear tape or stapler
- Battery-operated tealight candle
- Markers or crayons (optional for added details)
- Paper punches or craft cutters (optional, for smoother shapes)
Step-by-Step Instructions
Step 1: Print and Cut the Bluey Template
Print the Bluey lantern template on white or light blue cardstock for best results. Carefully cut out all the parts: the body wrap, ears, arms, nose, mouth, and face features. Take your time to follow the outlines, especially around the curves of the ears and arms.
Step 2: Assemble the Cylinder Base
Take the large body piece and curl it into a tube shape, overlapping the ends slightly. Secure it with clear tape, glue, or a stapler. This forms the base of your lantern. Make sure the bottom is flat so it can stand steadily on a table.
Step 3: Attach Bluey’s Ears, Arms, and Face
Using the template pieces, glue Bluey’s ears to the top inside edge of the cylinder so they stick up. Attach the arms to either side, positioned at mid-height. Then, begin layering on the facial features—eyes first, then eyebrows, snout, nose, and mouth.
Step 4: Add Character Details
Use a black marker to outline or enhance certain features like the pupils or smile. You can also use crayons or colored pencils to shade areas or add fur texture. Small details really help bring Bluey’s personality to life.
Step 5: Insert and Secure the Tealight
Place a battery-operated tealight inside the bottom of the lantern. Make sure it is stable and upright. You can use a small piece of double-sided tape to help hold it in place if needed. Turn it on, dim the lights, and watch Bluey softly glow!
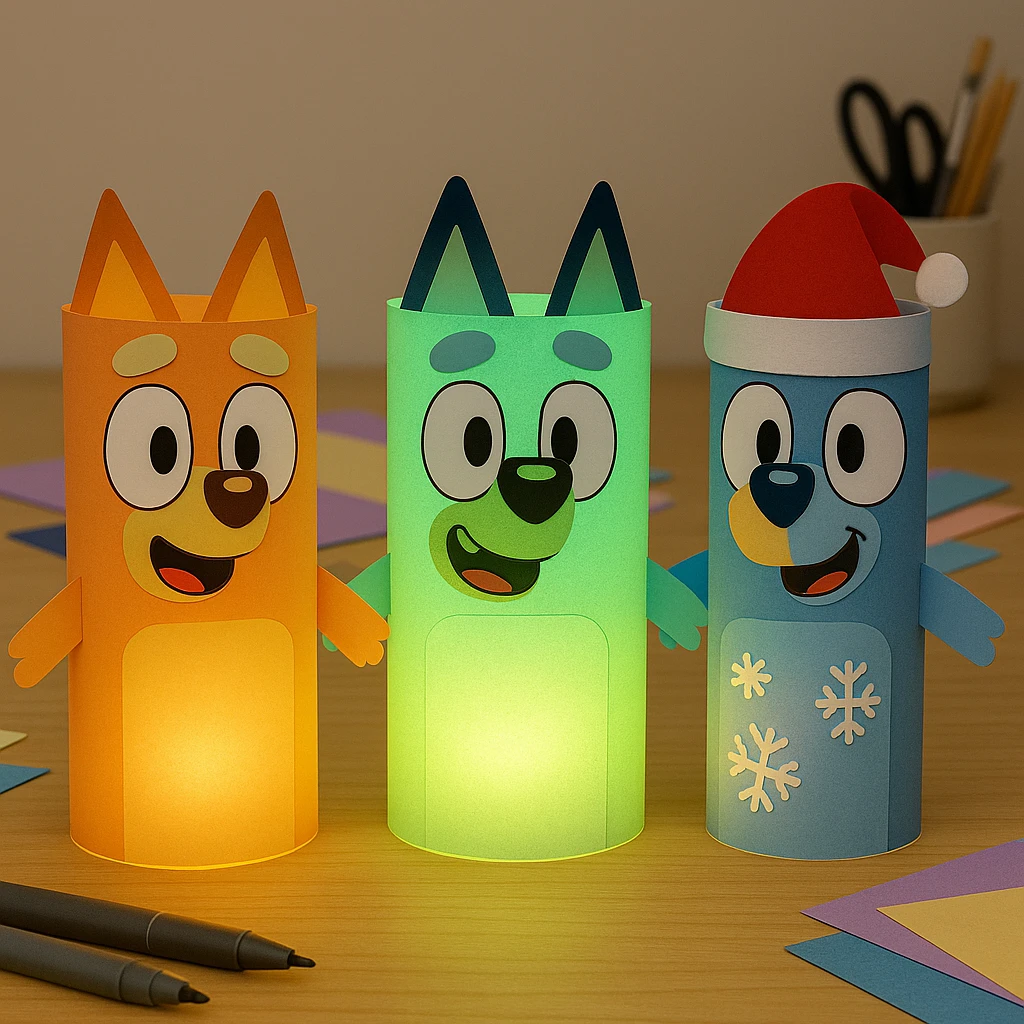
Customization Ideas
- Bingo Character Lantern: Switch out the colors for orange and beige, adjust the template to reflect Bingo’s features, and create a matching lantern duo.
- Glow-in-the-Dark Bluey: Use glow-in-the-dark paint or cardstock to make a Bluey lantern that glows even after lights are out. Perfect for sleepovers!
- Holiday-Themed Bluey: Add a Santa hat and snowy background for Christmas, or a balloon accessory for birthdays.
Educational and Seasonal Uses
This craft is great for building fine motor skills through cutting and gluing, and encourages creative storytelling once the lantern is done. Teachers can incorporate it into Bluey-themed classroom activities, or parents can use it for a cozy craft night paired with an episode of the show. It also works wonderfully as party décor or a favor for Bluey-themed celebrations.
Printable Template
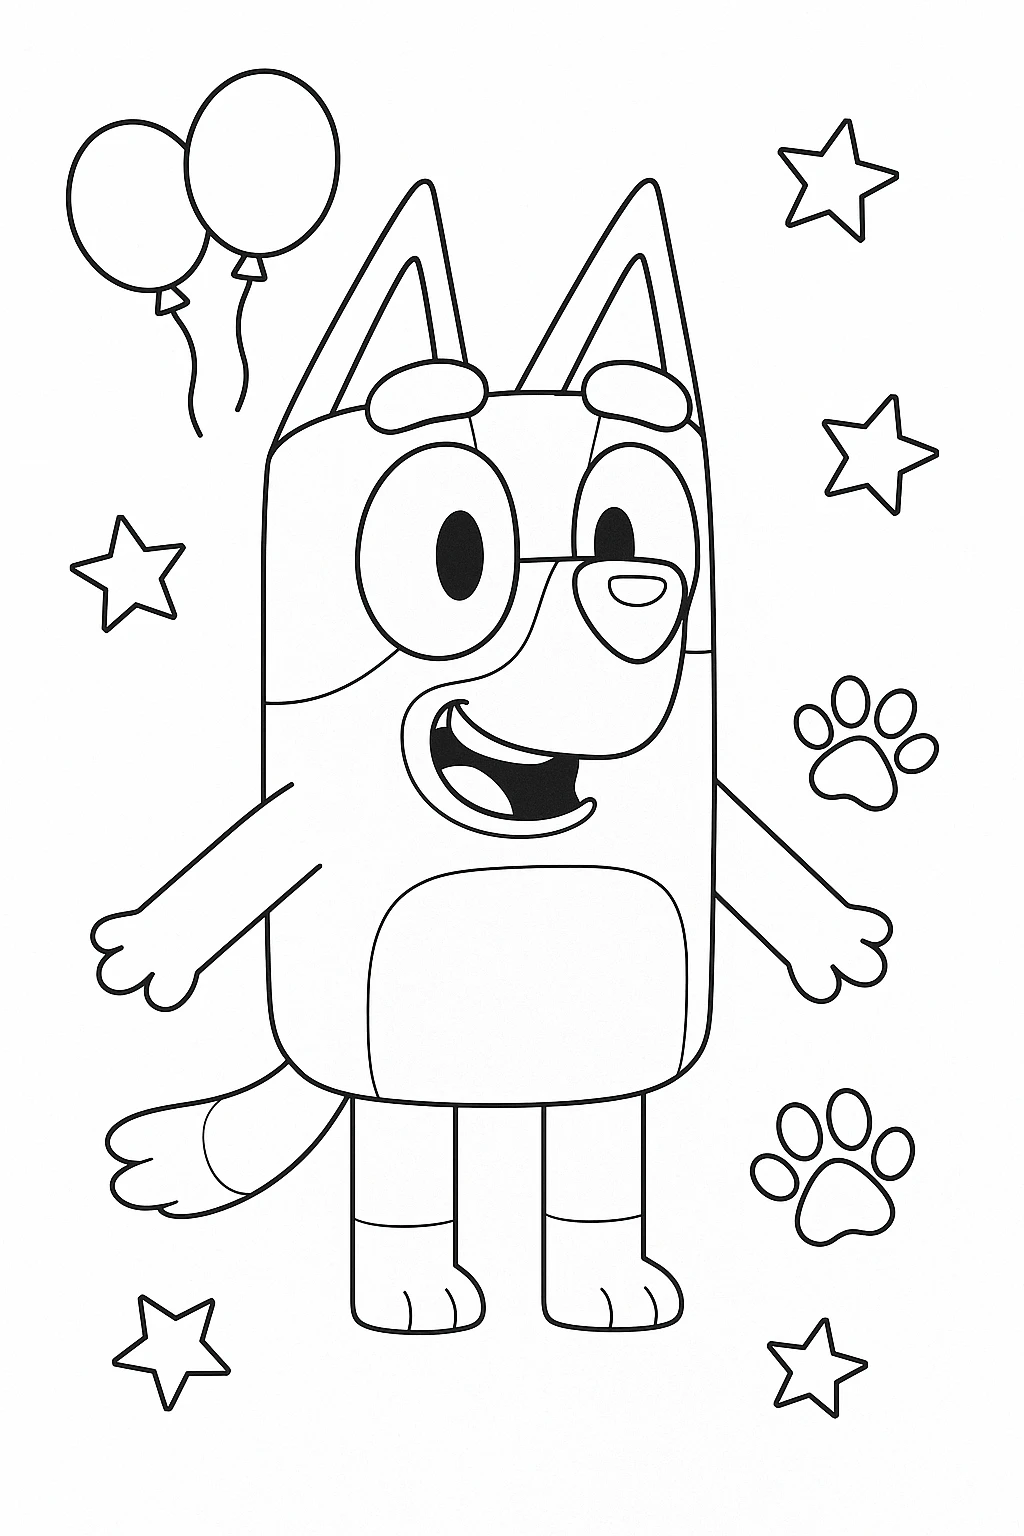
To make this craft even easier, use our printable Bluey lantern template. Just print it on thick paper, cut along the lines, and assemble following the steps above. The template includes all body parts and face elements so you won’t need to measure or draw anything by hand.
For younger children, it’s helpful to pre-cut the pieces in advance. Older kids may enjoy coloring in the template themselves for a more personalized lantern.
Conclusion
The Bluey Paper Lantern Character Light-Up Craft is a fun and rewarding project that brings kids’ favorite character into their world in a hands-on way. It’s simple enough for a beginner but detailed enough to feel special. Once complete, it makes a charming nightlight or party decoration that glows with personality!
So grab your glue and paper and get ready to create a glowing Bluey your child will adore!

Bluey Paper Lantern Character Light-Up Craft
Equipment
- Scissors
- Glue stick
- Tape or stapler
- Battery-operated tealight candle
Materials
- Printable Bluey paper lantern template
- Blue, navy blue, light blue, and yellow cardstock
- Markers or crayons (optional)
- Paper punches or craft cutters (optional)
Instructions
- Step 1: Print and Cut the Bluey Template — Print the Bluey template on cardstock and cut out all the pieces carefully, including the body, ears, arms, and facial features.
- Step 2: Assemble the Cylinder Base — Roll the body piece into a tube shape and secure the ends with tape, glue, or a stapler to form the lantern base.
- Step 3: Attach Bluey’s Ears, Arms, and Face — Glue the ears to the top edge inside the tube. Attach the arms on the sides, and place the face parts in order on the front.
- Step 4: Add Character Details — Use markers to add extra detail and personality, like outlining the eyes and smile or adding shading to the ears and body.
- Step 5: Insert and Secure the Tealight — Place a battery tealight inside the lantern and secure it with double-sided tape if needed. Turn off the lights to enjoy Bluey’s glow!