
Bring your favorite blue pup to life with this cheerful and crafty Bluey Garden Pot Mini Planter! Whether you're a parent looking to entertain your kids with a hands-on activity or a Bluey fan wanting to add a playful touch to your plant collection, this project is an adorable and easy way to brighten any space. Combining character crafting with a bit of gardening makes it a creative win for all ages.
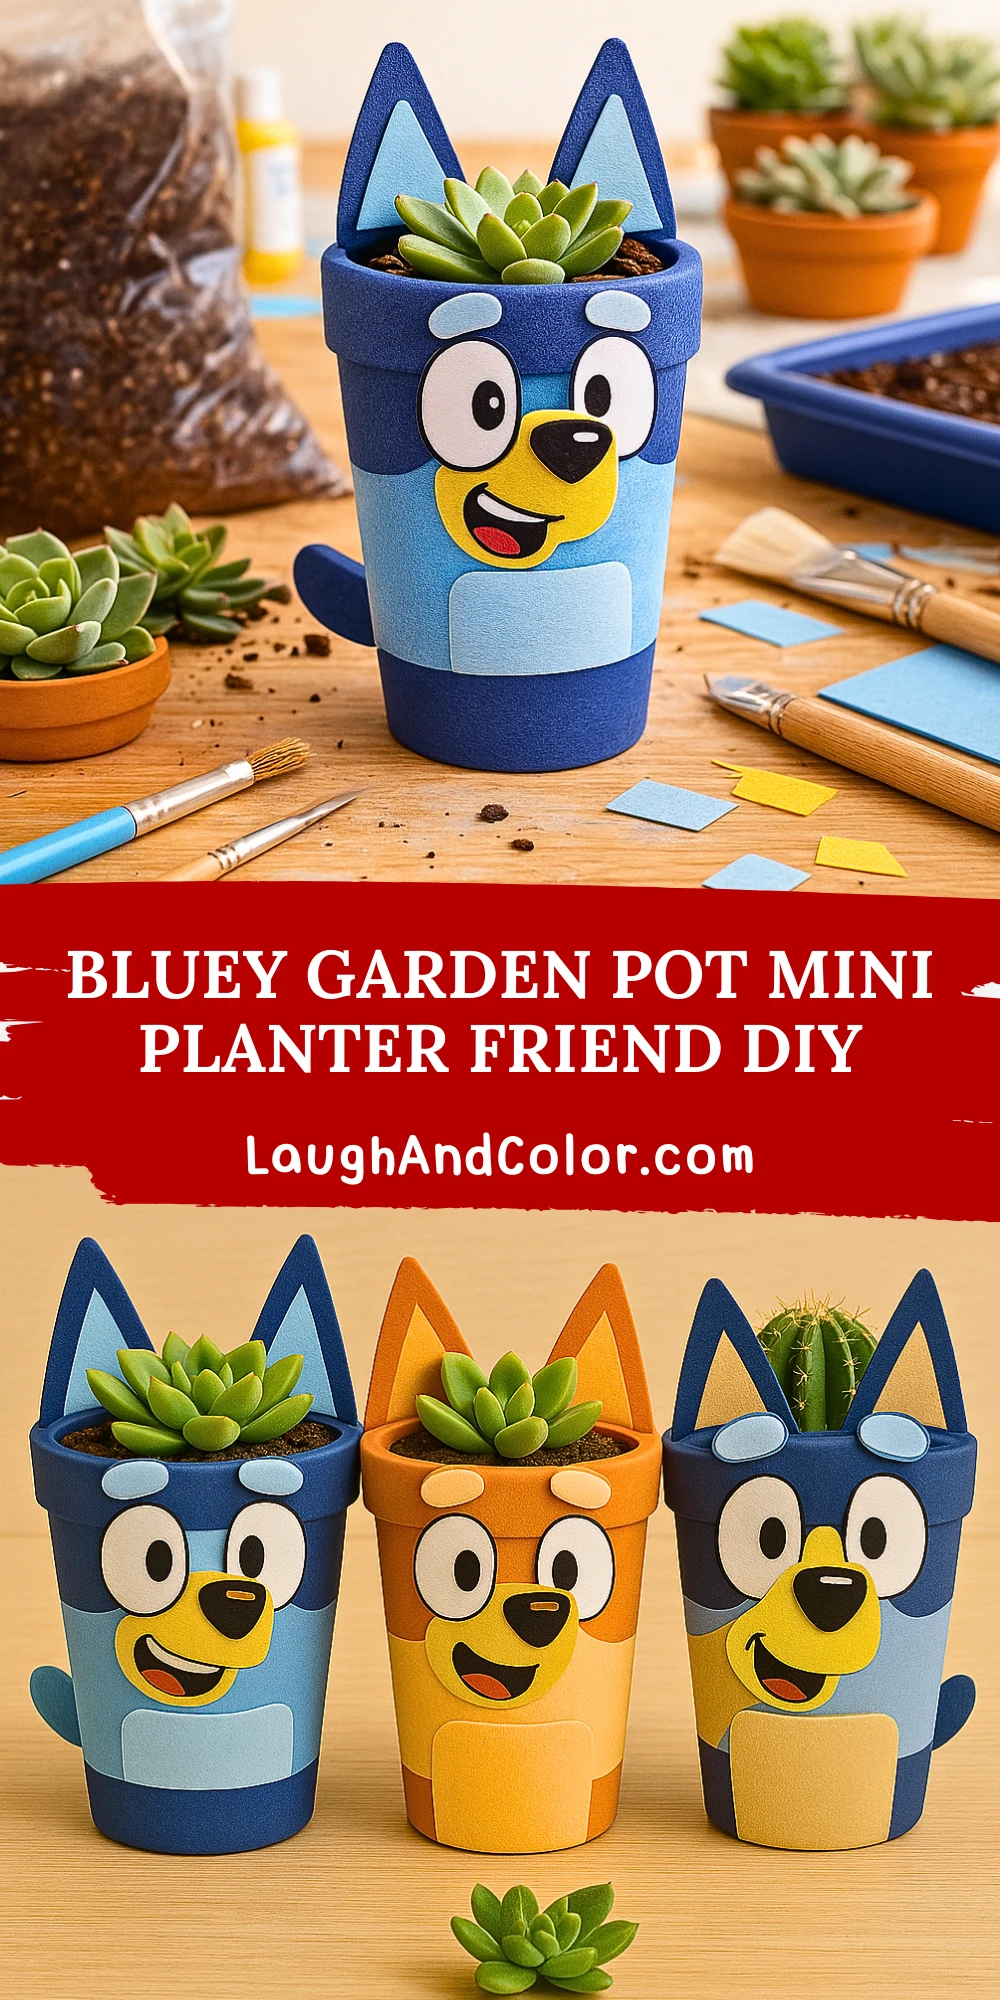
This DIY project is not only fun but also functional. The end result is a lively Bluey-faced planter perfect for small succulents or herbs. It’s a great way to introduce young ones to simple gardening while letting them express their artistic side. The tactile nature of cutting, gluing, and painting also helps develop fine motor skills—making it a perfect craft for home or classroom.
Let’s dive into creating your very own Bluey-inspired pot friend!
Materials Needed
- Small terracotta or plastic plant pot (about 4-6 inches tall)
- Acrylic paints: light blue, navy blue, white, black, yellow, red
- Flat and round paintbrushes (variety of sizes)
- Blue and yellow craft foam or felt sheets
- Scissors
- Pencil
- Craft glue or hot glue gun (with supervision for kids)
- Potting soil
- Small succulent or plant
- Optional: clear acrylic sealant spray for long-lasting finish

Step-by-Step Instructions
Step 1: Prepare Your Pot
Start by cleaning your pot to remove any dust or residue. If it’s a clay pot, make sure it’s completely dry. This helps the paint stick better. You can optionally apply a white base coat if you want colors to pop more vibrantly.
Step 2: Sketch Bluey's Face and Features
Use a pencil to lightly sketch Bluey's face onto the front of the pot. Start with the big eyes in the center, a rounded black nose below, and a friendly smile. Mark areas where the light blue and dark blue fur sections will be painted.
Step 3: Paint the Pot Base
Paint the top and bottom rims of the pot in navy blue. Fill in Bluey's face with light blue and navy sections, matching the character’s design. Use white for the eyes and black for the pupils and smile. Let each layer dry before applying another for clean lines.
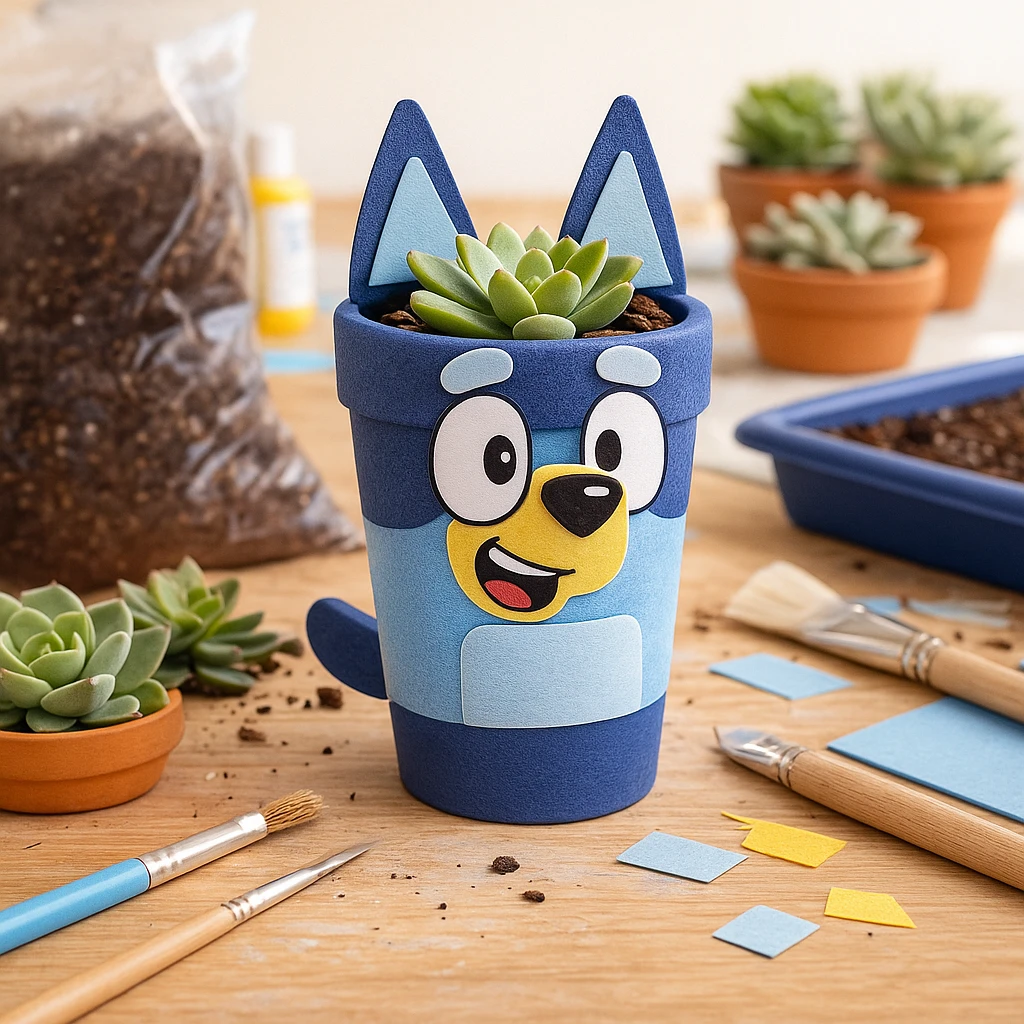
Step 4: Create and Attach Foam Features (Ears, Nose, Tail)
Cut out two ear shapes from the blue foam, adding smaller inner ear pieces in a lighter shade. Cut a rounded tail and Bluey’s muzzle area using appropriate colors. Use glue to attach the ears on the inner side of the pot rim, the nose on the face, and the tail on the side or back.
Step 5: Add the Final Details
Use fine brushes to outline details like Bluey's eyebrows, mouth, and fur markings. Add the red tongue if you'd like Bluey to look like she's happily panting. Let the pot dry completely. If desired, spray with a clear acrylic sealant to make the design more durable.
Step 6: Plant Your Succulent
Fill your Bluey pot with potting soil and carefully place your succulent inside. Gently press down to secure the plant and wipe away any loose dirt. Your Bluey garden buddy is ready to show off!
Customization Ideas
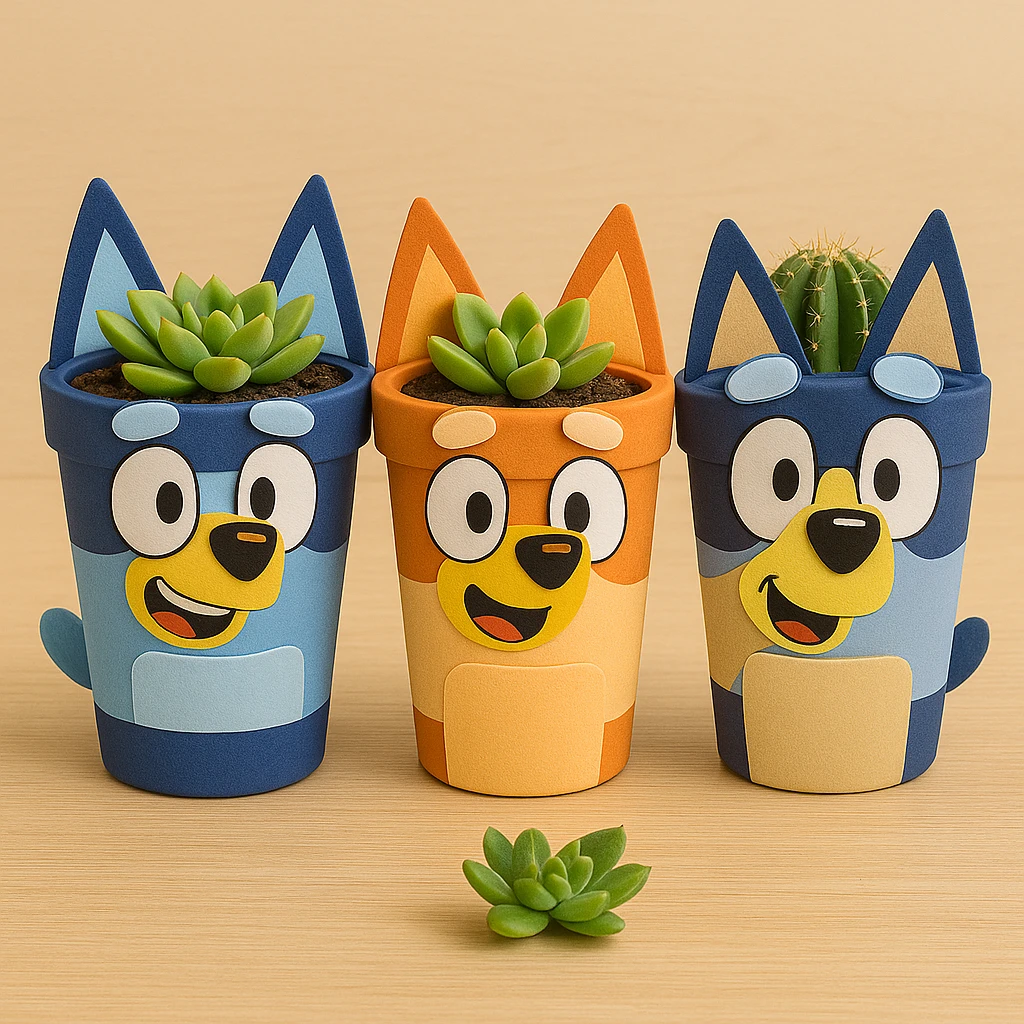
Bingo Version: Swap out the colors to make Bluey's adorable younger sister, Bingo! Use warm oranges and creams, and change up the face design slightly to match her look.
Mini Family Set: Why stop at just Bluey? Create a full set featuring Bandit, Chilli, and Bingo. Use different sized pots for each family member for a cute collection display.
Paint-Only Version: For a quicker craft, skip the foam pieces and paint all features directly on the pot. This is ideal for younger kids or classroom settings with limited materials.
Educational and Seasonal Uses
This DIY makes a wonderful activity for preschool and early elementary classrooms, helping children learn about plants, colors, and characters. It’s also a fun project for Earth Day, spring garden celebrations, or birthday party craft stations. Teachers and parents can use this craft to encourage creativity while connecting it to lessons on plant care or character storytelling.
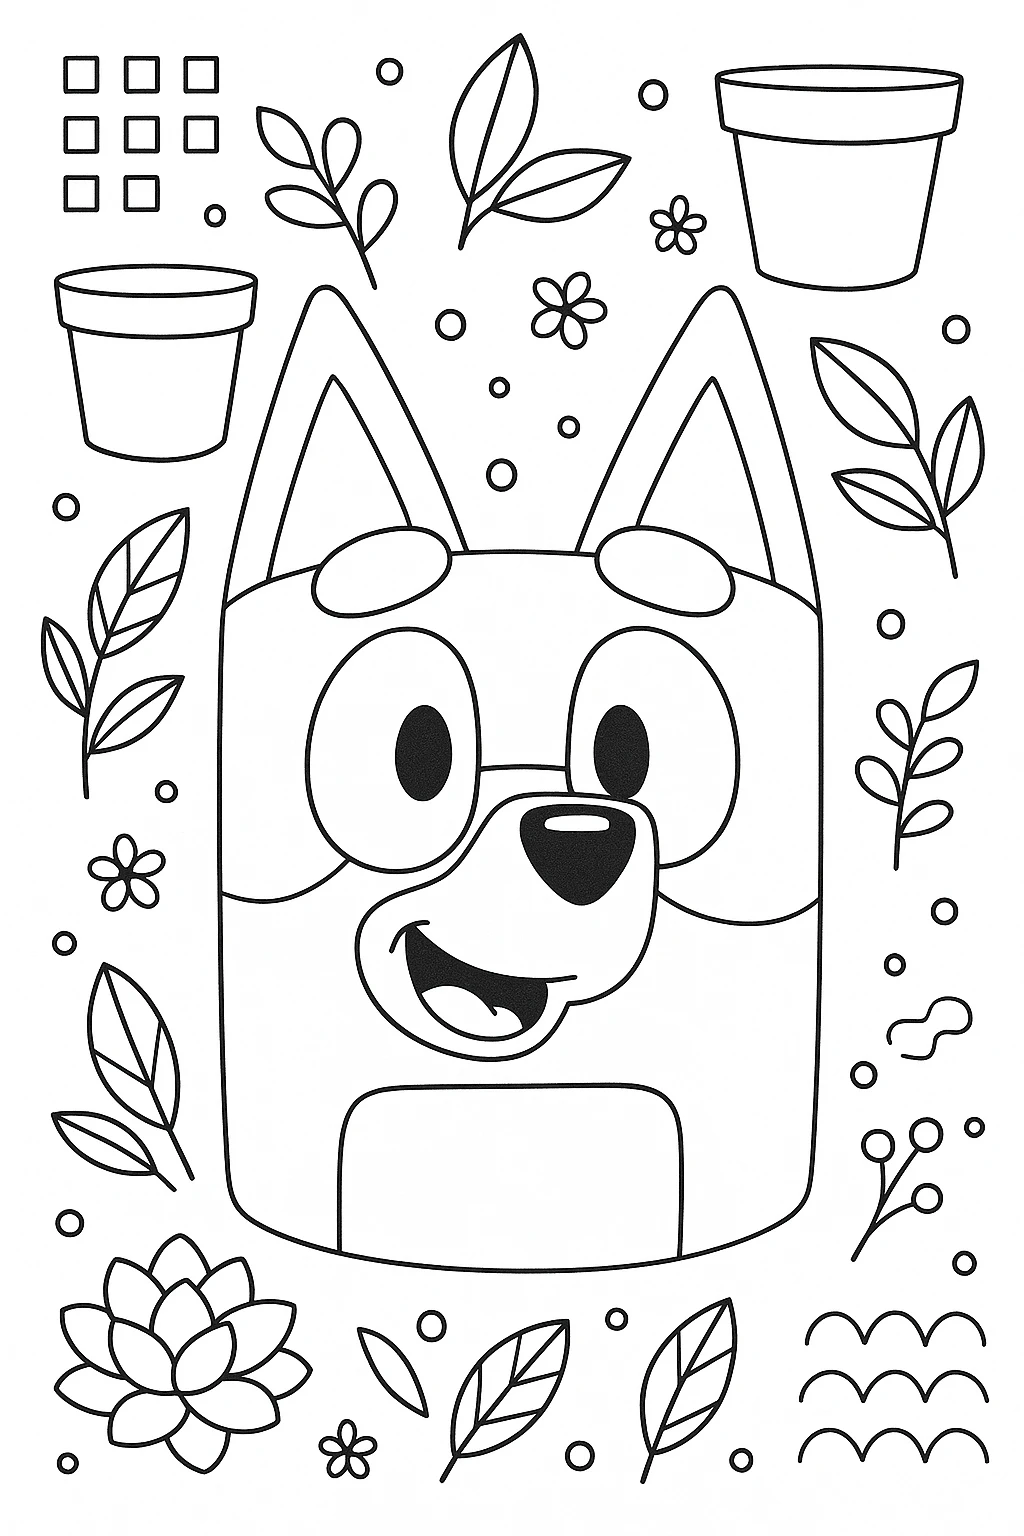
Printable Template
To make this project even easier for little hands, we’ve included a printable Bluey face template with all the major features like eyes, nose, mouth, and ears. Simply print it out, color it in, and glue the parts onto the pot. No freehand drawing required!
This template turns the project into a delightful cut-and-paste craft that still looks fantastic and recognizable. It’s perfect for group settings or younger kids who need a little help staying on track.
Conclusion
Creating a Bluey Garden Pot Mini Planter is a rewarding and playful craft that brings joy and creativity together. Whether you're making just one or crafting the entire Heeler family, this project is sure to be a hit with kids and adults alike. Grab your materials, gather your little ones, and start planting some Bluey-inspired fun today!
Bluey Garden Pot Mini Planter Friend DIY
Equipment
- Paintbrushes
- Scissors
- Glue (craft or hot glue gun)
- Small plant pot
Materials
Materials
- Small terracotta or plastic plant pot
- Acrylic paints (light blue, navy, white, black, yellow, red)
- Blue and yellow craft foam or felt sheets
- Succulent or small plant
- Potting soil
- Optional: clear acrylic sealant spray
Instructions
- Step 1: Prepare Your Pot - Clean and dry your pot. Apply a white base coat if desired for vibrant paint colors.
- Step 2: Sketch Bluey's Face and Features - Lightly sketch Bluey's face with a pencil to guide painting.
- Step 3: Paint the Pot Base - Paint Bluey's color scheme and facial features using acrylic paints.
- Step 4: Create and Attach Foam Features - Cut and glue foam ears, tail, and nose onto the pot for a 3D effect.
- Step 5: Add the Final Details - Paint small details like eyes, eyebrows, and tongue. Seal if desired.
- Step 6: Plant Your Succulent - Fill the pot with soil, add the succulent, and clean off any excess dirt.