
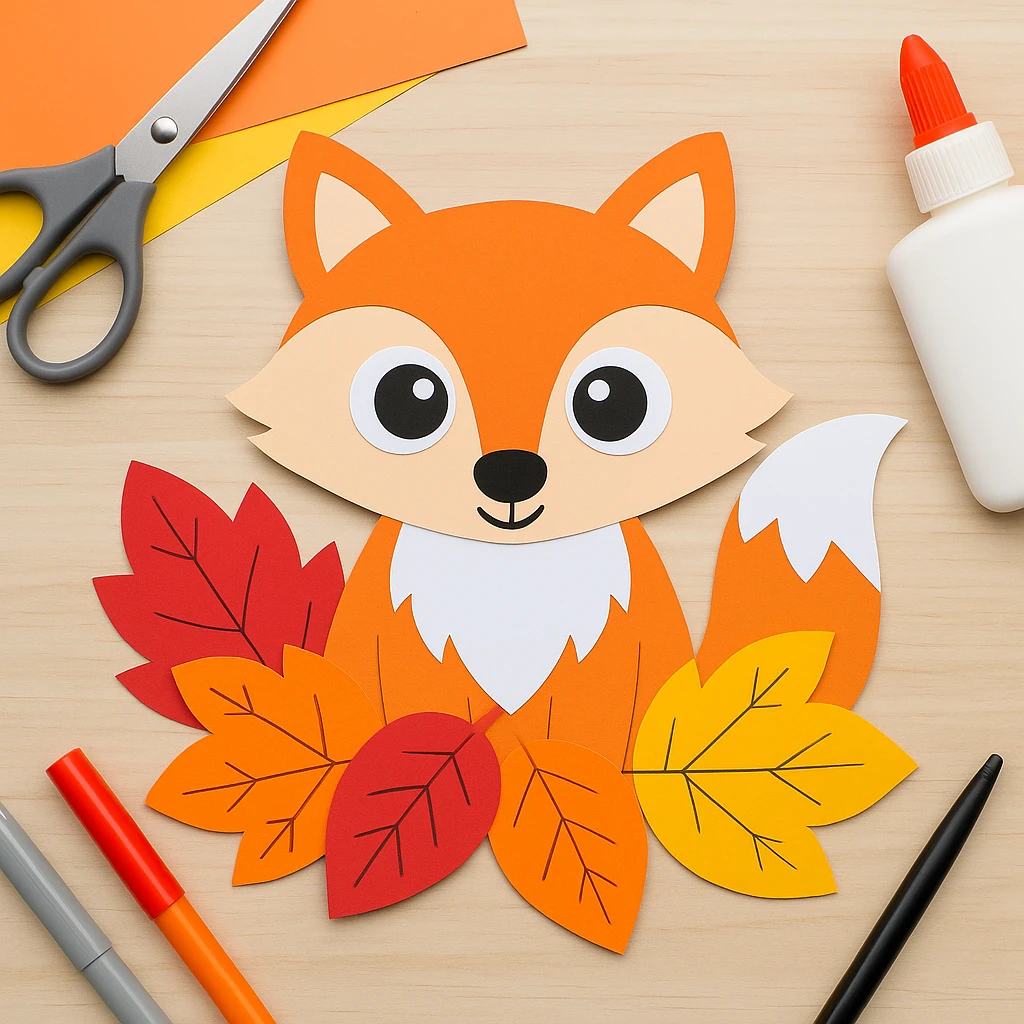
Fall is the perfect season to get cozy with crafts, and this Fall Fox Craft for kids is an adorable way to celebrate the changing leaves. Whether you’re crafting at home on a chilly afternoon or planning a hands-on classroom activity, this paper fox surrounded by colorful leaves is both fun and educational. Kids will love cutting, gluing, and assembling this cheerful forest friend!
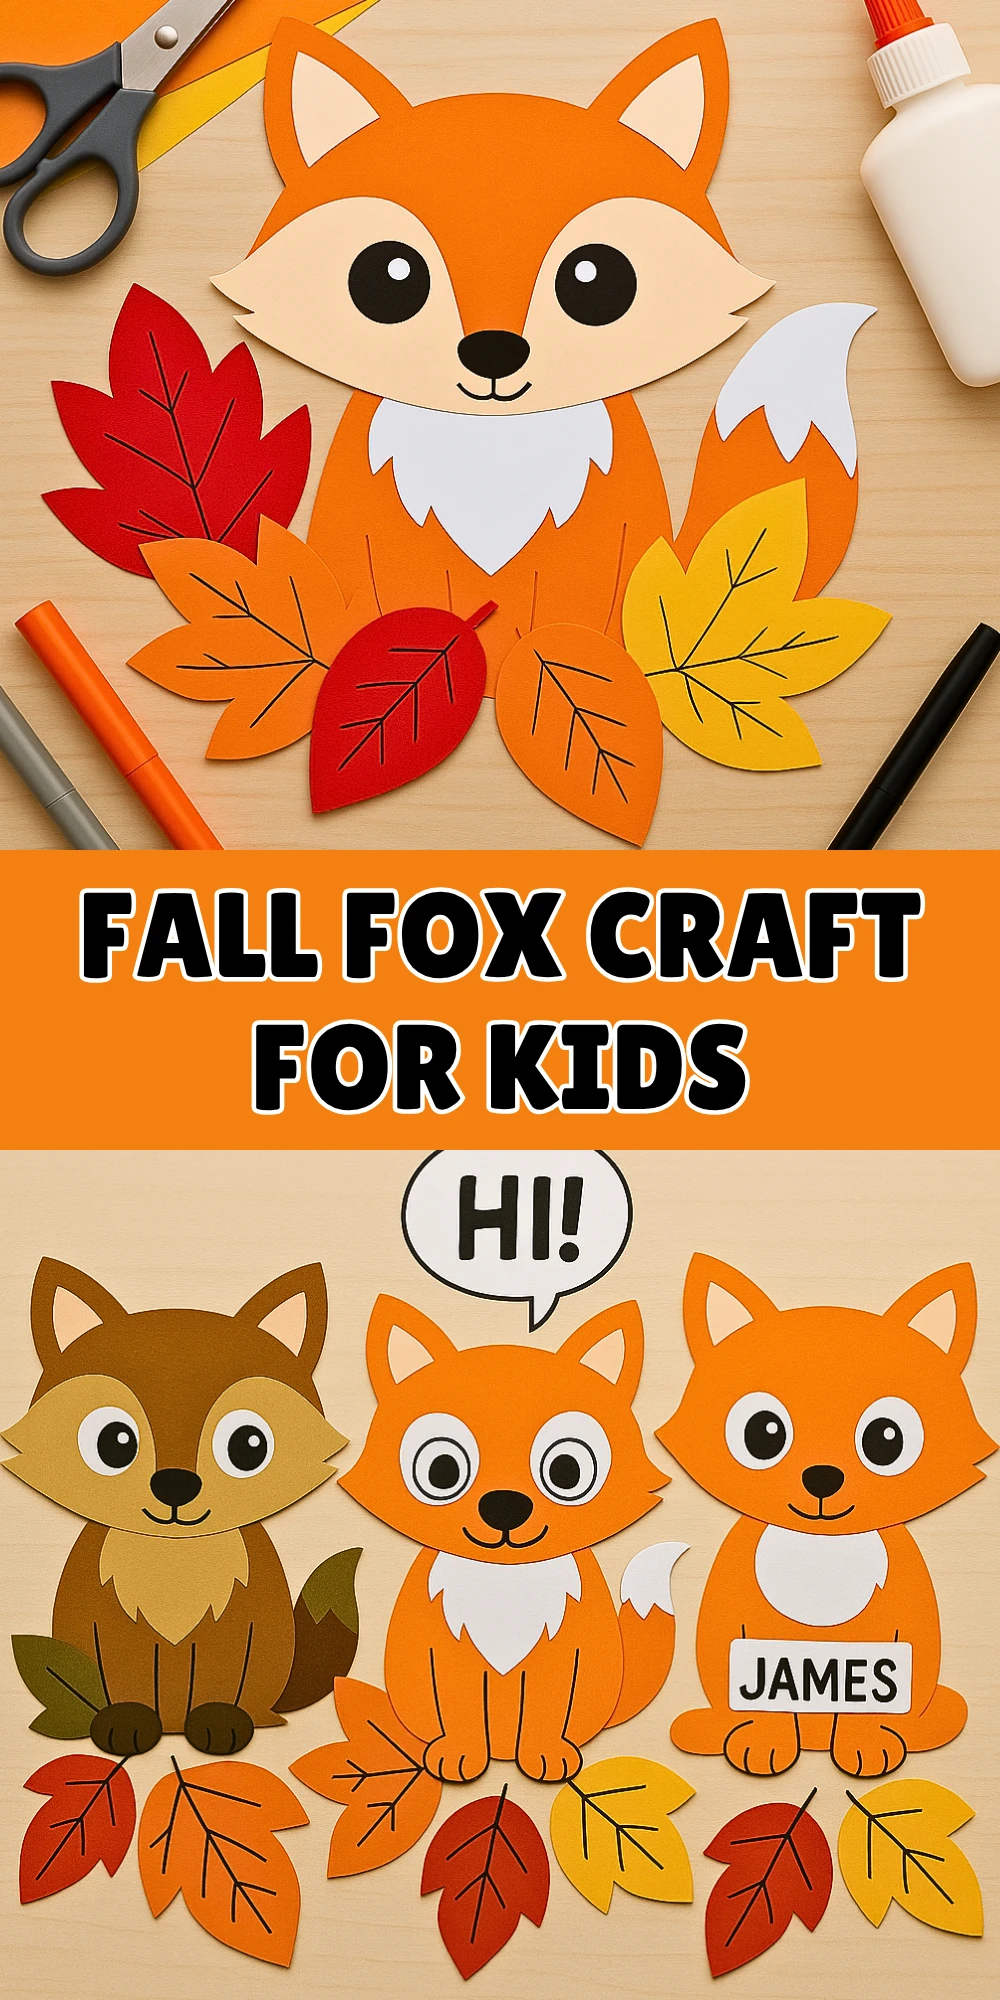
This DIY project helps little ones practice fine motor skills, color recognition, and seasonal learning all at once. It’s beginner-friendly and can be done with minimal materials. Plus, with the printable template included, it’s easy for even young crafters to create a fox they’ll be proud to display.
Materials Needed
To make this Fall Fox Craft, you’ll need:
- Orange, red, yellow, white, cream, and black construction paper
- Scissors
- Glue stick or white craft glue
- Black marker
- Pencil
- Printable fox craft template (optional, but very helpful for younger kids)
Step-by-Step Instructions
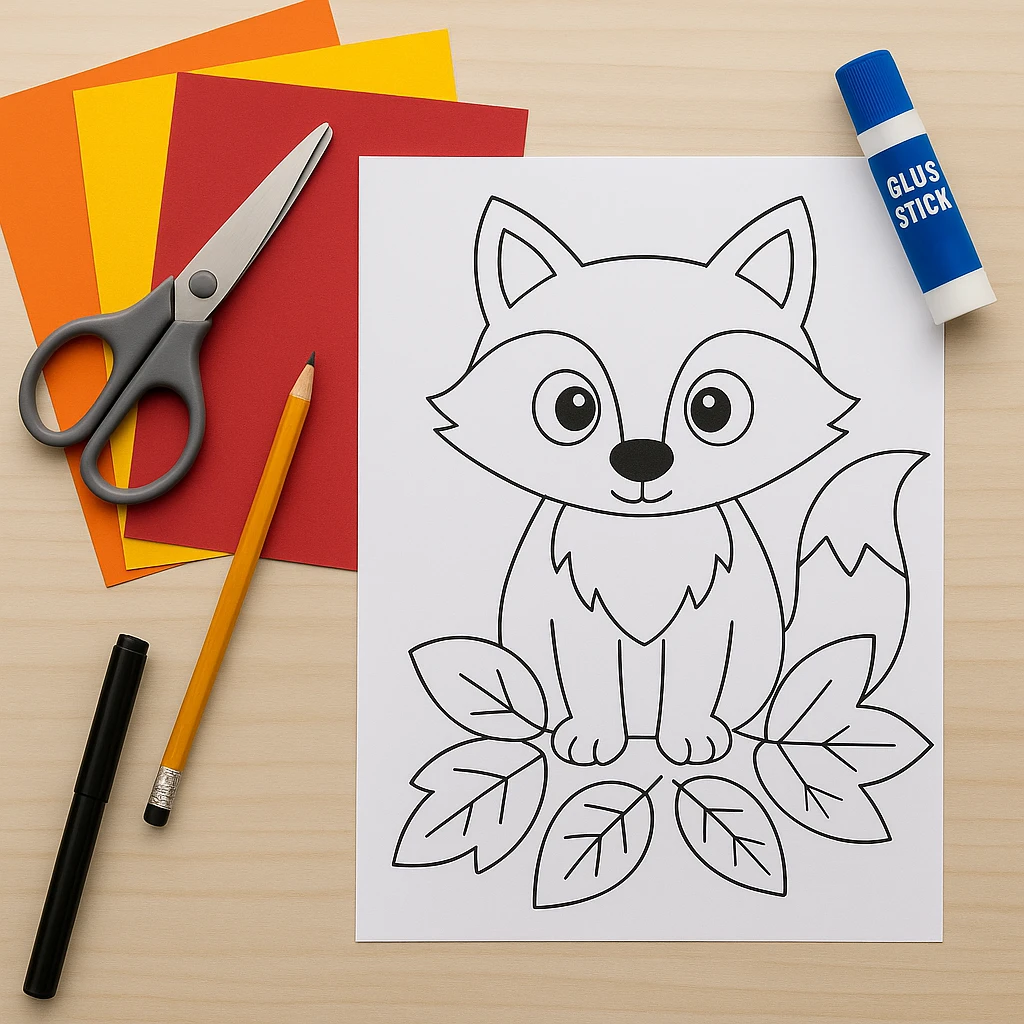
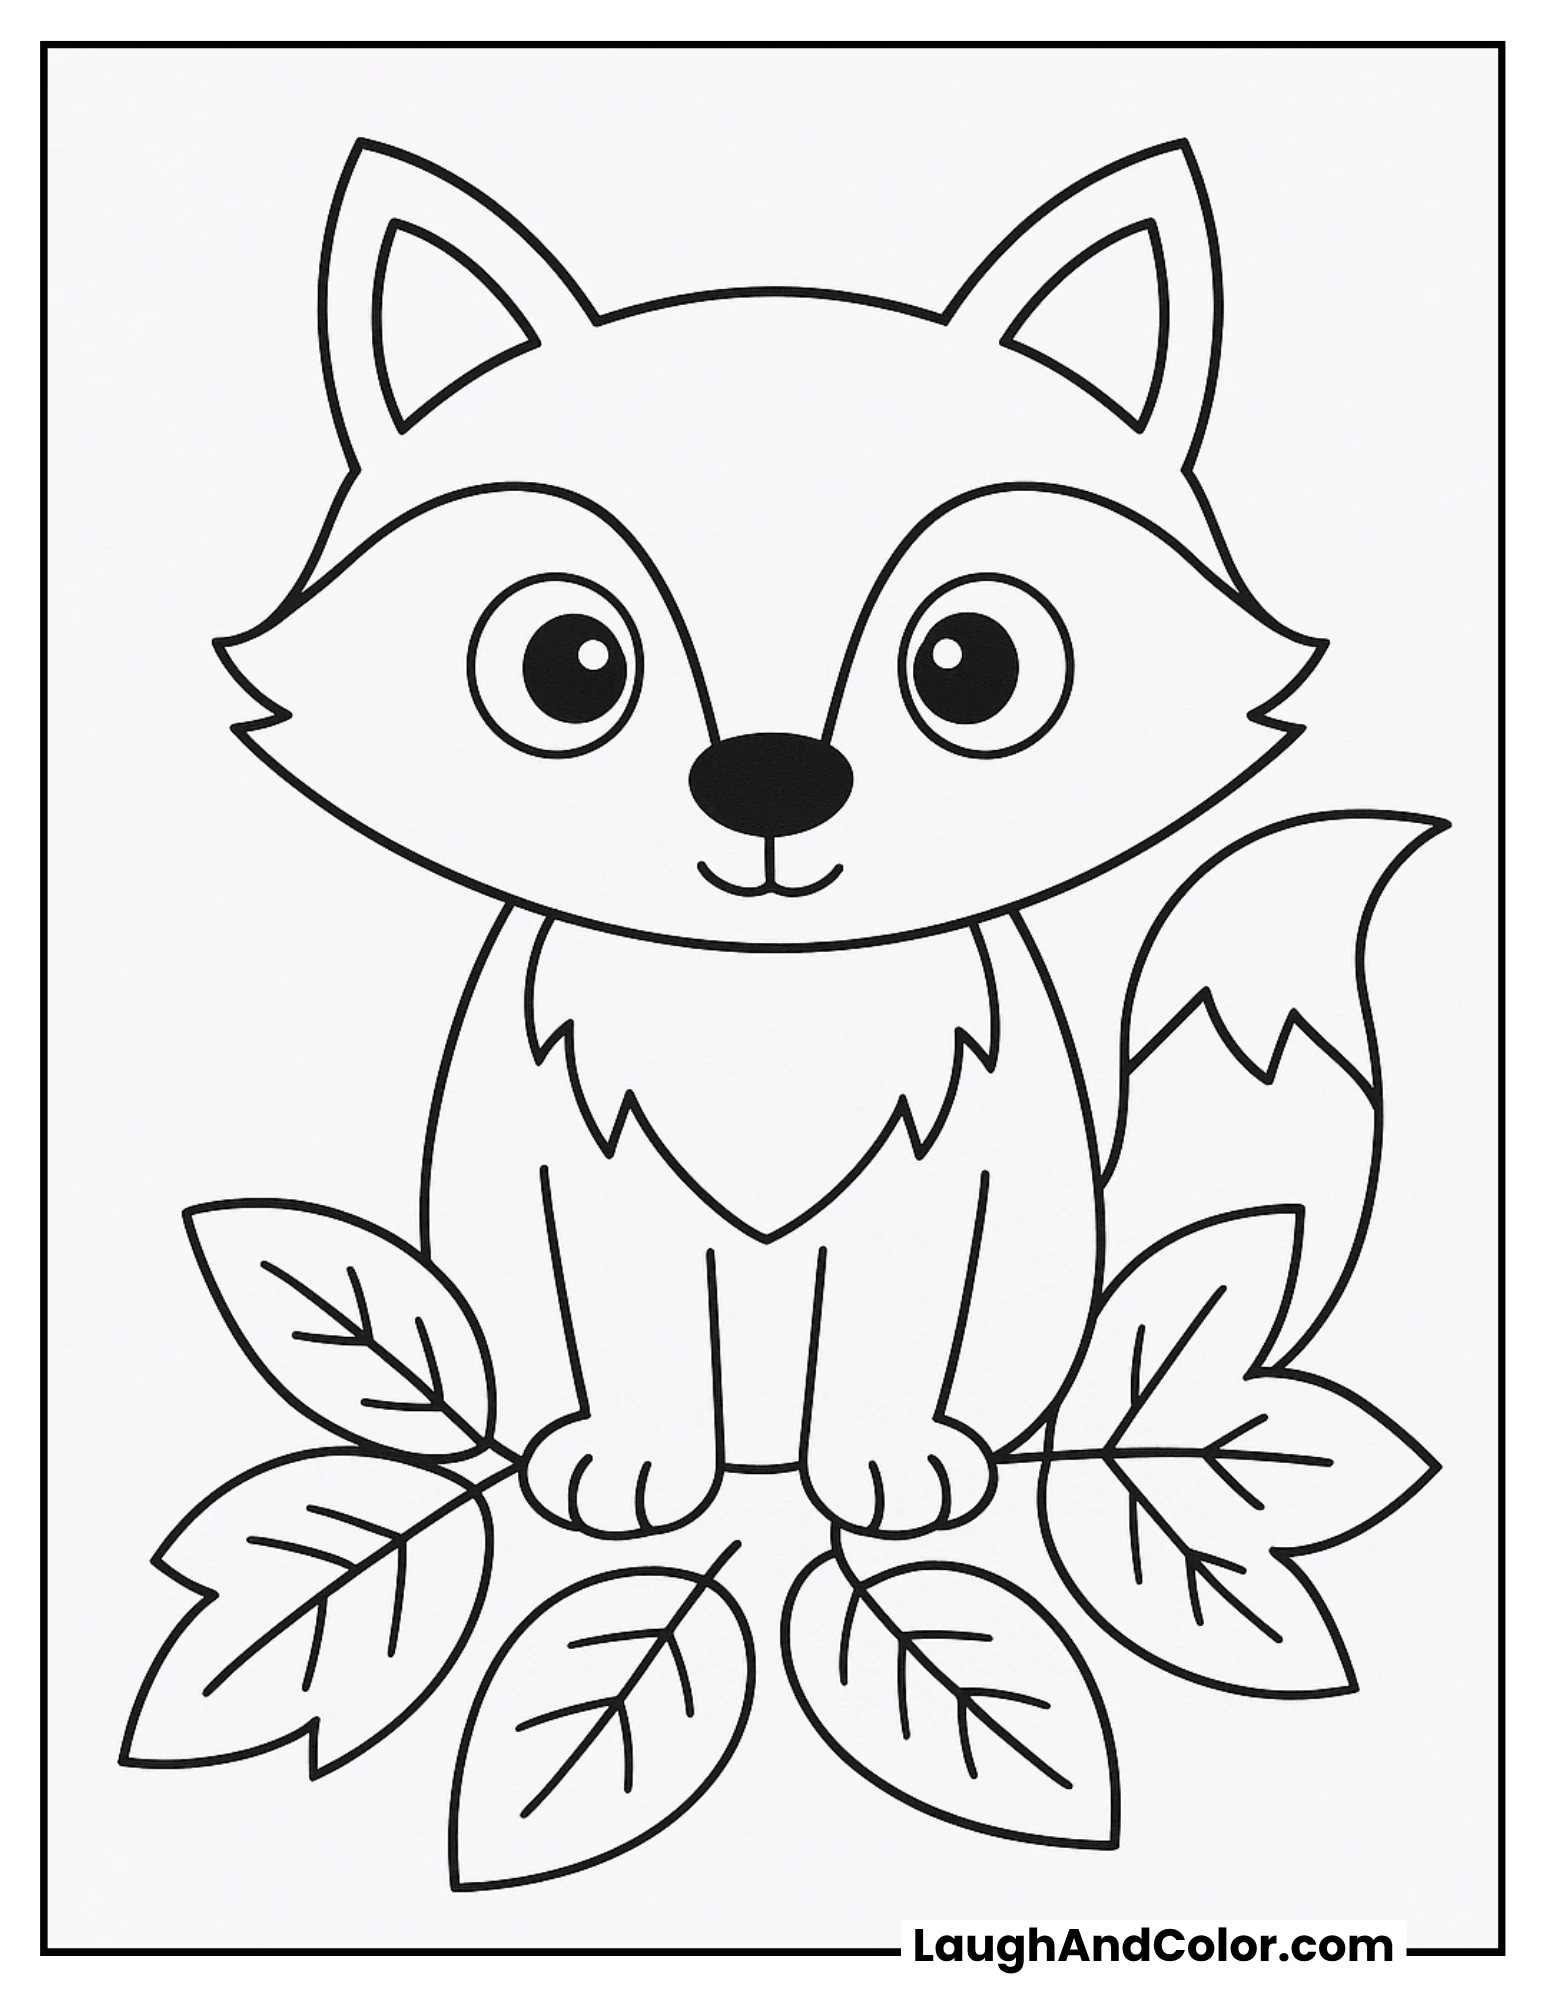
Step 1: Print and Cut the Template
Download and print the fox craft template onto white cardstock. Cut out all the individual shapes: head, ears, face patch, body, tail tip, and leaf outlines. If you don’t have a printer, you can draw simple shapes freehand based on the example image.
Step 2: Trace and Cut the Shapes
Use the cut template pieces to trace each part onto the appropriate colored paper. For example, use orange for the fox’s body, head, and tail; cream or beige for the face patch and ears; white for the tail tip and chest fur; and black for the nose and eyes. Carefully cut out all your traced shapes.
Step 3: Assemble the Fox’s Face
Start by gluing the cream face patch onto the orange head shape. Add the black circular nose at the bottom center of the face patch. Then glue the two black eyes just above the nose. Attach the inner cream ear pieces to the orange ear shapes.
Step 4: Attach the Body and Tail
Glue the white chest fur onto the center of the orange body shape. Then attach the head on top. Next, glue the tail tip onto the end of the orange tail, and attach the tail to one side of the body.
Step 5: Add Colorful Fall Leaves
Use red, orange, and yellow paper to cut out several fall leaves. You can use the leaf templates provided or make your own. Use a black marker to draw veins on each leaf. Then glue the leaves around the base of the fox for a festive, seasonal touch.
Step 6: Add Final Details with Marker
Finish your fox by outlining or adding fine details with a black marker. This step helps define the features and adds a nice handmade look to the finished project.
Customization Ideas
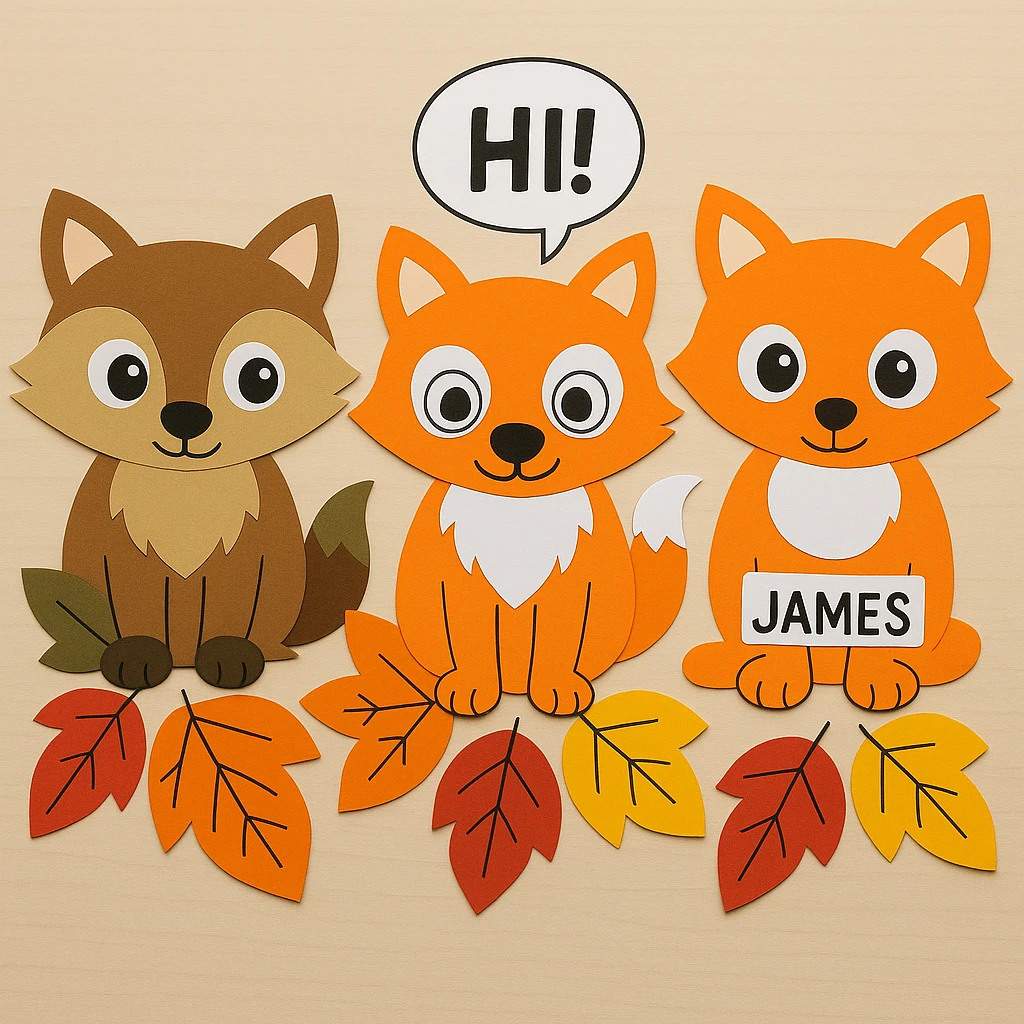
Woodland Fox Theme
Switch up the color scheme to include shades of brown, tan, and moss green for a more realistic woodland fox. You can even add some faux grass or acorns around the base.
Cartoon Fox Style
Give your fox some personality! Try using googly eyes, oversized ears, or a playful tail. Add a speech bubble or cartoon-style cheeks with blush pink circles.
Name Tag Fox
Perfect for classrooms or parties, write each child’s name on the fox’s belly or on a small sign it "holds." These make adorable personalized place cards or cubby decorations.
Educational or Seasonal Uses
This craft is ideal for fall-themed lesson plans. Pair it with a storybook about foxes or autumn forests, and it becomes a literacy extension. Teachers can also use it for bulletin boards, where each student contributes their own unique fox. After a nature walk, kids can incorporate real leaves instead of paper ones for a natural twist.
Printable Template
We’ve included a printable template that makes crafting simple and fun for all ages. It features all the shapes you need: fox head, body, tail, ears, and multiple styles of fall leaves. Just print on white cardstock, cut, trace onto construction paper, and assemble.
For younger kids or group activities, print the template directly onto colored paper to save tracing time. This also makes it easier to prepare materials in advance.
Adorable Fall Fox Craft for Kids (With Printable Template)
Conclusion
This Fall Fox Craft is a charming and easy project for kids to enjoy during the autumn season. With just a few materials and some creativity, children can make a keepsake that brings the colors and charm of fall indoors. Don’t forget to download the printable template and share your fox creations with us!
Adorable Fall Fox Craft for Kids (With Printable Template)
Equipment
- Scissors
- Glue stick or white craft glue
- Pencil
- Black marker
Materials
- Orange, red, yellow, white, cream, and black construction paper
- Printable fox craft template Optional but recommended for young kids
Instructions
- Step 1: Print and Cut the Template — Download and print the fox craft template. Cut out the individual shapes.
- Step 2: Trace and Cut the Shapes — Trace template parts onto colored paper. Cut them out carefully.
- Step 3: Assemble the Fox’s Face — Glue the cream patch, nose, eyes, and ears onto the fox’s head.
- Step 4: Attach the Body and Tail — Glue the chest fur onto the body, add the head, and attach the tail with its tip.
- Step 5: Add Colorful Fall Leaves — Cut and decorate leaves with a marker. Glue around the base of the fox.
- Step 6: Add Final Details with Marker — Outline or add fine details with a black marker for definition.