
A creative twist on the traditional turkey craft, this Woodland Ranger Turkey is outfitted in leafy camouflage armor, ready for adventure in the forest! This charming project is perfect for autumn crafting, Thanksgiving decorations, or a fun classroom activity about woodland creatures and nature. Kids will enjoy assembling and customizing their ranger turkey, layering leaves, adding expressive features, and turning a simple cutout into a character full of personality.
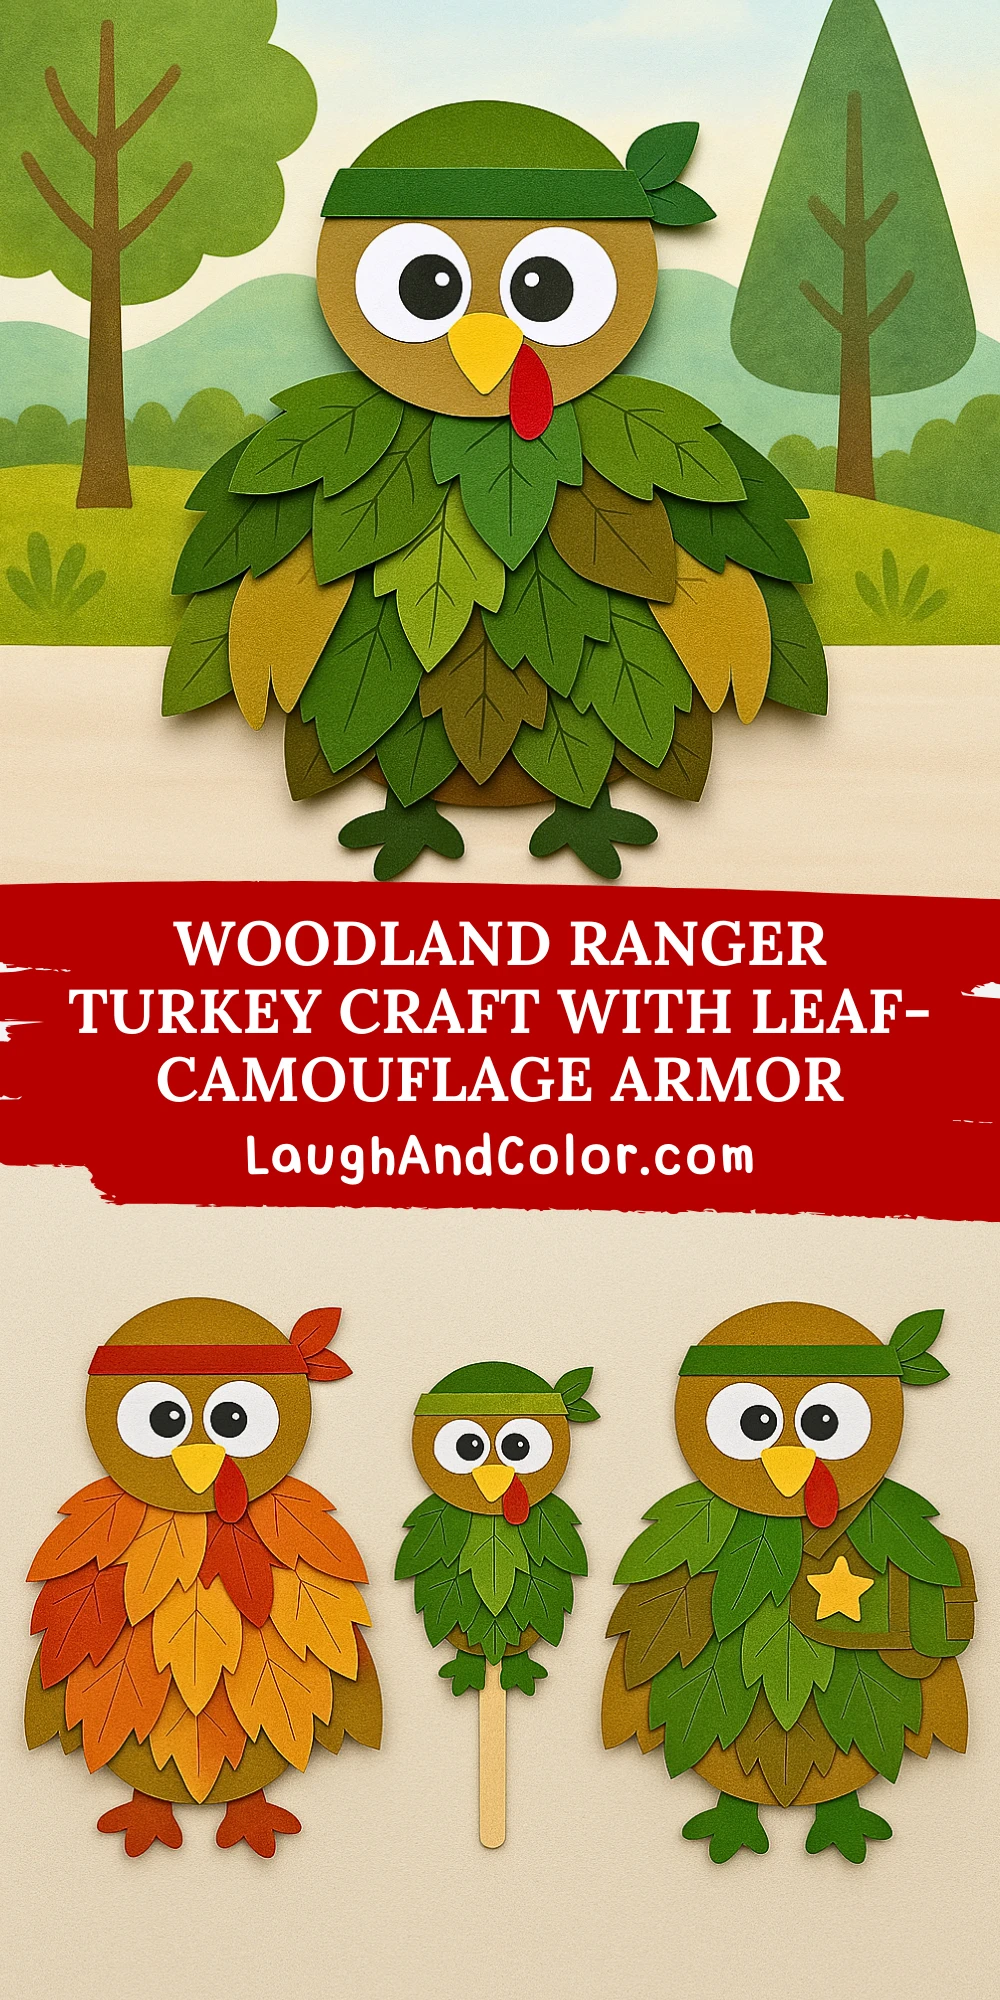
With a headband leaf-tie, bold eyes, and a suit of layered paper foliage, this turkey brings nature and imagination together in a unique way. Not only does it offer plenty of room for creative expression, but it’s also a great opportunity to explore textures, colors, and symmetry while working on fine motor skills. Whether you use real leaves or paper ones, this craft is sure to become a favorite.
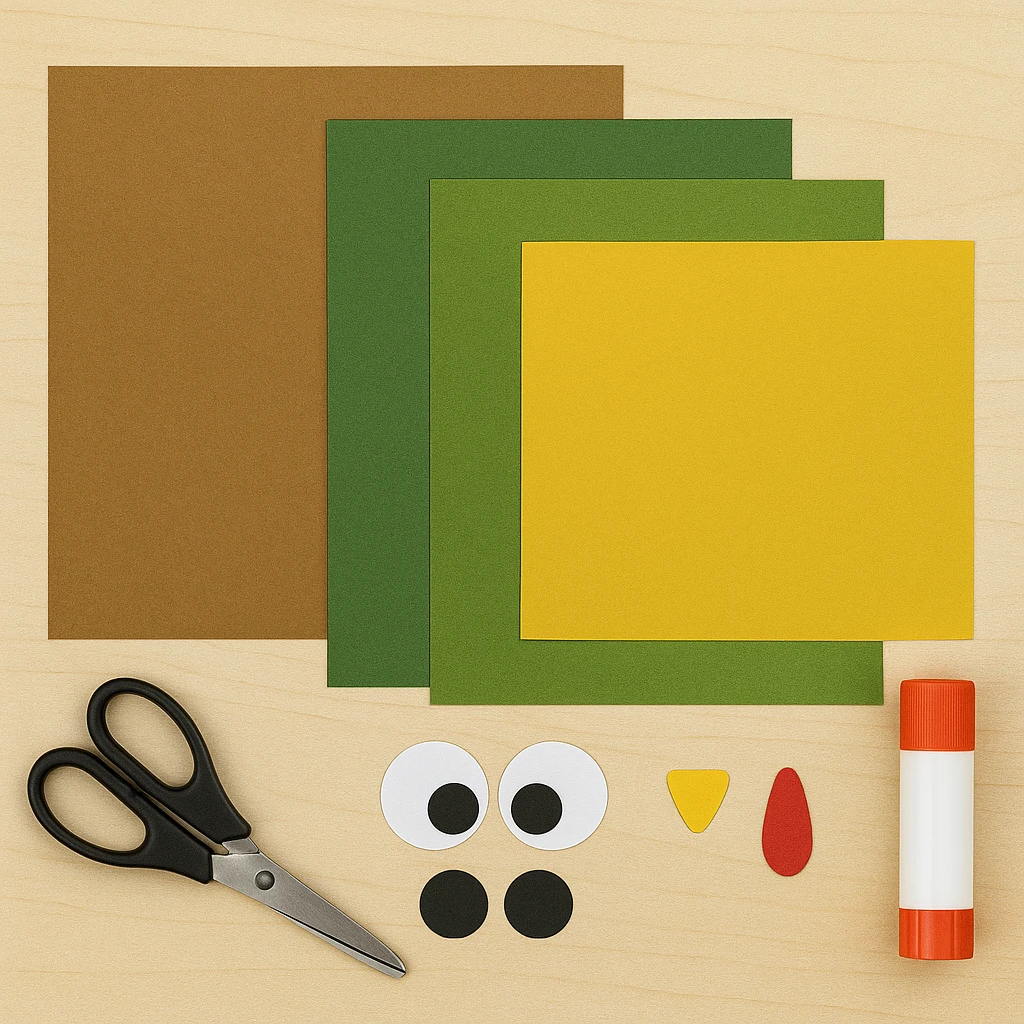
Materials Needed
- Brown construction paper (for body and head)
- Green, brown, and yellow construction paper (for leaf armor)
- Red and yellow construction paper (for beak and wattle)
- Scissors
- Glue stick or craft glue
- Black and white paper or googly eyes
- Printable template (included below)
- Optional: markers, glitter glue, or felt for extra decoration
Step-by-Step Instructions
Step 1: Prepare the Body and Head Base
Cut out the turkey's body and head using brown construction paper. You can follow the printable template provided at the end of this article or freehand a simple round body and circular head. Glue the head to the top of the body, making sure it’s centered.
Step 2: Create and Layer Leaf Armor
Cut out multiple leaf shapes from green, brown, and yellow construction paper. Each leaf should be about 2 to 3 inches long. Begin gluing the leaves starting from the bottom of the turkey's body, layering them upward so each new row slightly overlaps the one below it. This creates the turkey’s “camouflage armor.” Continue layering until the body is fully covered.
Step 3: Add Facial Features
Create two large circles from white paper and two smaller black circles for pupils (or use googly eyes). Glue them to the center of the head. Next, cut a small yellow triangle for the beak and a red teardrop shape for the wattle. Attach both under the eyes, with the wattle slightly off-center.
Step 4: Make the Headband and Tie
Cut a strip of green paper for the headband and a small leaf shape for the knot. Glue the strip across the forehead area of the turkey’s head, then place the leaf to one side, as if tied like a ranger's bandana.
Step 5: Add Feet and Wings
Cut out two simple foot shapes from green paper and glue them to the bottom of the turkey’s body. Then, create two side wings using brown or tan paper and tuck them behind the leaf layers to give dimension. Adjust as needed for symmetry.
Step 6: Final Touches
Once all parts are assembled, let the glue dry thoroughly. At this stage, you can personalize your turkey further—add small acorn cutouts, give it a badge, or use markers to add leaf veins and feather textures. A touch of glitter glue can make it sparkle for a festive flair.
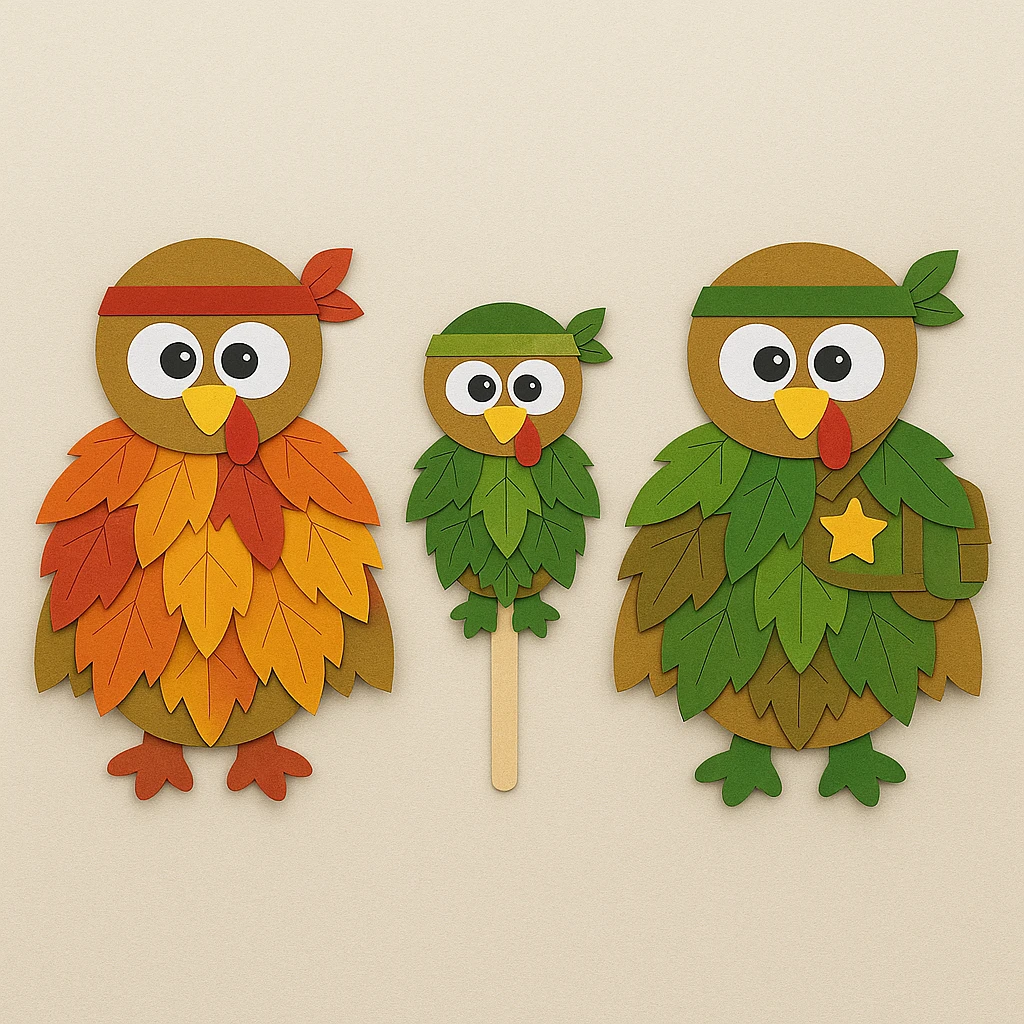
Customization Ideas
Autumn Harvest Turkey
Use a palette of red, orange, and golden-yellow leaves to reflect classic fall colors. Add small paper pumpkins or corn for a harvest theme.
Mini Turkey Puppets
Shrink the template to half size, and glue your turkeys onto craft sticks to turn them into puppets. Great for storytelling or classroom play.
Ranger-in-Training Version
Add fun accessories like a mini paper backpack, binoculars, or even a ranger badge. Perfect for kids interested in exploring nature or scouting themes.
Educational or Seasonal Uses
This craft is excellent for fall and Thanksgiving projects but also works well in classrooms discussing nature, forest habitats, or camouflage in animals. Teachers can use it as part of a science lesson, helping kids understand how animals use natural surroundings to blend in.
It’s also a wonderful project for teaching kids about layers, patterns, and symmetry, enhancing fine motor skills and creative planning.
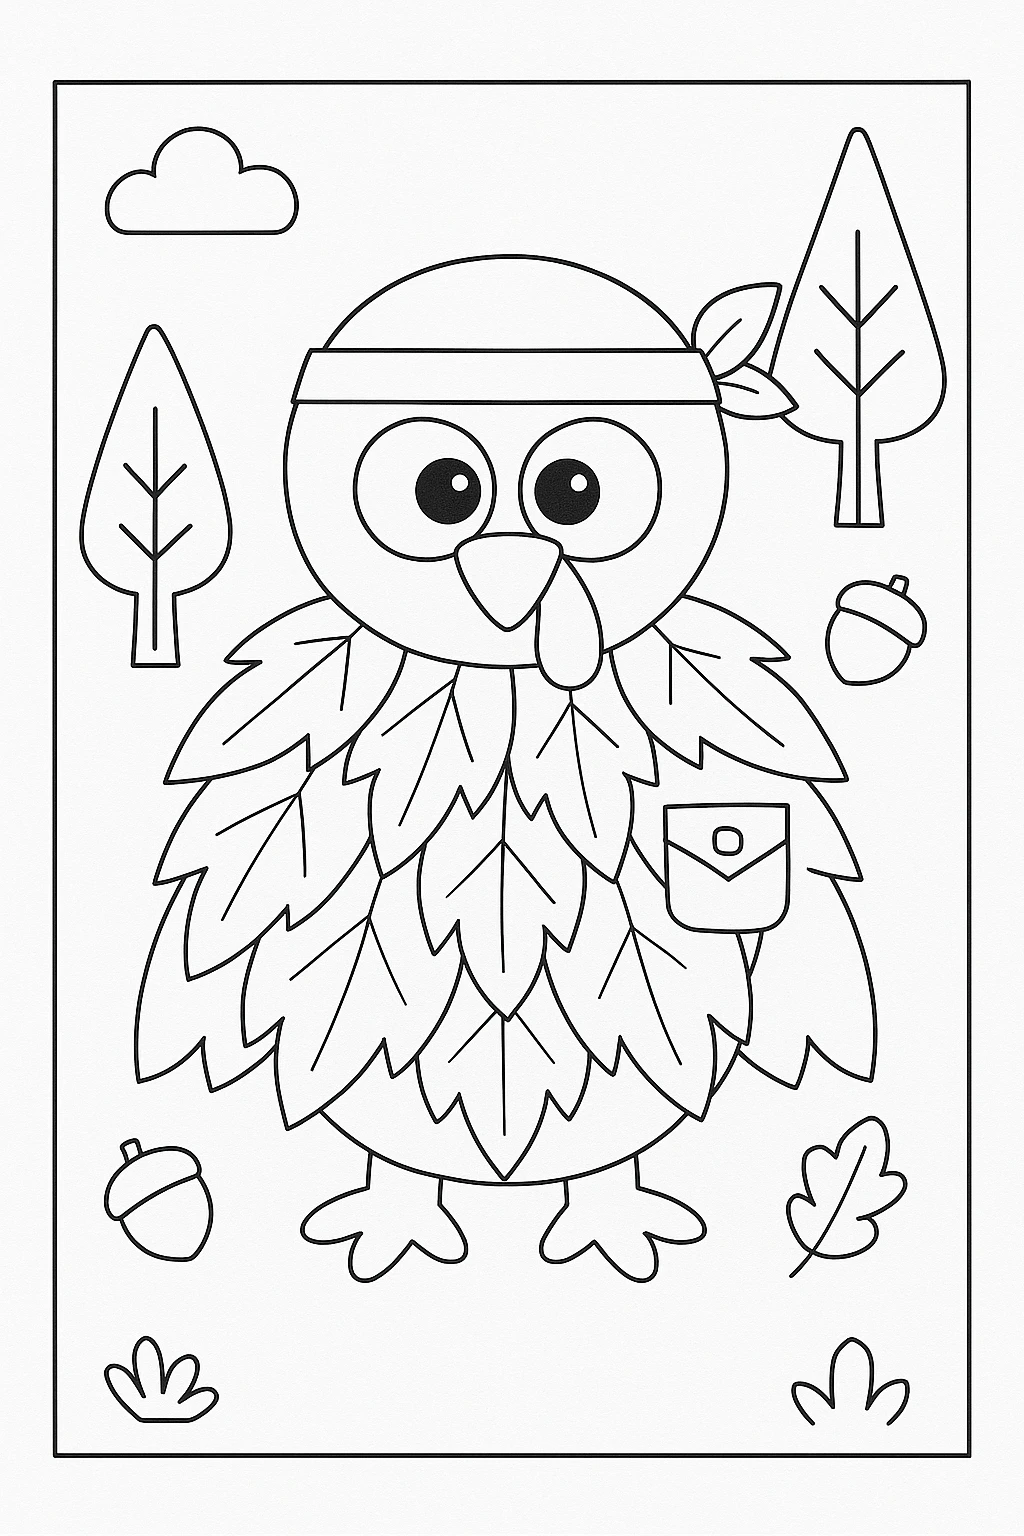
Printable Template
We’ve included a printable version of this turkey craft template at the end of the article. Just print, color, and cut to begin! The template includes the body base, head, feet, wings, headband, and multiple leaf shapes for layering.
Kids can use crayons, markers, or even watercolor to decorate their leaves before cutting. The coloring option adds another level of creative fun, making this a flexible activity for different ages and skill levels.
Conclusion
The Woodland Ranger Turkey is more than just a festive craft—it’s a story starter, a learning moment, and a creative outlet rolled into one. With its fun leaf armor and expressive design, this turkey craft is sure to capture attention and imagination, whether it’s hung on a classroom wall or displayed at home for Thanksgiving.
Don’t forget to download your free printable template and share your turkey creations with friends or classmates!

Woodland Ranger Turkey Craft With Leaf-Camouflage Armor
Equipment
- Scissors
- Glue stick or craft glue
Materials
Main Materials
- Brown construction paper for body and head
- Green, brown, and yellow construction paper for leaf armor
- Red and yellow construction paper for beak and wattle
- Black and white paper or googly eyes for the eyes
- Printable template provided in the article
- Optional embellishments markers, glitter glue, or felt
Instructions
- Cut out the turkey's body and head from brown construction paper using the printable template. Glue the head on top of the body.
- Cut multiple leaf shapes from green, brown, and yellow paper. Glue them in layered rows starting from the bottom up to create camouflage armor.
- Create two large white paper circles and two small black circles for eyes, or use googly eyes. Glue to the head. Add a yellow beak and red wattle underneath.
- Make a green headband strip and a leaf-shaped knot. Glue across the forehead and attach the knot off to the side.
- Cut and glue two green paper feet to the bottom of the body. Add brown wings behind the leaf layers on each side.
- Let the glue dry. Add extra decorations like acorns, ranger badges, or use glitter glue and markers to finish your turkey.