
If you're searching for a craft that combines cultural significance with fun outdoor decor, these DIY Festive Skull Lanterns are just what your garden needs. Inspired by the vibrant motifs of Día de los Muertos, these skull-shaped lanterns bring warmth, color, and personality to any space. Whether you're hosting a themed celebration or simply looking to brighten your yard with something unique, this project will delight both adults and kids.

The best part? You can fully customize these lanterns using foam, felt, and LED tea lights, making it a safe and satisfying project for family craft time. They're perfect to hang from tree branches, porch hooks, or even along a fence. You’ll end up with glowing decorations that are festive and meaningful, paying tribute to heritage while having creative fun.
Materials Needed
- Skull-shaped cardboard or wooden cutouts (approx. 10" tall)
- Acrylic paint or spray paint
- Colored foam sheets or felt (in assorted colors)
- Hot glue gun or craft glue
- Scissors
- Pencil for sketching design
- Battery-operated LED tealight candles
- Hole punch and black ribbon or twine for hanging
- Optional: glitter, rhinestones, or stickers for extra flair

Step-by-Step Instructions
Step 1: Cut Out the Skull Shape
Start by preparing your skull base. If you’re using cardboard, trace a skull shape approximately 10 inches tall and 7 inches wide, then cut it out carefully using scissors or a craft knife. Wooden pre-cut shapes are also a great alternative if you want a sturdier lantern.
Step 2: Paint or Color the Base
Using acrylic paint or spray paint, coat the entire surface of the skull cutout in your desired base color. Neutral tones like tan or beige work great to highlight the vibrant decorations later. Let the paint dry completely before moving to the next step.
Step 3: Add Decorative Floral Foam or Felt Accents
Cut out floral and leaf shapes from colorful foam or felt sheets. Think marigolds, daisies, or abstract petal designs. Glue these decorations around the top and sides of the skull to create a crown or garland effect. Layering shapes will add extra dimension.
Step 4: Create and Attach Eyes and Mouth
Cut out two large flower shapes or circles for the eyes. You can back them with translucent paper or thin white fabric to diffuse the LED light from behind. For the mouth, cut small rectangular teeth shapes and glue them in rows. Add a nose cutout in the shape of an upside-down heart.
Step 5: Insert or Attach the Lantern Light
Flip the skull over and glue a small cardboard pocket to hold your LED tealight in place. You can also attach it directly to the back if you prefer. Test that the light shines through the eyes and mouth before final assembly.
Step 6: Assemble and Hang the Lantern
Punch a hole in the top center of the skull and thread through a piece of black ribbon or twine. Tie securely and hang your finished lantern on a tree branch, porch hook, or shepherd’s hook in your garden. Turn on the tealight to bring your lantern to life!
Customization Ideas
- Bold & Bright Fiesta Skull: Use neon foam and glow-in-the-dark paint. This style pops during both day and night.
- Elegant Monochrome Skull: Stick to black, white, and silver. Add rhinestones or metallic accents for a sleek look.
- Kid-Friendly Skull: Choose pre-cut foam stickers and simple shapes. Let kids pick their own colors and arrangements.

Educational or Seasonal Uses
These festive skull lanterns are a great opportunity to introduce children to the cultural traditions of Día de los Muertos. Teachers can incorporate the craft into lessons about heritage and symbolism, while parents can use the activity as a storytelling tool. Beyond the holiday, these lanterns make for charming fall or Halloween decorations and can even be repurposed for birthday themes or seasonal garden lighting.
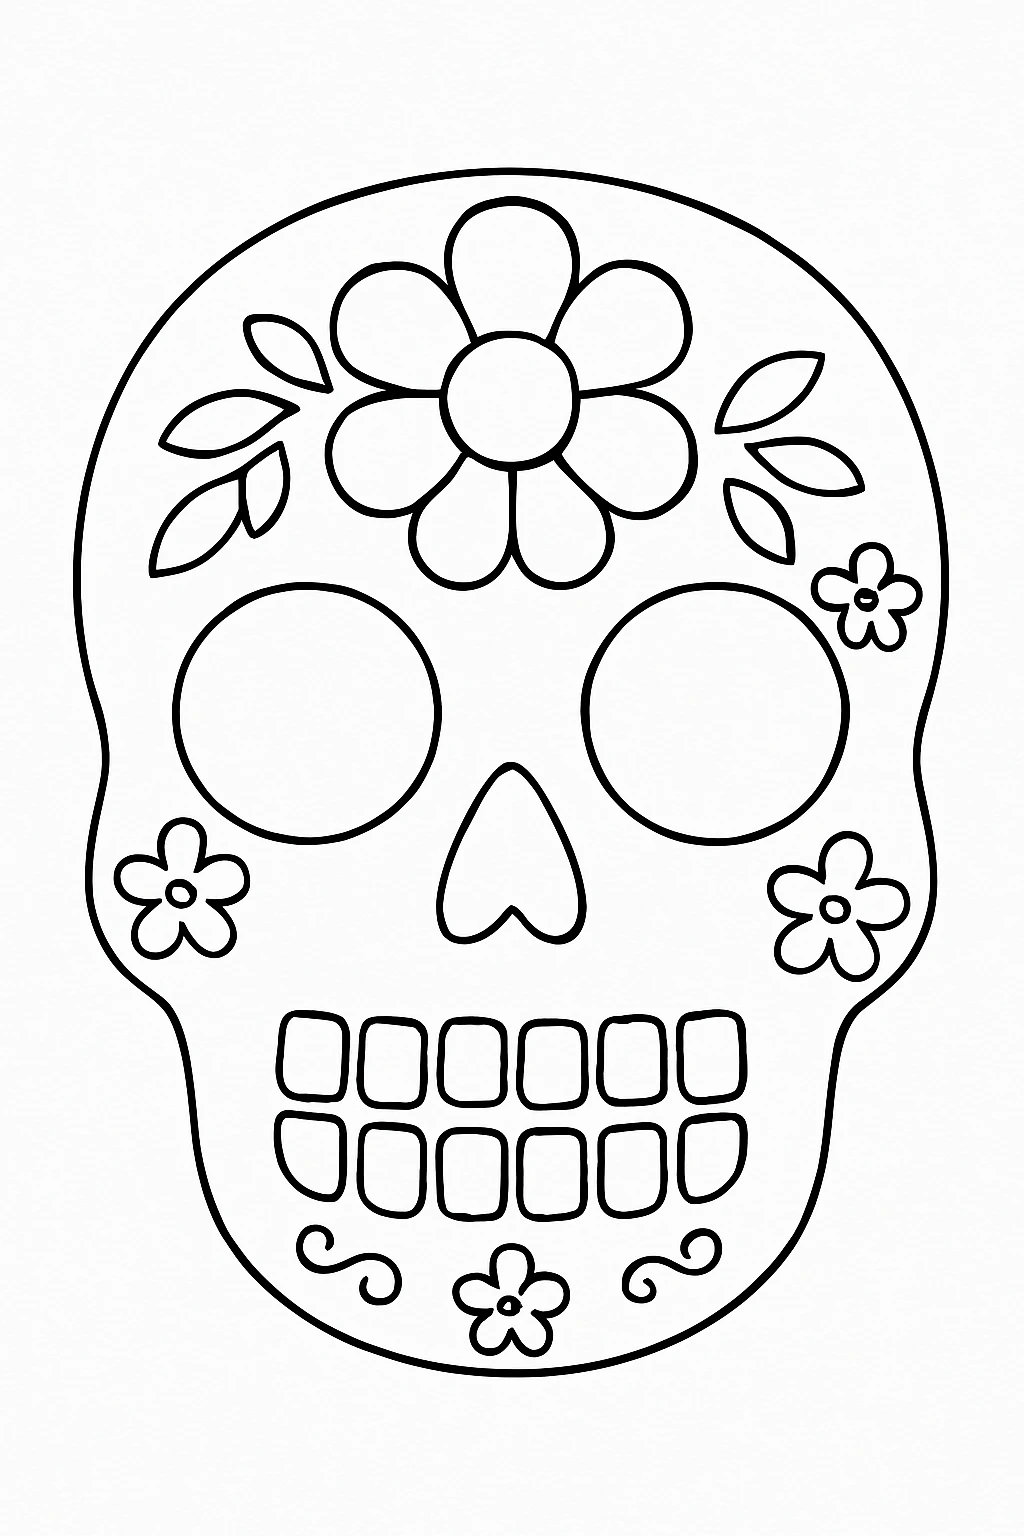
Printable Template
To simplify the process, a printable template is available that includes an easy-to-cut skull outline and basic decorative elements. Just print it on cardstock, color it in with markers or crayons, and follow the same assembly steps using lighter materials like paper or thin foam.
This version is ideal for classroom use or large groups, as it minimizes prep time while still encouraging creative expression. It’s also a fantastic backup option when you're short on time but want to create something festive.
Conclusion
Crafting these DIY Festive Skull Lanterns is more than just a fun art project; it's a way to honor tradition, express creativity, and light up your surroundings. With endless opportunities to customize and share, this craft is sure to become a favorite seasonal staple. Grab your materials, gather your family, and let the glow of handmade celebration begin!

DIY Festive Skull Lantern Garden Decor
Equipment
- Scissors
- Hot glue gun or craft glue
- Paintbrush or spray paint
- Hole punch
Materials
Materials
- Skull-shaped cardboard or wooden cutouts (approx. 10" tall)
- Acrylic paint or spray paint
- Colored foam sheets or felt (assorted colors)
- Hot glue gun or craft glue
- Scissors
- Pencil for sketching design
- Battery-operated LED tealight candles
- Hole punch and black ribbon or twine for hanging
- Optional: glitter, rhinestones, or stickers For extra decoration
Instructions
- Step 1: Cut Out the Skull Shape - Trace and cut a skull shape about 10 inches tall from cardboard or use a pre-cut wooden skull base.
- Step 2: Paint or Color the Base - Paint the skull base in a neutral tone and let it dry fully.
- Step 3: Add Decorative Floral Foam or Felt Accents - Cut colorful floral shapes from foam or felt and glue around the skull like a crown.
- Step 4: Create and Attach Eyes and Mouth - Make large flower eye shapes and teeth cutouts. Glue in place and add a nose piece shaped like an upside-down heart.
- Step 5: Insert or Attach the Lantern Light - Attach a pocket or glue LED light behind the eyes and mouth so it glows through.
- Step 6: Assemble and Hang the Lantern - Punch a hole, thread ribbon, tie, and hang your lantern in the garden. Switch on the light and enjoy the glow!