
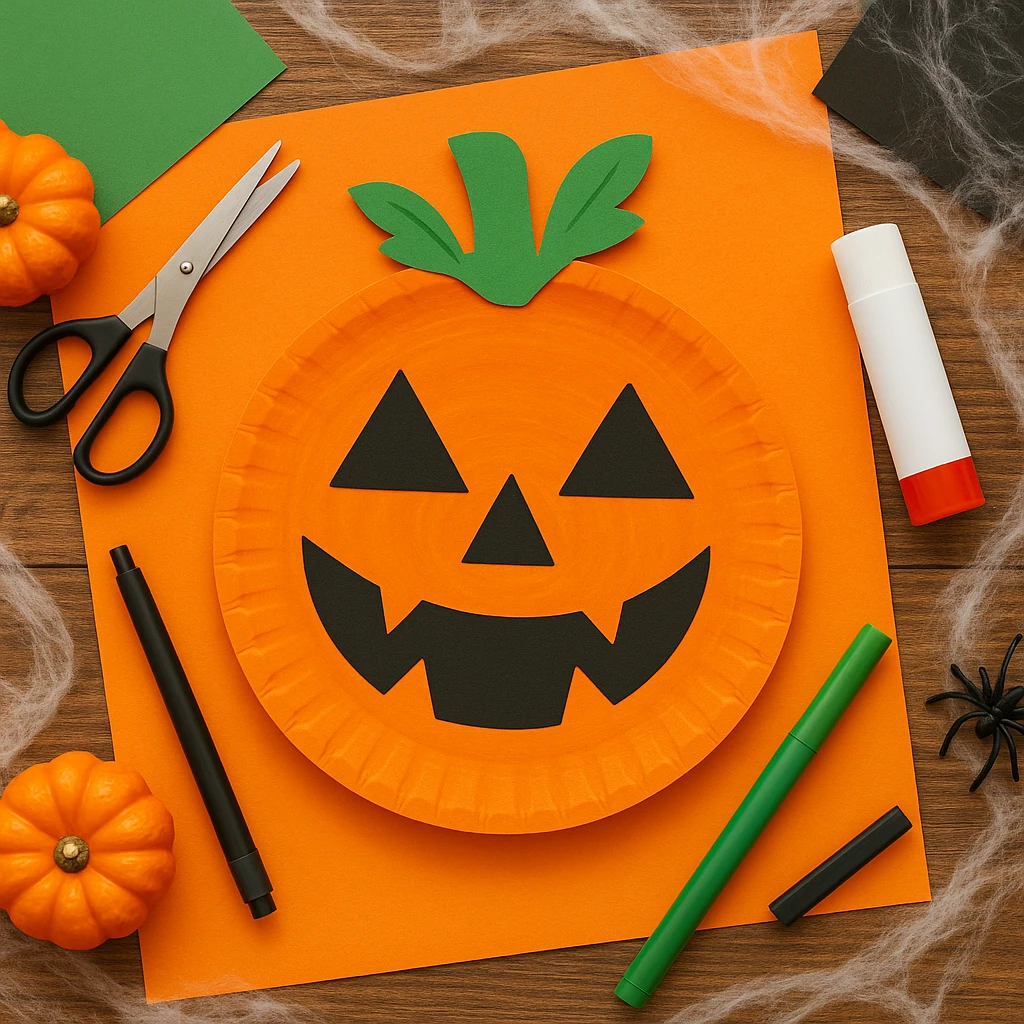
Halloween is the perfect time to break out the craft supplies and get creative with your little ones. If you're looking for a festive and simple project that brings out the spooky spirit without the mess of real pumpkins, this Pumpkin Monster Paper Plate Craft is just the thing. Using basic materials like paper plates, construction paper, glue, and markers, you and your kids can create a Halloween decoration that’s both fun and frightfully cute.
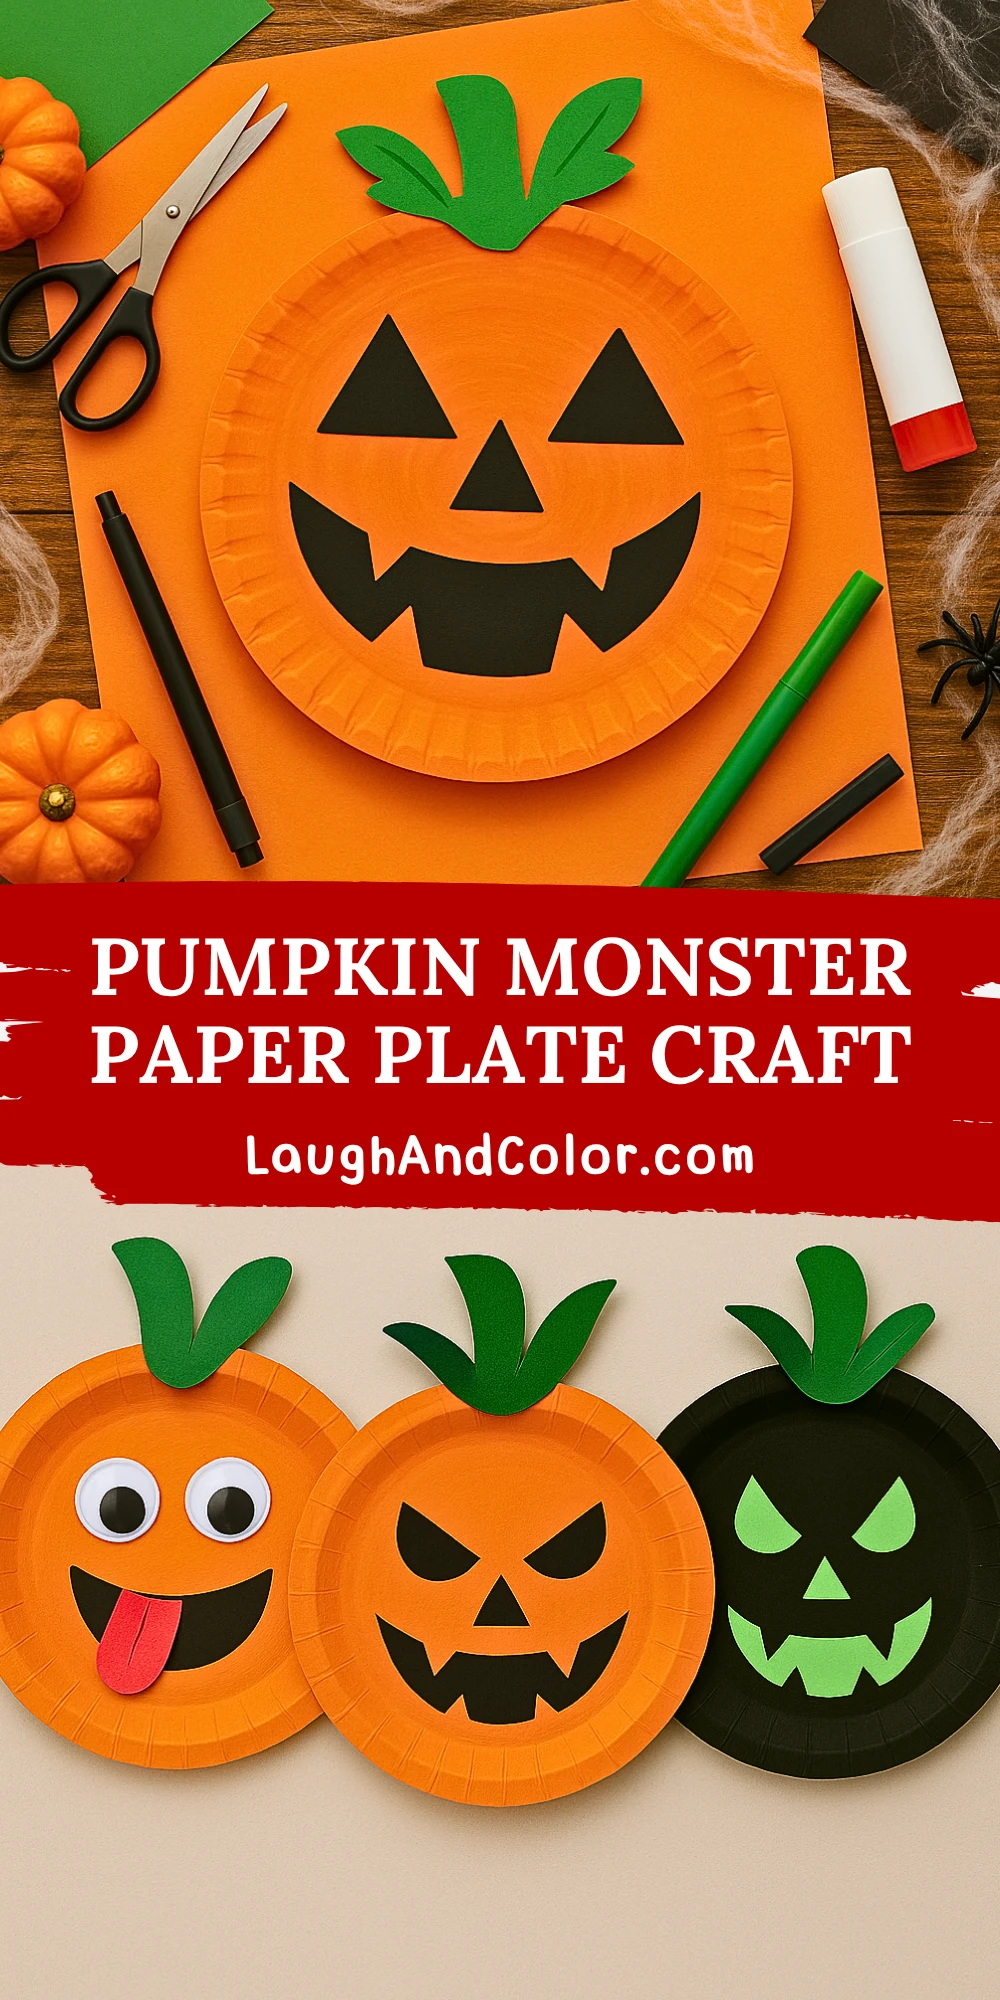
This craft is not only a great way to engage kids in a hands-on activity, but it also helps develop fine motor skills like cutting and gluing. Whether you're crafting at home, in a classroom, or hosting a Halloween party, these pumpkin paper plates add a cheerful (or spooky!) touch to any setting. The best part? There’s no wrong way to make your pumpkin monster. Each one turns out unique with different face shapes and expressions.
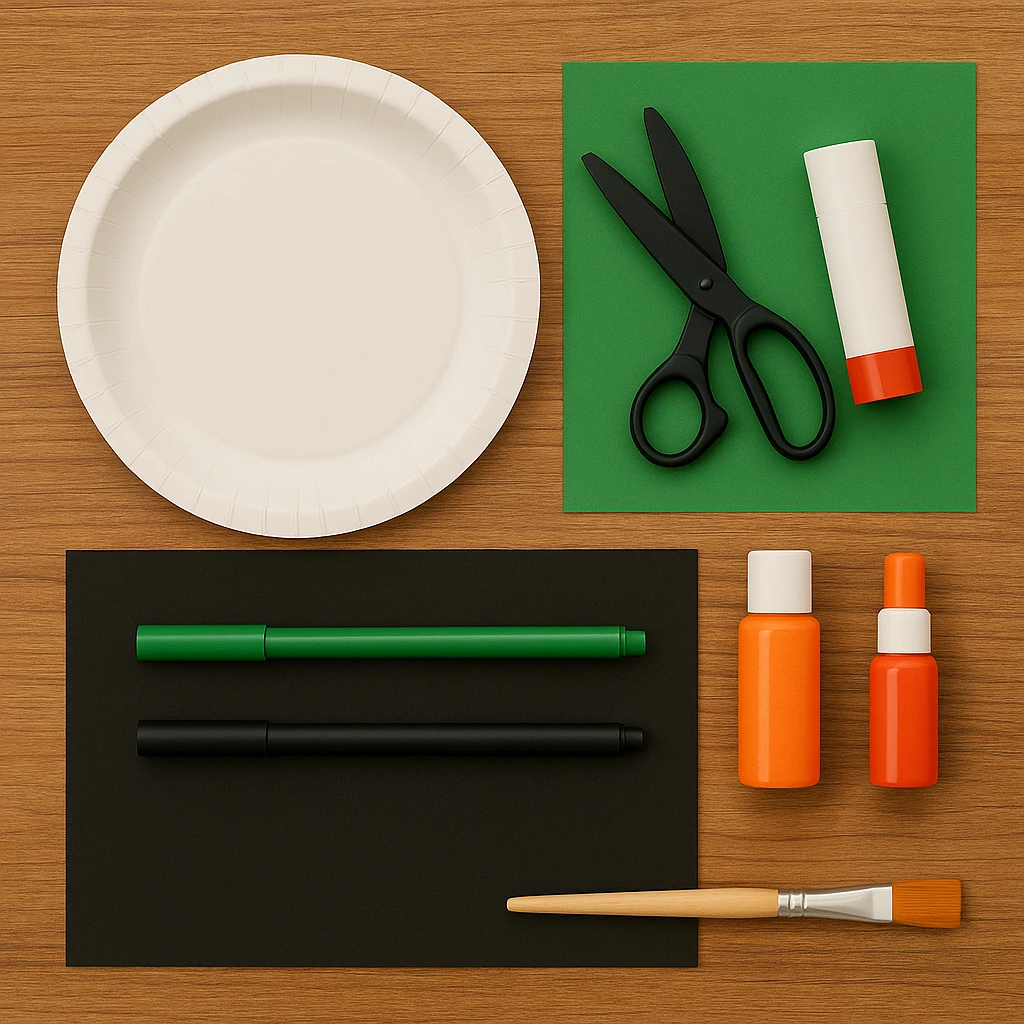
Materials Needed
- Paper plate (one per craft)
- Orange acrylic paint
- Black construction paper
- Green construction paper
- Scissors
- Glue stick
- Black marker
- Green marker (optional for details)
- Paintbrush
- Protective table cover or newspaper
Step 1: Paint the Paper Plate Orange
Lay down a protective cover on your table, then hand each child a paper plate and a paintbrush. Using orange acrylic paint, cover the entire front surface of the paper plate. Allow the paint to dry completely—this usually takes about 20 to 30 minutes.
Helpful Tip: If you’re short on time, orange paper plates are a great alternative.
Step 2: Cut Out Jack-o'-Lantern Face from Black Paper
While the plates are drying, cut out triangle shapes for eyes and nose and a jagged, wide mouth from black construction paper. You can draw the shapes lightly with a pencil before cutting to help younger kids.
Step 3: Glue Face onto Plate
Once the paint is dry, glue the eyes, nose, and mouth onto the center of the plate to create the pumpkin monster’s face. Position them however you like—silly, spooky, or surprised!
Step 4: Add Green Leaf and Stem at the Top
Cut a leafy stem shape from green construction paper. Glue this to the top of the plate to represent the pumpkin’s stem. For extra flair, add details with a green marker to give it more texture and definition.
Step 5: Final Touches and Dry Time
Check that all pieces are firmly glued and allow a few minutes for everything to dry. You can now use the black marker to outline the face for extra boldness or add freckles, scars, or any other creative monster touches.
Helpful Tip: Attach string or tape to the back for easy hanging on walls or doors.
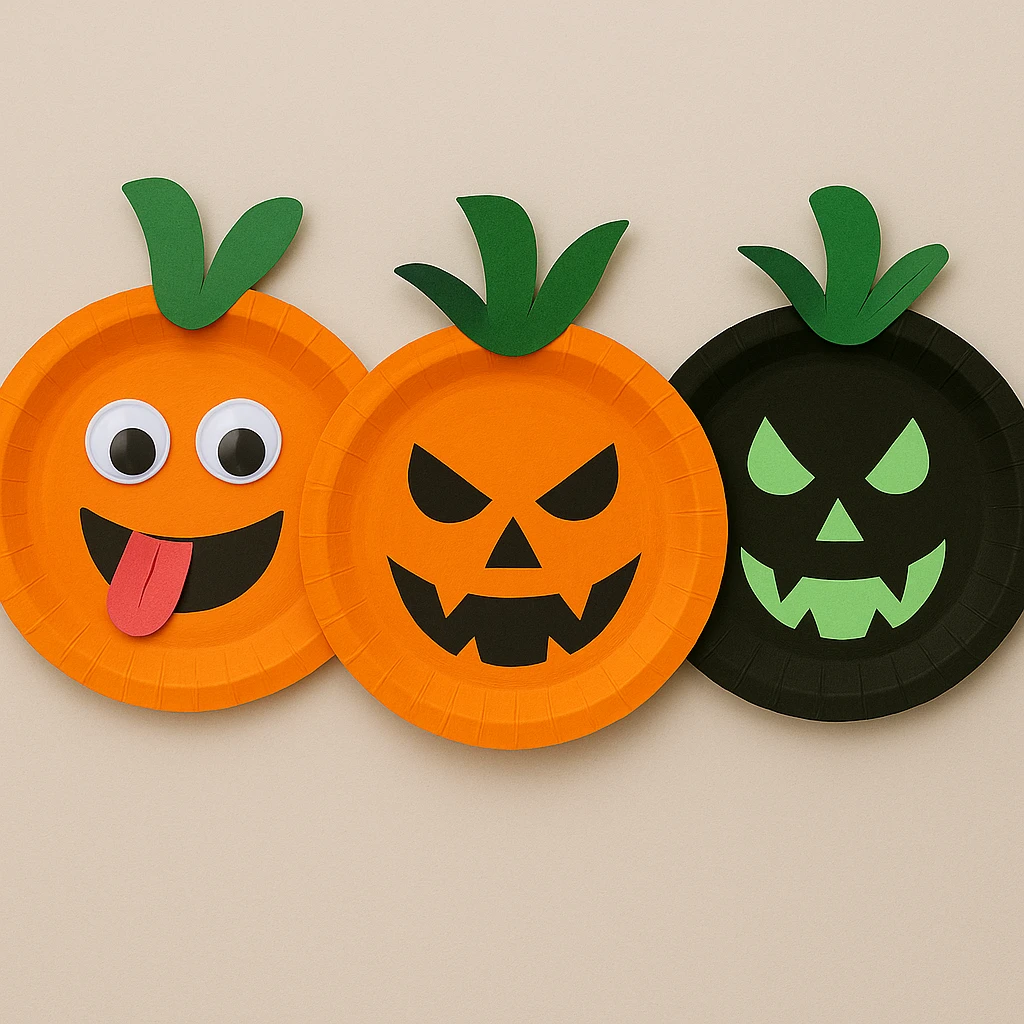
Customization Ideas
Style 1: Goofy Pumpkin Face
Switch out the sharp teeth for a wiggly smile, and glue on some googly eyes. Add a tongue sticking out using red paper for extra giggles.
Style 2: Scary Pumpkin Monster
Use jagged, angular shapes for the eyes and mouth, and cut extra fangs. Add black paper eyebrows for a menacing expression.
Style 3: Glow-in-the-Dark Pumpkin
Paint the plate with glow-in-the-dark orange paint or add glow stickers. Use neon green paper for the leaves and stem to make it pop in the dark.
Educational and Seasonal Uses
This craft is perfect for Halloween-themed lesson plans in preschool or elementary classrooms. It strengthens fine motor skills through cutting and gluing, and supports shape recognition with triangle faces and curved lines. It’s also an engaging addition to story time, where kids can invent personalities for their pumpkin monsters.
Hang them in classrooms, hallways, or windows to instantly set a festive fall mood. They're also perfect for decorating Halloween party spaces with kid-friendly flair.
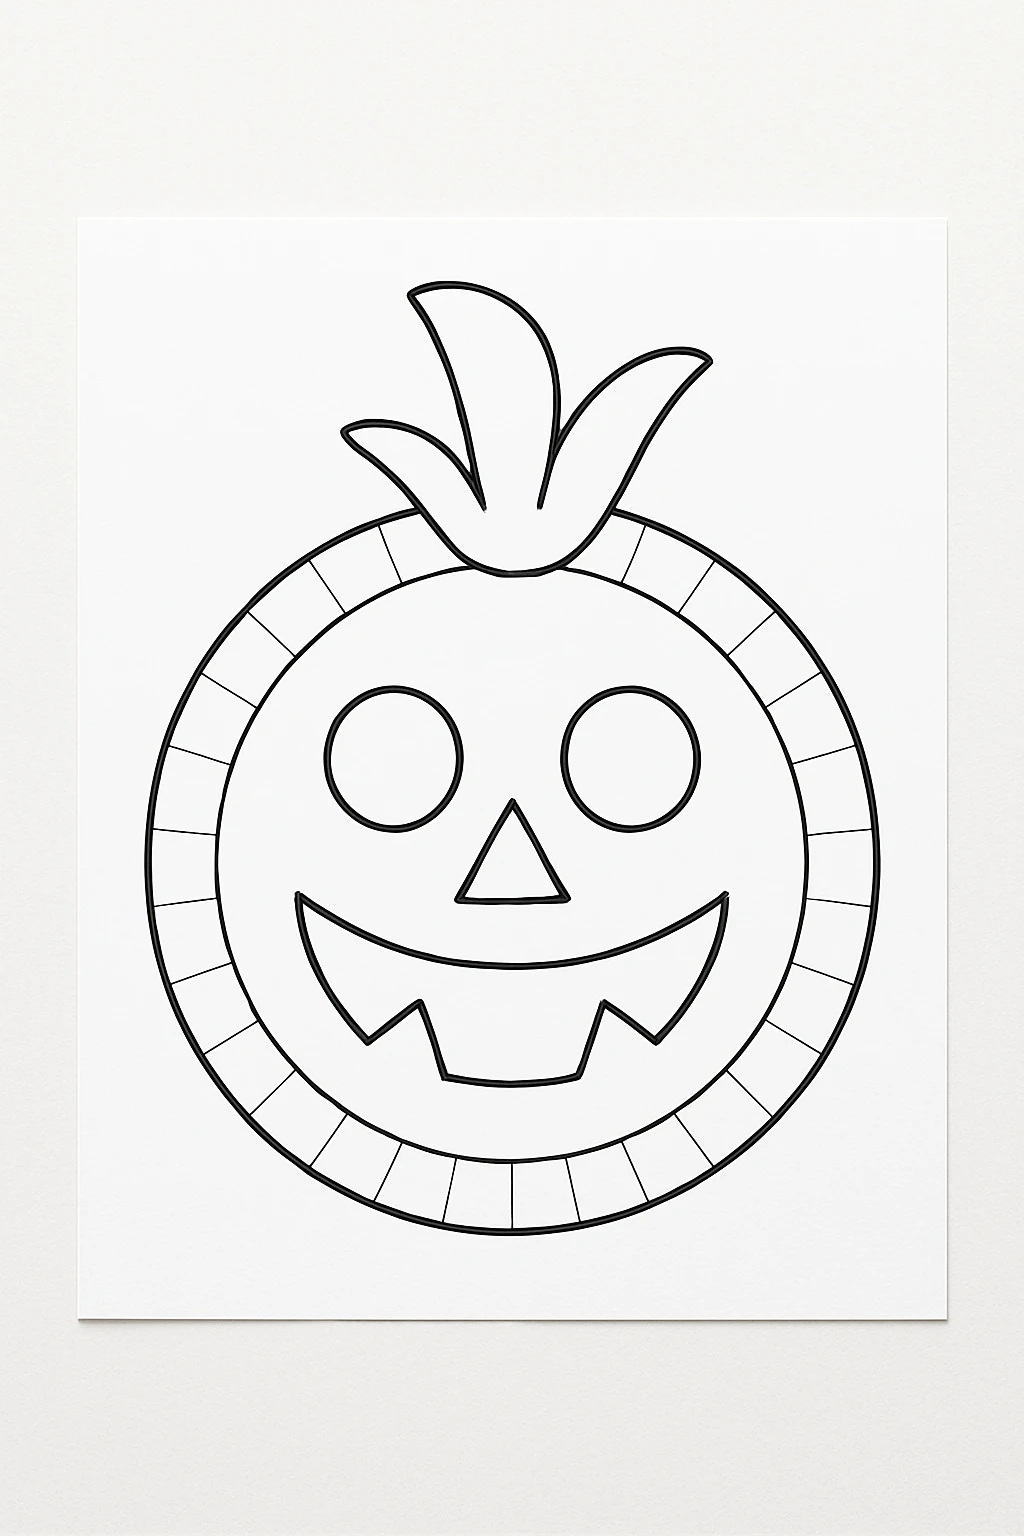
Printable Template
To make things even easier, use our printable pattern for the pumpkin’s face and stem. The download includes triangle eyes, nose, a jagged mouth, and a leafy green stem that can be printed directly onto colored paper or colored in with crayons and markers.
Simply print, color, cut, and glue—no need for kids to draw shapes freehand. This helps especially younger crafters feel confident and finish their pumpkin monster with ease.
Conclusion
The Pumpkin Monster Paper Plate Craft is a charming and easy project that brings Halloween to life without requiring fancy tools or materials. Whether your little ones go for goofy, creepy, or glowing, this craft guarantees smiles and spooky fun. Enjoy making memories this fall, one pumpkin plate at a time!
Pumpkin Monster Paper Plate Craft
Equipment
- Scissors
- Glue stick
- Paintbrush
- Protective table cover
Materials
- 1 Paper plate
- Orange acrylic paint
- Black construction paper
- Green construction paper
- Black marker
- Green marker (optional)
Instructions
- Paint the front of a paper plate with orange acrylic paint. Let it dry completely (about 20–30 minutes).
- Cut triangle eyes, a triangle nose, and a jagged mouth from black construction paper.
- Glue the facial features onto the dry paper plate to create your pumpkin monster face.
- Cut out a leafy green stem from green construction paper and glue it to the top of the plate.
- Let the glue dry. Add final details with markers and optionally attach string to hang the pumpkin.