
Get ready to add a burst of color and personality to your crafting time with these Rainbow Tube Monsters! This playful DIY project is perfect for kids of all ages, and it turns simple cardboard tubes into a collection of silly, wild-haired creatures that can be as expressive and imaginative as your child wants them to be. Whether you're looking for a weekend craft, a classroom activity, or a creative way to reuse paper rolls, this project is sure to bring plenty of giggles and joy.
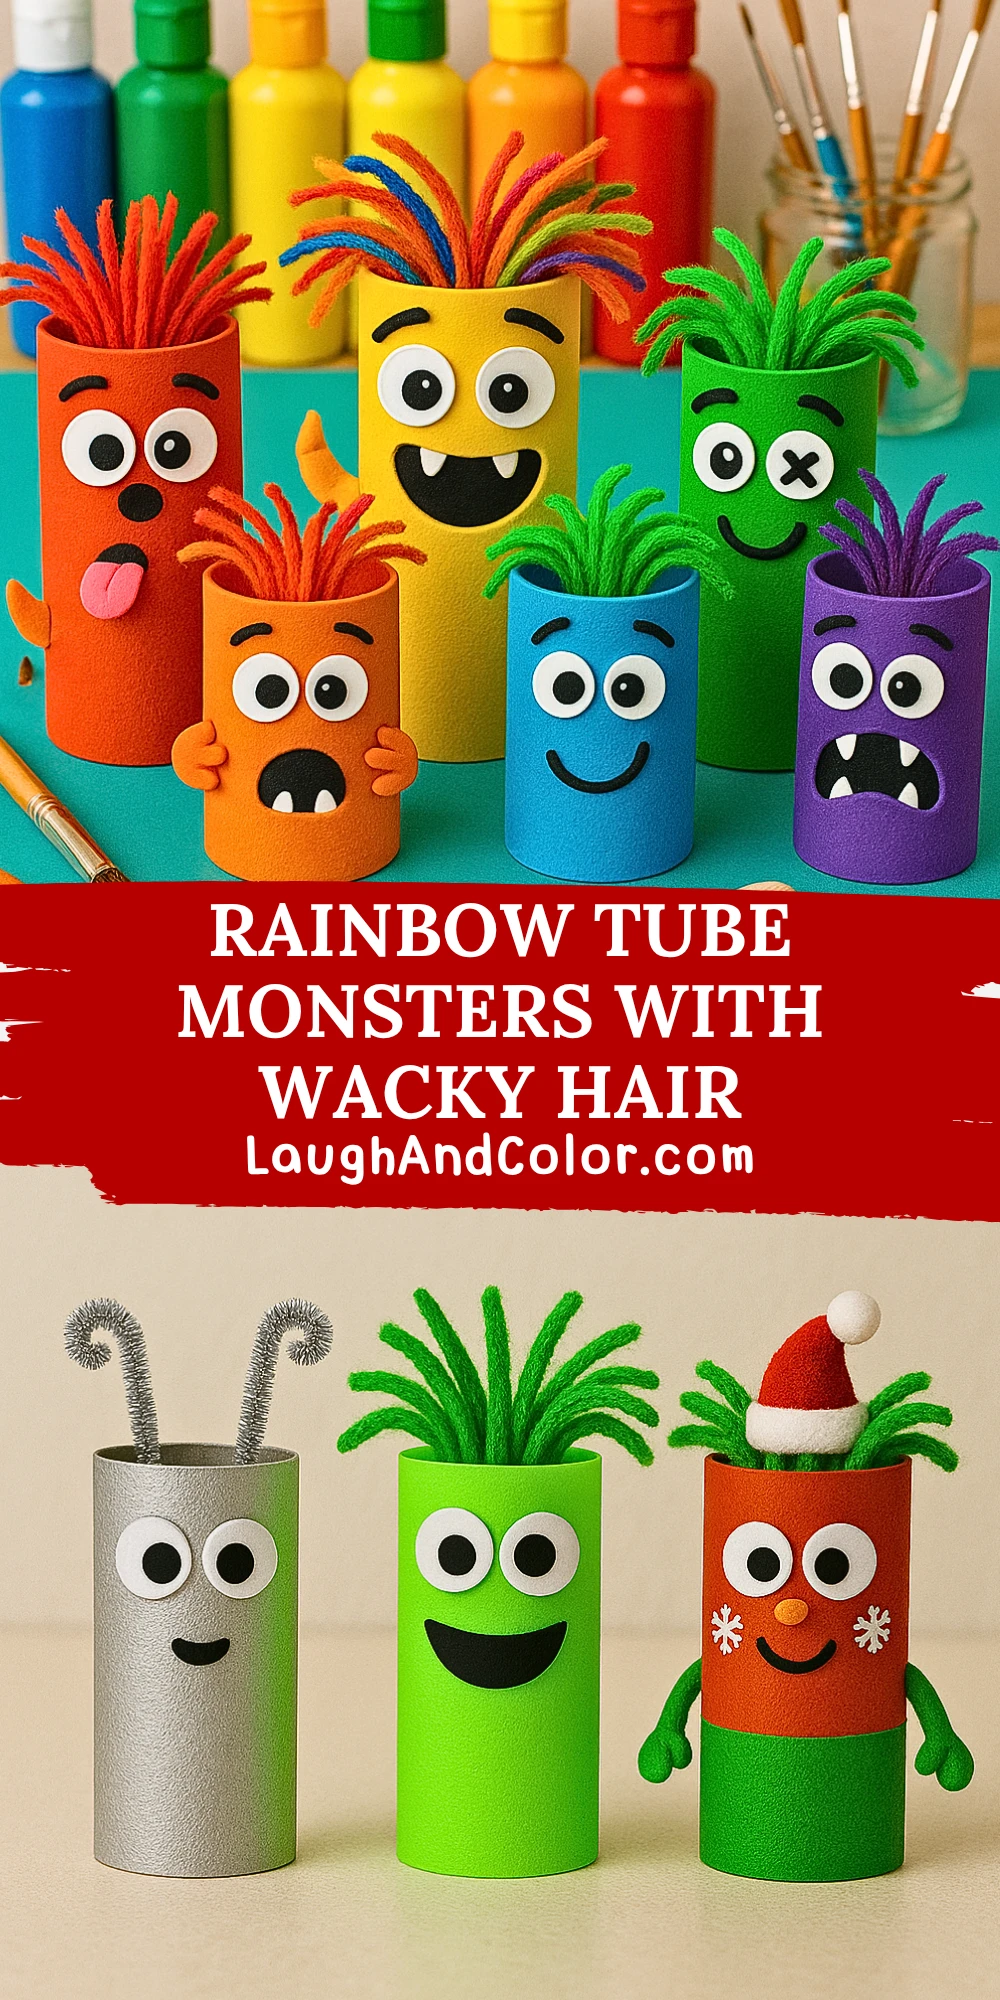
This easy-to-follow guide walks you through each step, from painting the cardboard tubes to creating vibrant yarn hair and goofy monster faces. It’s a great opportunity for children to practice fine motor skills, explore colors, and get messy in the most delightful way. With minimal prep and lots of room for personalization, Rainbow Tube Monsters are a win for both kids and grown-ups.
Materials Needed
To get started, gather the following materials:
- Empty toilet paper rolls or paper towel tubes cut to size
- Acrylic paint in bright colors (red, yellow, blue, green, orange, purple)
- Paintbrushes
- Colorful yarn (multiple shades for a rainbow effect)
- Googly eyes or white/black craft paper to make eyes
- Black craft foam or felt for mouths and eyebrows
- Scissors (safety scissors for kids)
- Glue or hot glue gun (with adult supervision)
- Optional: Pipe cleaners, pom-poms, or glitter for extra flair
Helpful Tip: Protect your workspace with newspaper or a craft mat and have small bowls or trays ready to hold the cut yarn and face pieces during assembly.

Step-by-Step Instructions
Step 1: Paint and Prep the Tubes
Start by painting each cardboard tube in a bold, bright color. Allow the tubes to dry completely—this may take around 30 minutes depending on the paint and humidity. You can speed up the drying process with a fan if needed. This is a fun part for kids to get creative with their base monster colors.
Step 2: Create Wacky Yarn Hair
Cut strands of yarn into equal lengths—around 6 inches each. You'll need about 10-15 strands per monster depending on how wild you want their hair to be. Once you have the yarn ready, bunch them together and glue them inside the top rim of each tube. Fluff the strands so they stick up and out for that “wacky” look.
Step 3: Cut and Add Monster Faces
Use craft foam, felt, or colored paper to cut out eyes, mouths, teeth, eyebrows, and even small arms or ears. For an easier option, you can use stick-on googly eyes. Encourage kids to mix and match different expressions—from happy and silly to scared or sleepy. Don’t forget to add funny teeth or fangs for extra character.
Step 4: Assemble and Glue Everything
Once the painted tube is dry and the hair is in place, start gluing on the face elements. A little glue goes a long way—especially if using hot glue. Place the eyes first, then the mouth, and finish with eyebrows or any additional pieces. Press each piece firmly for a few seconds to ensure it sticks well.
Step 5: Let Dry and Play!
Allow the glue to set for at least 10–15 minutes. Once everything is dry, your Rainbow Tube Monsters are ready for display, storytelling, or monster-themed playtime! Line them up, name them, and have fun making silly monster voices together.
Customization Ideas
Want to make your Rainbow Tube Monsters stand out even more? Try one of these creative styles:
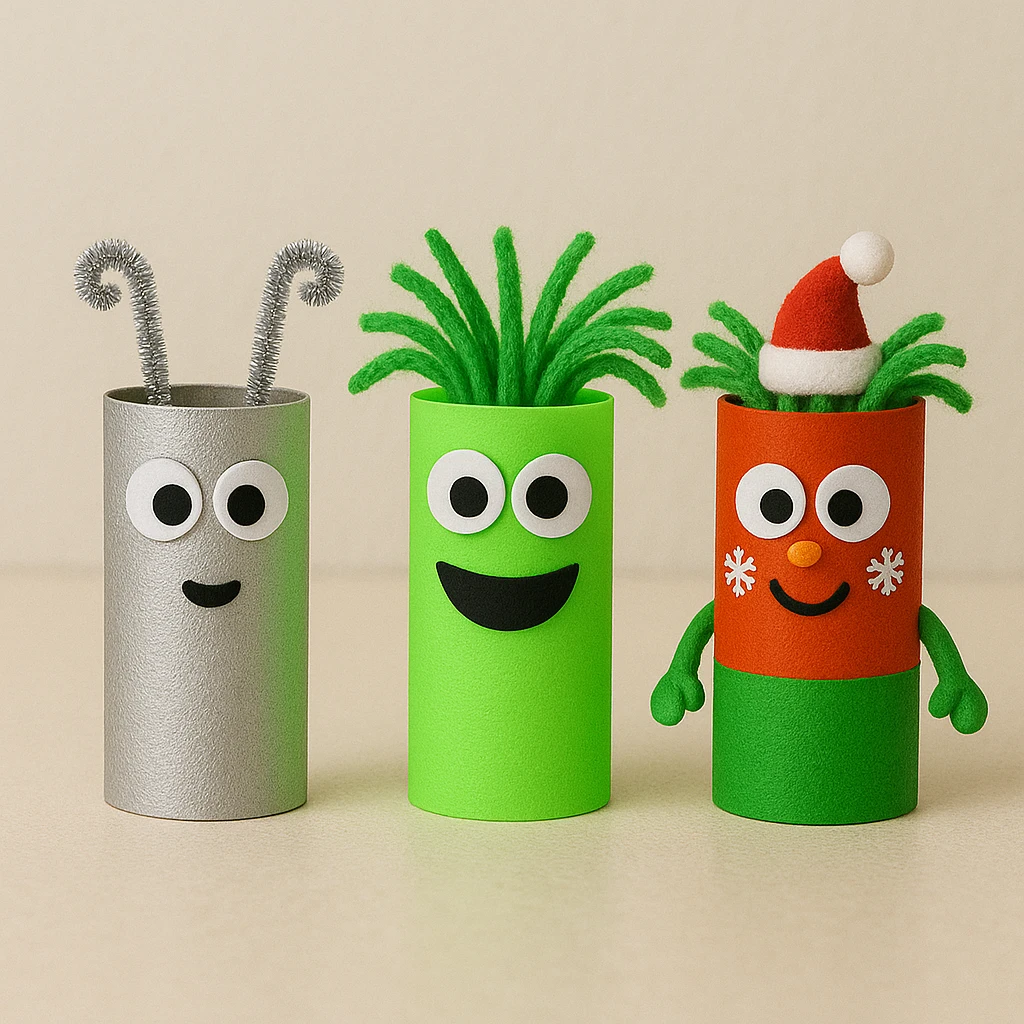
- Alien Monsters: Use metallic paints like silver and spacey colors. Add pipe cleaner antennas and star-shaped eyes.
- Glow-in-the-Dark Monsters: Swap regular paint for glow-in-the-dark paint. These monsters really come alive during lights-out!
- Holiday-Themed Monsters: Try red and green with tiny Santa hats for Christmas monsters, or pastel colors and bunny ears for springtime versions.
Educational and Seasonal Uses
These monsters are more than just cute—they can be educational, too! Teachers and parents can use them to:
- Teach colors and emotions (happy monster, sad monster, etc.)
- Encourage storytelling by having kids create and name their own monster characters
- Create themed activities for Halloween, monster parties, or rainy day projects
This project is especially popular during October but can be adapted year-round for any creative occasion.
Printable Template
For a simpler version of this craft, you can use our printable coloring templates. These pre-drawn monster faces are ready to color, cut, and glue onto your painted tubes. They’re perfect for younger children or for quick setup in classrooms or birthday parties.
Just print, color, and assemble—no design work needed! Kids still get all the fun of building a monster but with a helpful head start on the face and accessories.

Conclusion
Rainbow Tube Monsters with Wacky Hair are a colorful and laughter-filled way to spend time crafting with kids. Using simple, recyclable materials and plenty of imagination, these silly creatures come to life in the most delightful ways. Whether you make just one or a whole monster crew, the creative possibilities are endless. Grab your supplies, unleash your inner artist, and let the monster madness begin!

Rainbow Tube Monsters with Wacky Hair
Equipment
- Paintbrushes
- Scissors
- Glue or hot glue gun
Materials
- Toilet paper rolls or cardboard tubes Cut to size if using paper towel rolls
- Acrylic paint Use a variety of bright colors
- Colorful yarn Cut into 6-inch strands for hair
- Googly eyes or white/black paper For monster eyes
- Craft foam or felt Use for facial features like mouths, arms, etc.
- Optional decorations Pipe cleaners, pom-poms, glitter, etc.
Instructions
- Paint each cardboard tube with your desired base color and let dry for 30 minutes.
- Cut yarn into 6-inch strands, gather in small bunches, and glue inside the top of the tube to form hair.
- Cut out eyes, mouths, arms, and accessories from felt or paper. You can also use googly eyes for ease.
- Glue the facial features onto the tube once the paint is dry and the hair is attached. Press each piece firmly.
- Let the glue dry for at least 10–15 minutes. Then enjoy your monster and start playing or decorating!