
Halloween crafts are a fantastic way to bring spooky fun into classrooms, homes, or weekend art time with kids. If you're looking for a simple, budget-friendly project that captures the spirit of Halloween without being too scary, this Vampire Paper Plate Craft is perfect. With just a few supplies, you can transform a plain paper plate into a friendly vampire face that kids will love creating and showing off.

Ideal for ages 4 and up, this craft is easy enough for preschoolers with some adult help, yet still enjoyable for older children who want to add their own creative spin. It also serves as a great classroom activity or party craft, offering a mix of coloring, cutting, and gluing that helps develop fine motor skills. The final result? An adorable Dracula ready to decorate walls, doors, or bulletin boards.
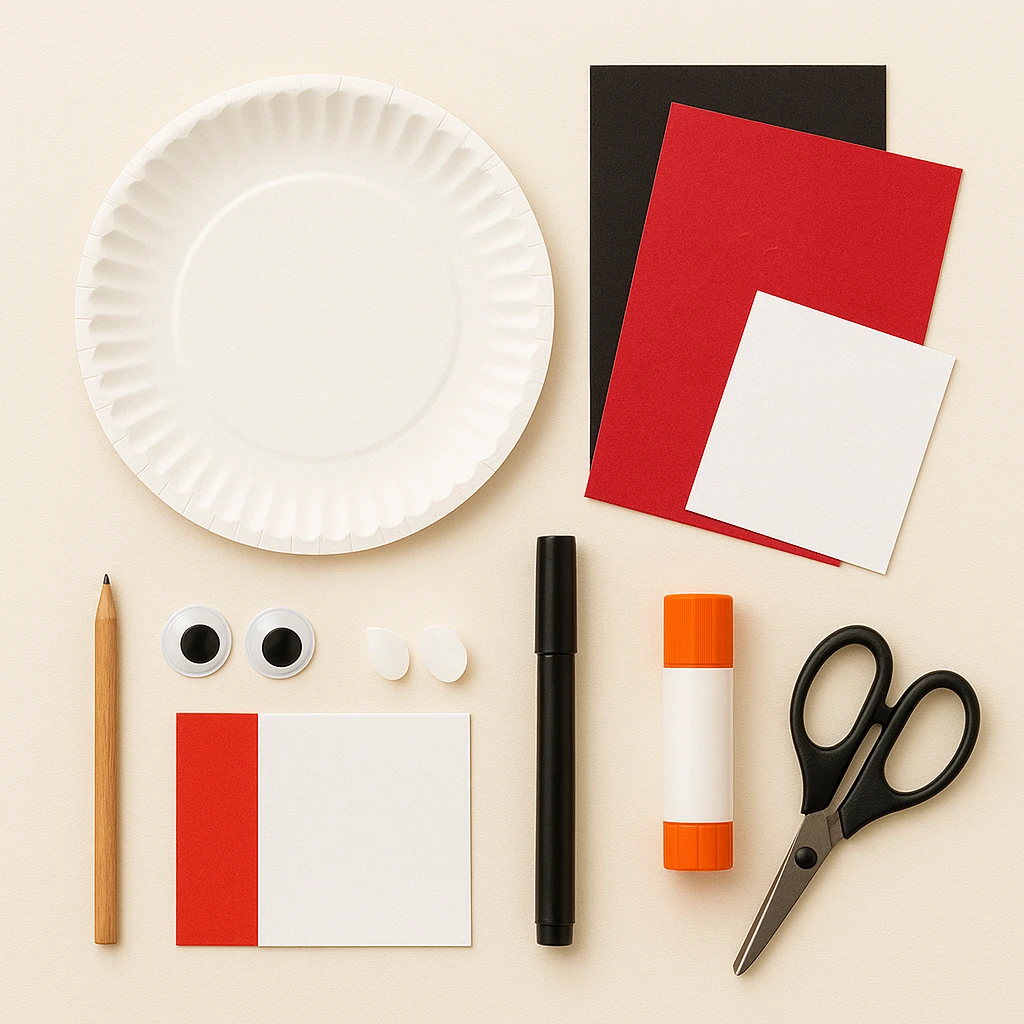
Materials Needed
- 1 white paper plate (standard size)
- Red and black construction paper
- White paper or cardstock (for fangs and eyes)
- Black marker or crayon
- Glue stick or craft glue
- Scissors
- Pencil (for tracing shapes)
- Optional: googly eyes, red bowtie template, double-sided tape
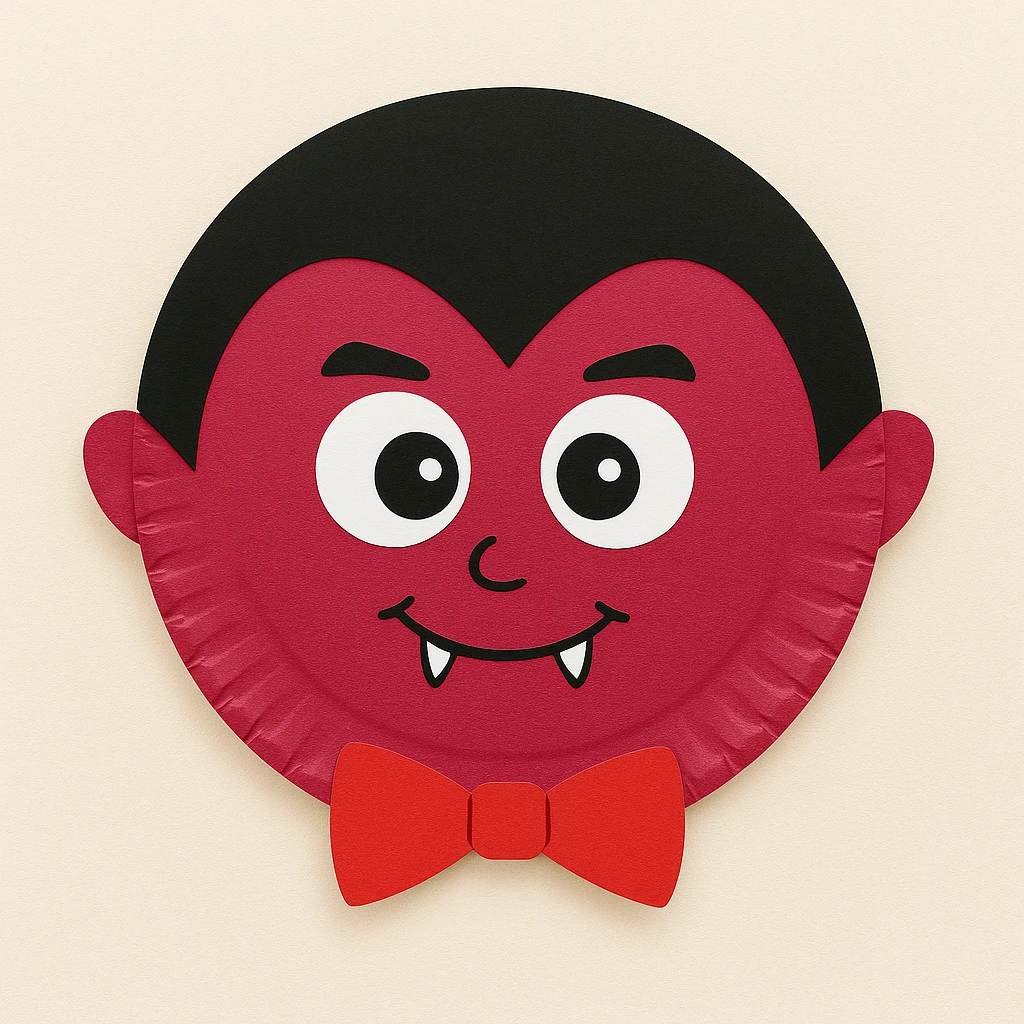
Step 1: Color the Plate
Start by coloring the entire front surface of the paper plate with red paint or a red marker to create the vampire's skin tone. Let it dry completely if using paint. This becomes the face of your vampire.
Step 2: Cut and Attach the Hair
Using black construction paper, cut out a semi-circle with a widow's peak to resemble vampire hair. The hair should be wide enough to cover the top portion of the plate. Glue it in place, making sure it aligns well with the curve of the plate.
Step 3: Add the Eyes and Eyebrows
Cut two large white circles and two smaller black circles to make cartoon-style eyes. Glue the black circles onto the white ones. You can also use googly eyes for extra fun. Position the eyes in the upper middle of the face. Then, cut two small black eyebrow shapes and glue them above the eyes.
Step 4: Make the Ears
Cut two half-oval shapes from red construction paper and attach them to each side of the plate to create the vampire’s ears. Glue them on the back side so that they stick out just slightly.
Step 5: Draw the Face Details
Use a black marker to draw a simple smile under the eyes. Then, cut two small white triangles and glue them along the top edge of the smile to create vampire fangs. Add a small curved nose or any other features your child wants.
Step 6: Add the Bowtie
Cut a bowtie shape from red construction paper (or use a pre-printed template). Glue it to the bottom center of the plate to complete the vampire's dapper look.
Step 7: Final Touches
Once everything is glued in place, check to make sure all pieces are secure. Let the craft dry if needed. You can hang the vampire plate on the wall or attach a popsicle stick to turn it into a puppet.
Customization Ideas
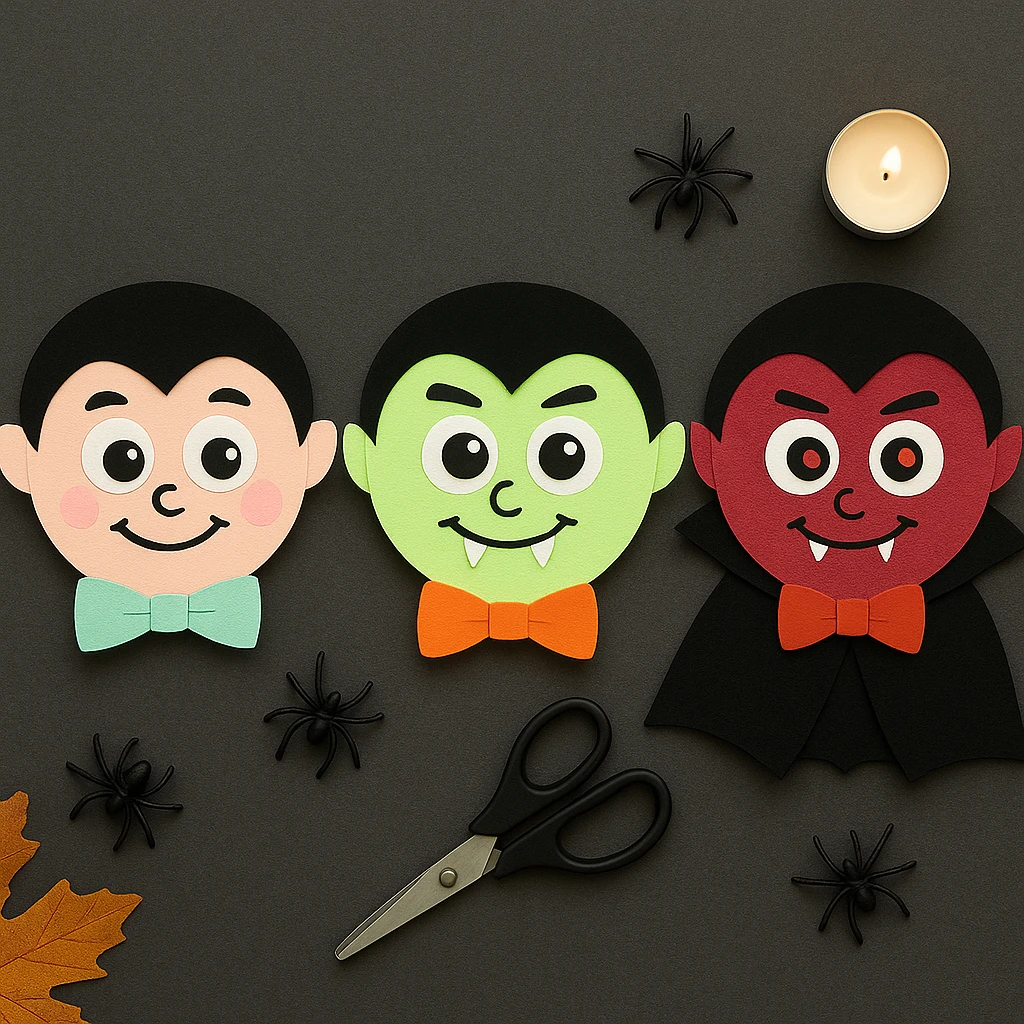
1. Cute Dracula Style: Use lighter, pastel shades like pinks and purples. Add soft blush on the cheeks and rounder eyes to give your vampire a sweet and cuddly vibe.
2. Spooky Vampire Look: Use glow-in-the-dark paint for the face or eyes. Add paper bats or a mini cape made from felt for a more dramatic Halloween effect.
3. Classic Count Dracula: Stick to traditional colors—black, red, and white—and add a tiny felt cape to the back of the plate for a theatrical touch.
Educational and Seasonal Uses
This vampire craft is great for October classroom activities, Halloween-themed lessons, or storytime companions. Pair it with books like "Vampirina Ballerina" or "Little Vampire" to make learning interactive. It's also an excellent addition to Halloween parties as a make-and-take station or decorative centerpiece kids can personalize.
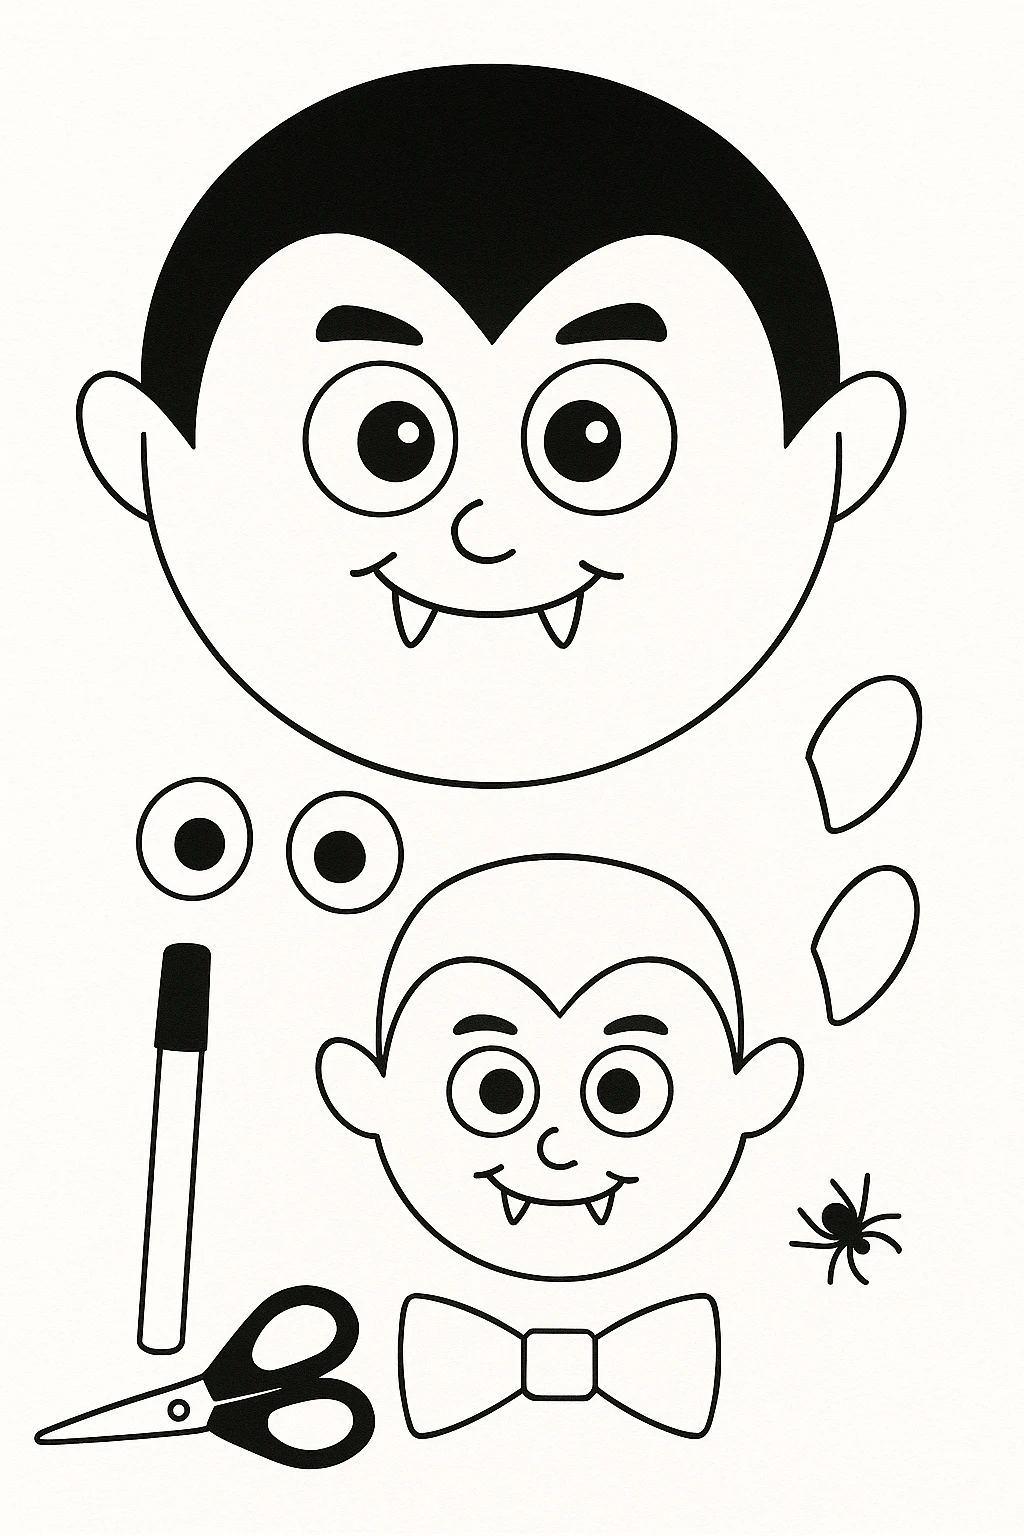
Printable Template
To make things even easier, we’ve included a printable template with all the shapes you’ll need: hair, eyes, fangs, and the bowtie. Just print the template on cardstock or regular paper and cut out each piece.
Kids can color in the shapes themselves or use them as stencils on colored paper. With everything pre-sized and outlined, the crafting process becomes stress-free and fun for everyone, especially in group settings.
Conclusion
This Vampire Paper Plate Craft offers a fun and festive way to get creative for Halloween. Whether you're a parent, teacher, or caregiver, it's a mess-free, low-cost activity that delivers big smiles and seasonal cheer. Don't forget to share your finished vampire with us or display it proudly in your home or classroom!
Vampire Paper Plate Craft
Equipment
- Scissors
- Glue stick or craft glue
- Black marker
- Pencil
Materials
- 1 White paper plate Standard size
- Red and black construction paper
- White cardstock or paper For eyes and fangs
- Googly eyes (optional)
- Red bowtie template (optional)
Instructions
- 1. Color the paper plate red using paint or markers. Let it dry completely.
- 2. Cut black construction paper into a widow’s peak shape and glue it to the top of the plate for hair.
- 3. Cut and glue on the eyes (white and black circles or googly eyes), then add small eyebrows above.
- 4. Cut two red half-ovals for ears and glue to the sides of the plate on the back.
- 5. Use a black marker to draw the smile and nose. Add small white triangles as fangs below the smile.
- 6. Cut and glue a red paper bowtie at the bottom of the plate.
- 7. Let all parts dry and display your vampire on a wall or as a puppet with a stick glued to the back.