
Fall is the perfect time to bring a little woodland charm into your home or classroom, and what better way to do that than with a cheerful squirrel craft? This adorable paper cut-out squirrel holding an acorn is a hands-on project that kids of all ages will enjoy. It's great for teaching fine motor skills, encouraging creativity, and reinforcing seasonal themes. Plus, it’s simple enough for preschoolers, but still engaging for older kids who want to add extra flair.
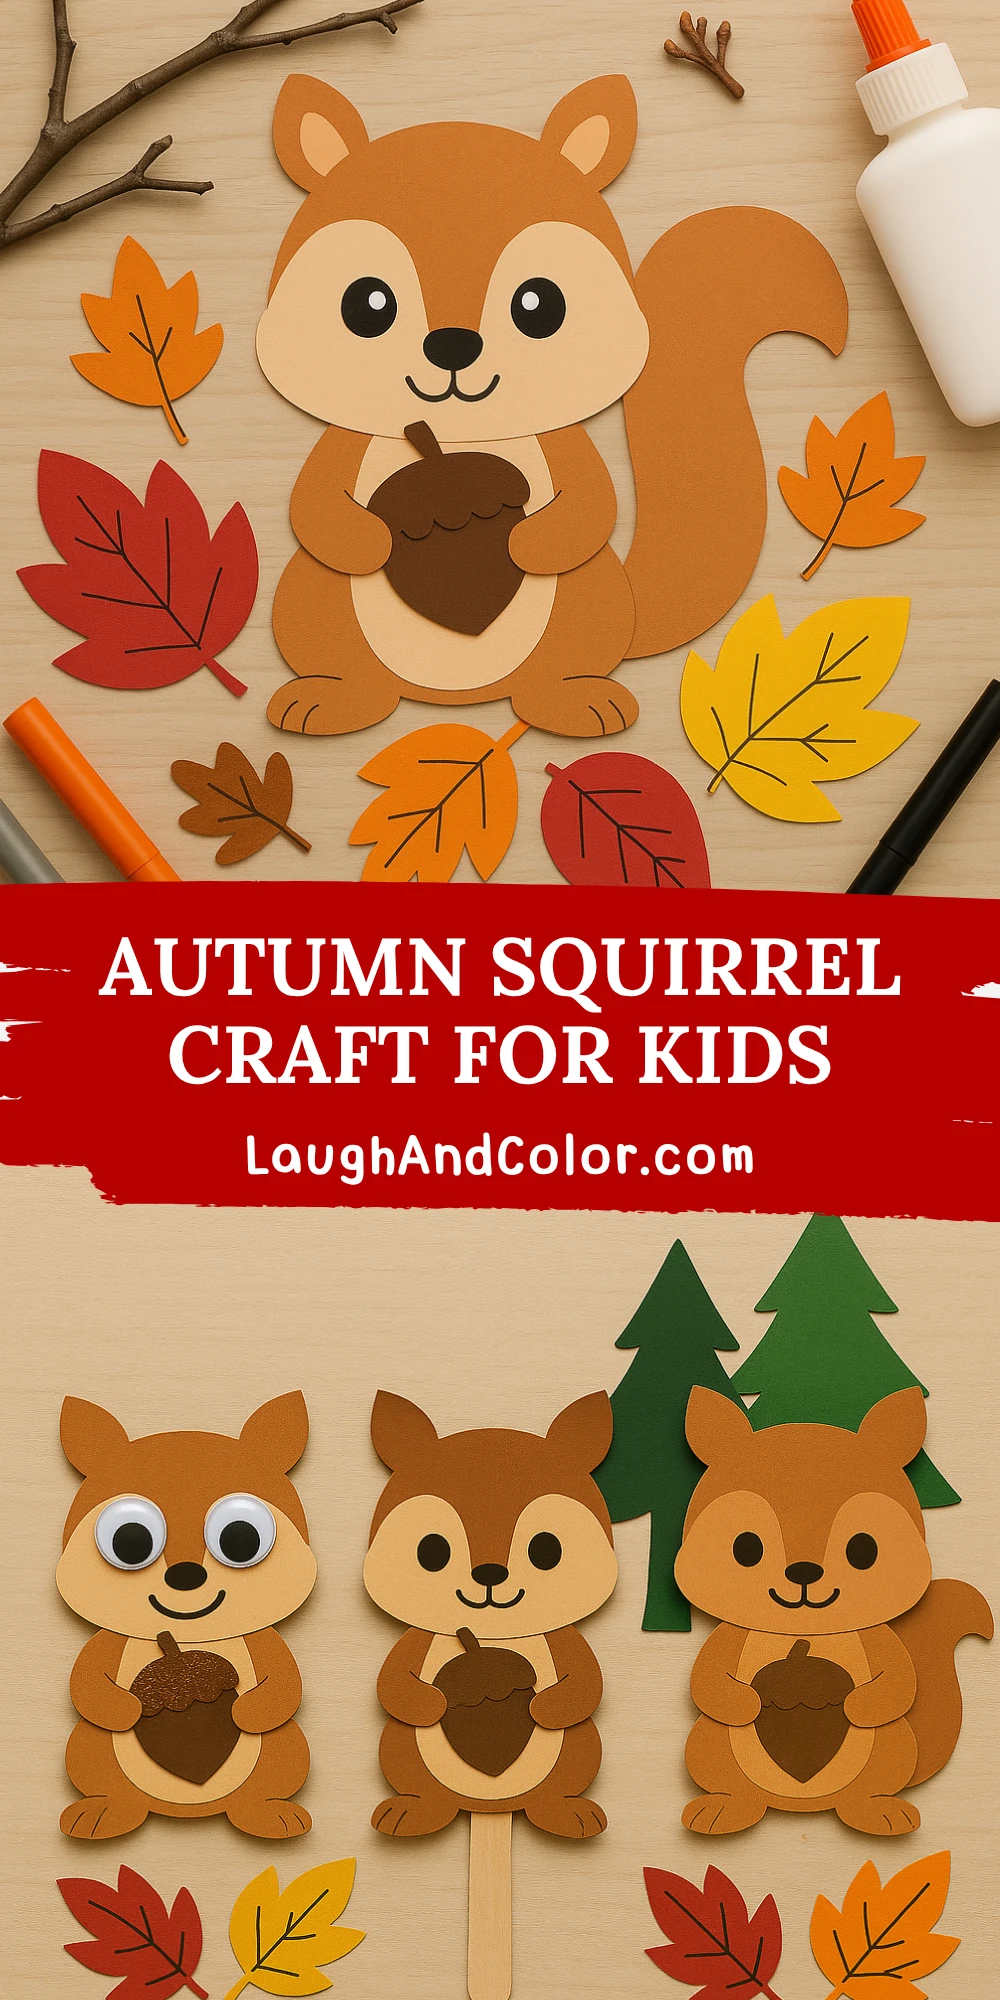
Whether you're looking for a fun weekend activity, a classroom craft idea, or a charming fall decoration, this squirrel project checks every box. With just a few basic supplies and a printable template, your little ones can cut, color, and glue their way to a cute fall-themed critter. Add in some colorful leaves and real twigs for a craft that celebrates the textures and colors of autumn.
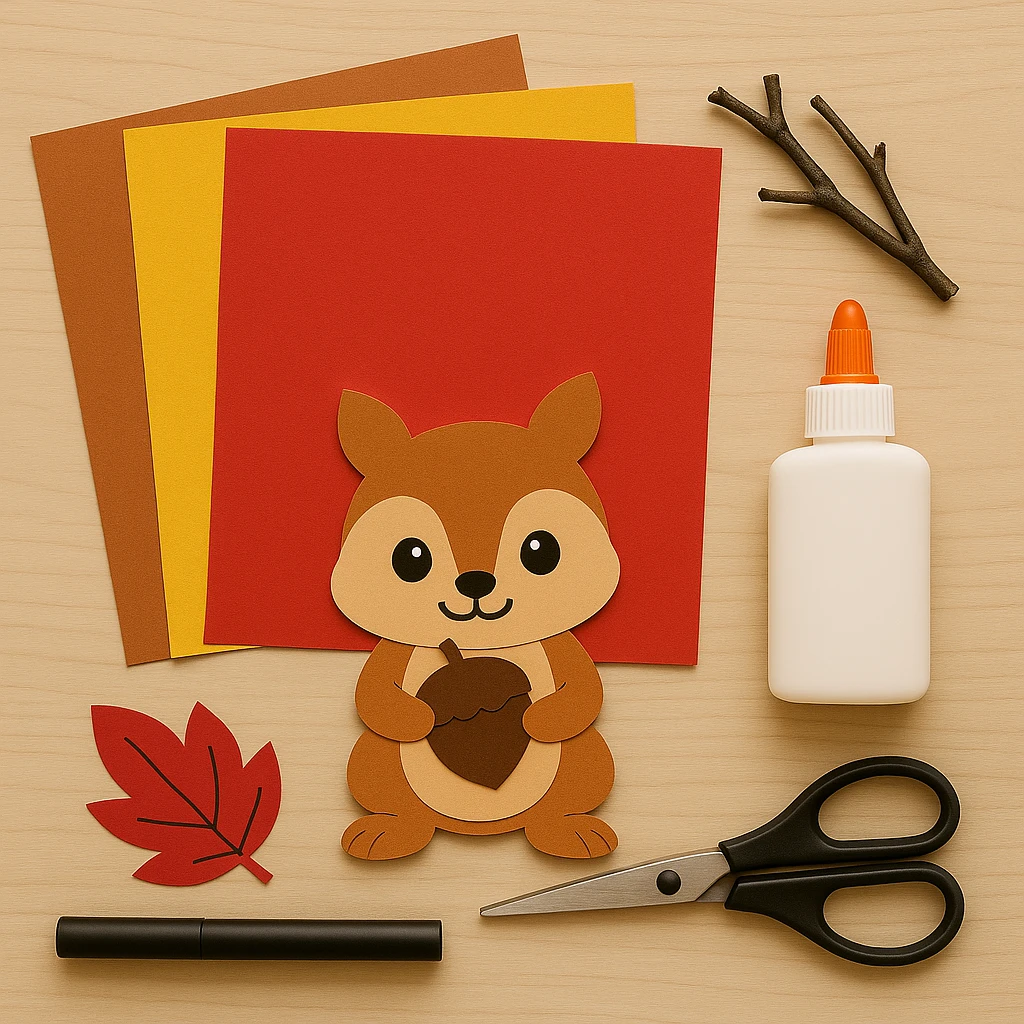
Materials Needed
- Brown cardstock (light and dark shades)
- Tan cardstock
- Red, orange, and yellow cardstock for leaves
- Black marker or pen
- Glue stick or white craft glue
- Child-safe scissors
- Small twigs (optional, for decoration)
- Printable squirrel template (included below)
Step-by-Step Instructions
Step 1: Cut Out All the Template Pieces
Start by printing out the squirrel template on white or colored cardstock. Help your child cut out each piece: the body, head, arms, tail, acorn, and facial features. If you’re working with younger children, consider pre-cutting the smaller parts to make it easier.
Step 2: Assemble the Squirrel’s Body
Lay down the main body shape of the squirrel first. Glue the head onto the top part of the body, followed by the arms. Make sure the arms are angled so they can hold the acorn. Then, attach the large, curvy tail to the back side of the body for a dimensional effect.
Step 3: Add the Facial Features
Using the pre-cut pieces or by drawing directly on the face, add the eyes, nose, and a sweet little smile. You can also use googly eyes for a more playful look. Outline or define facial features using a fine-tip black marker.
Step 4: Glue the Acorn and Autumn Leaves
Position the acorn between the squirrel's hands and glue it in place. Then, decorate the scene with colorful cardstock leaves in red, orange, and yellow. You can arrange them around the squirrel’s feet or create a leafy background.
Step 5: Add Natural Elements and Finishing Touches
If desired, add real twigs for a rustic touch—just a dab of glue will hold them in place. Kids can also use markers or crayons to add texture to the leaves and tail. Once everything is dry, your squirrel is ready to be displayed!
Customization Ideas
1. Puppet Style Squirrel
Turn this craft into a puppet by attaching a popsicle stick to the back. Kids can create their own woodland stories with their new fall friend.
2. Googly Eyes and Glitter Acorns
Swap out paper eyes for googly ones and decorate the acorn with brown glitter to add sparkle and texture. This is especially fun for older kids who love craft embellishments.
3. Forest Background Scene
Mount the squirrel onto a larger piece of construction paper and let kids create a whole forest setting. Add trees, more animals, or falling leaves for a big autumn mural.

Educational and Seasonal Uses
This craft isn’t just fun—it’s a perfect tie-in to early childhood education themes. Use it during lessons about fall, woodland animals, or tree cycles. It supports seasonal vocabulary, fine motor development, and visual storytelling. Teachers can hang completed squirrels around the classroom for a festive seasonal display or use them in bulletin board designs.
At home, this craft makes a lovely autumn keepsake. It’s also a great rainy-day activity or weekend project that encourages screen-free creativity.
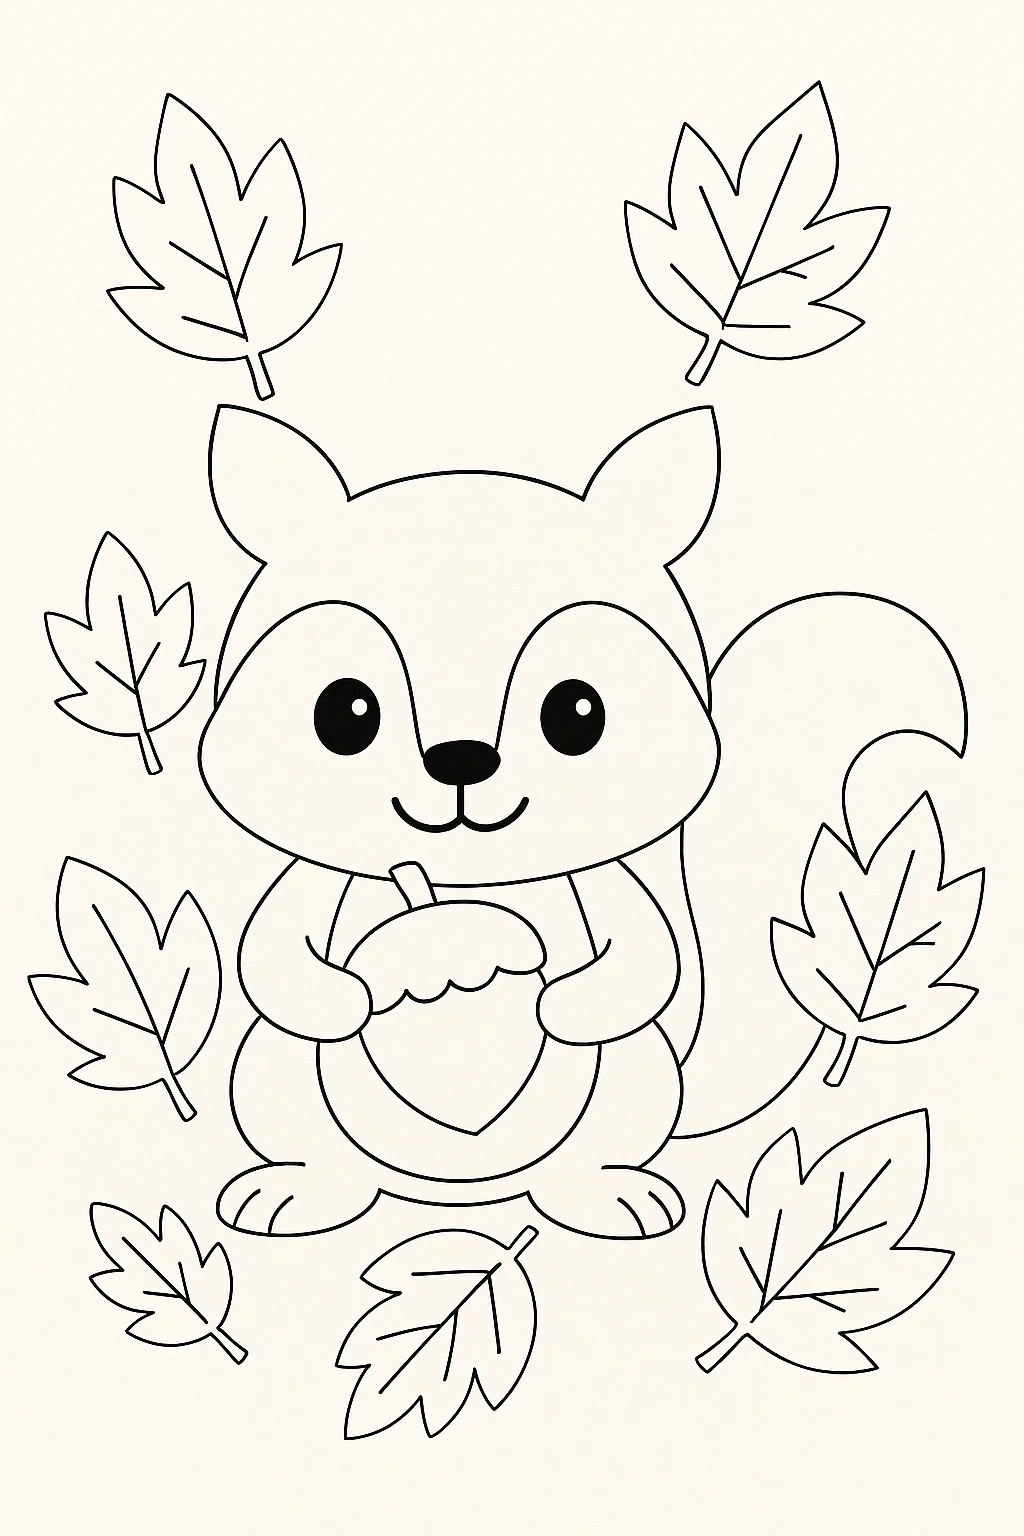
Printable Template
To make this craft even easier, we’ve included a printable squirrel template below. Simply print it on white or light-colored cardstock and let kids color in the pieces before cutting and assembling.
If you're short on time, you can print the template directly onto colored paper for a cut-and-glue experience with no coloring needed. Whether your kids like to color first or dive straight into assembling, the template helps simplify the process and keeps the craft fun and accessible.
Conclusion
Crafting this autumn squirrel is more than just a seasonal art project—it's a delightful way to celebrate fall, learn about woodland animals, and create lasting memories. With just a few supplies and some imagination, you and your kids can create a charming squirrel friend that will brighten any bulletin board, wall, or fridge. Try it out, share your creations, and enjoy the cozy, crafty spirit of fall!

Autumn Squirrel Craft for Kids (Easy Paper Cut-Out DIY)
Equipment
- Scissors
- Glue stick
- Printable template
- Black marker
Materials
- Brown cardstock (light and dark)
- Tan cardstock
- Red, orange, and yellow cardstock For leaves
- Black marker or pen
- Glue stick or white craft glue
- Child-safe scissors
- Small twigs Optional, for decoration
- Printable squirrel template
Instructions
- Print out the squirrel template and cut out all the parts: body, head, arms, tail, facial features, and acorn.
- Glue the head onto the body shape. Then attach the arms so they are positioned to hold the acorn.
- Attach the tail to the back of the body. This gives the squirrel a cute, 3D look.
- Add eyes, nose, and a smile using cut paper pieces or draw them with a black marker. Optional: use googly eyes.
- Glue the acorn between the squirrel’s hands and decorate with fall leaves. Use twigs for added texture.