
Halloween is the perfect time to let your creativity shine with crafts that are both spooky and sweet. These DIY Moonlight Ghost Lanterns are a fantastic way to light up the night with a kid-friendly twist. Designed to be cheerful rather than creepy, these glowing little spirits bring a soft, magical ambiance to any room, classroom, or porch. Whether you're decorating for a party or just spending some quality time crafting with the kids, this project is simple, affordable, and tons of fun.
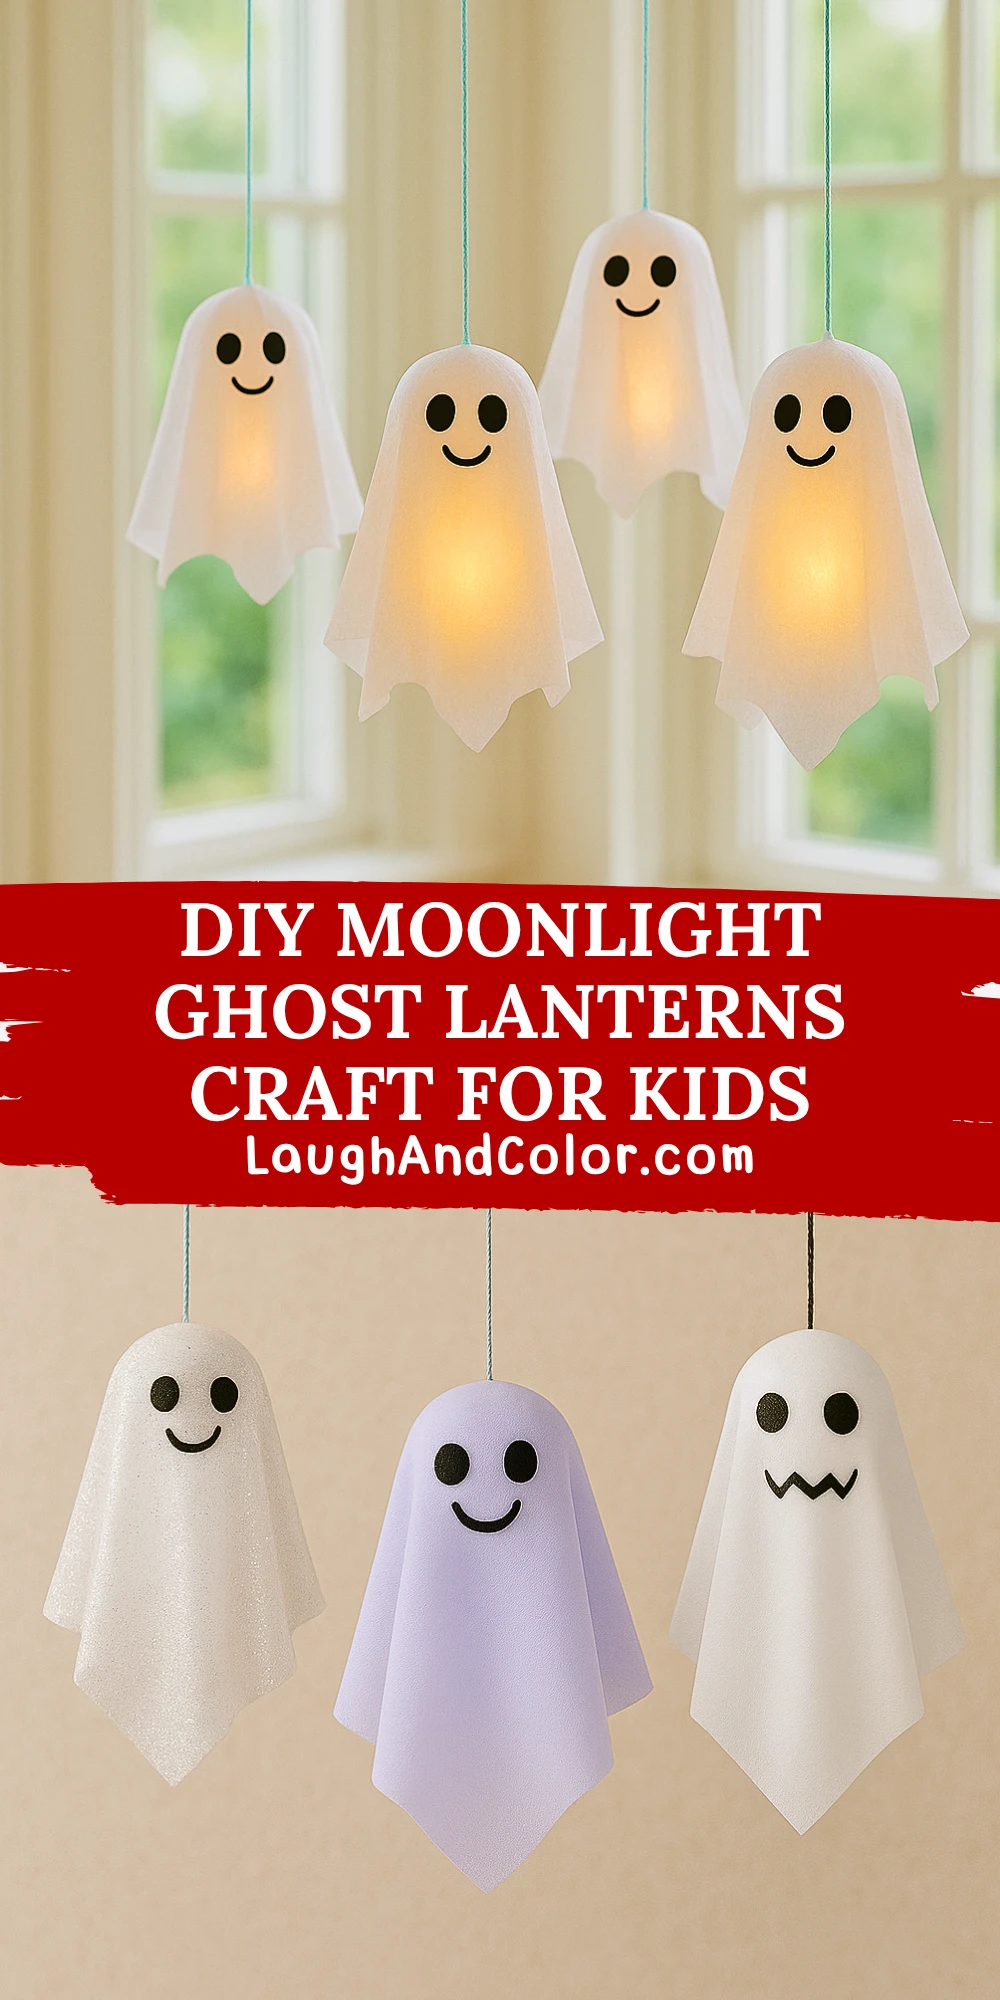
Made with a few basic materials like LED tealights, white fabric, and string, these lanterns come together quickly and safely—no open flames or complicated steps involved. It’s a great activity for a group craft session or a rainy afternoon at home. Plus, kids love seeing their ghost friends come to life and glow in the dark!
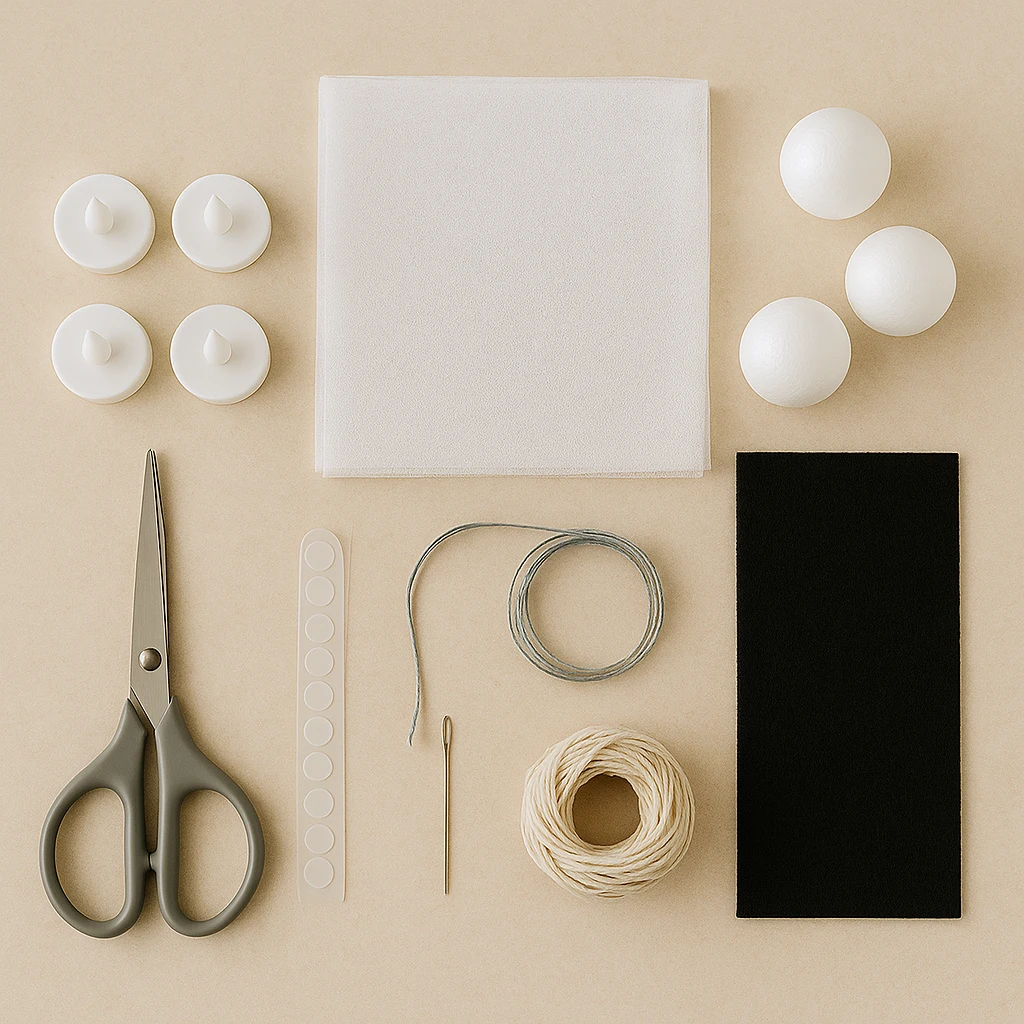
Materials Needed
- 4 LED tealight candles (battery-operated)
- White sheer fabric (8 x 8 inches per lantern)
- Small foam or plastic balls (about 2 inches in diameter)
- Black adhesive felt or black paper
- Scissors
- Glue or glue dots
- Needle and thread or string
- Tape (optional)
- Hole punch (optional)
Step 1: Prepare the Lights
Start by switching on your LED tealights to ensure they’re working properly. These will serve as the glowing "core" of your ghost lantern. If you want to make your ghost glow more dramatically, consider using color-changing LED lights for added flair.
Step 2: Cut and Shape the Fabric
Cut your white sheer fabric into squares approximately 8 x 8 inches. If you’re using thinner fabric like cheesecloth or organza, you may want to layer two pieces for a fuller look. Drape the fabric over your foam or plastic ball to check the coverage—adjust the size as needed.
Step 3: Attach the Ghost Face
Cut out simple ghost eyes and a smiling mouth from black adhesive felt or paper. If you're using paper, you can glue the features directly onto the fabric. Place the eyes and mouth in the center of the fabric’s front so that they’ll sit nicely once draped over the head.
Step 4: Assemble the Ghost Body
Place the foam ball on top of the LED tealight to simulate a floating head above the glowing light. Then, gently drape the fabric with the face over both the ball and light. Adjust the positioning until the fabric falls naturally and evenly around the base. If needed, use tape or a glue dot underneath the fabric to secure it lightly to the base.
Step 5: Add the Hanging String
Thread a needle with string or use a pre-cut string. Carefully poke a small hole at the top of the fabric (above the ghost’s head) or tie the string securely around the top section. This is how you’ll hang your lantern. Make sure it’s balanced so the ghost doesn’t tilt too much when suspended.
Step 6: Test and Display
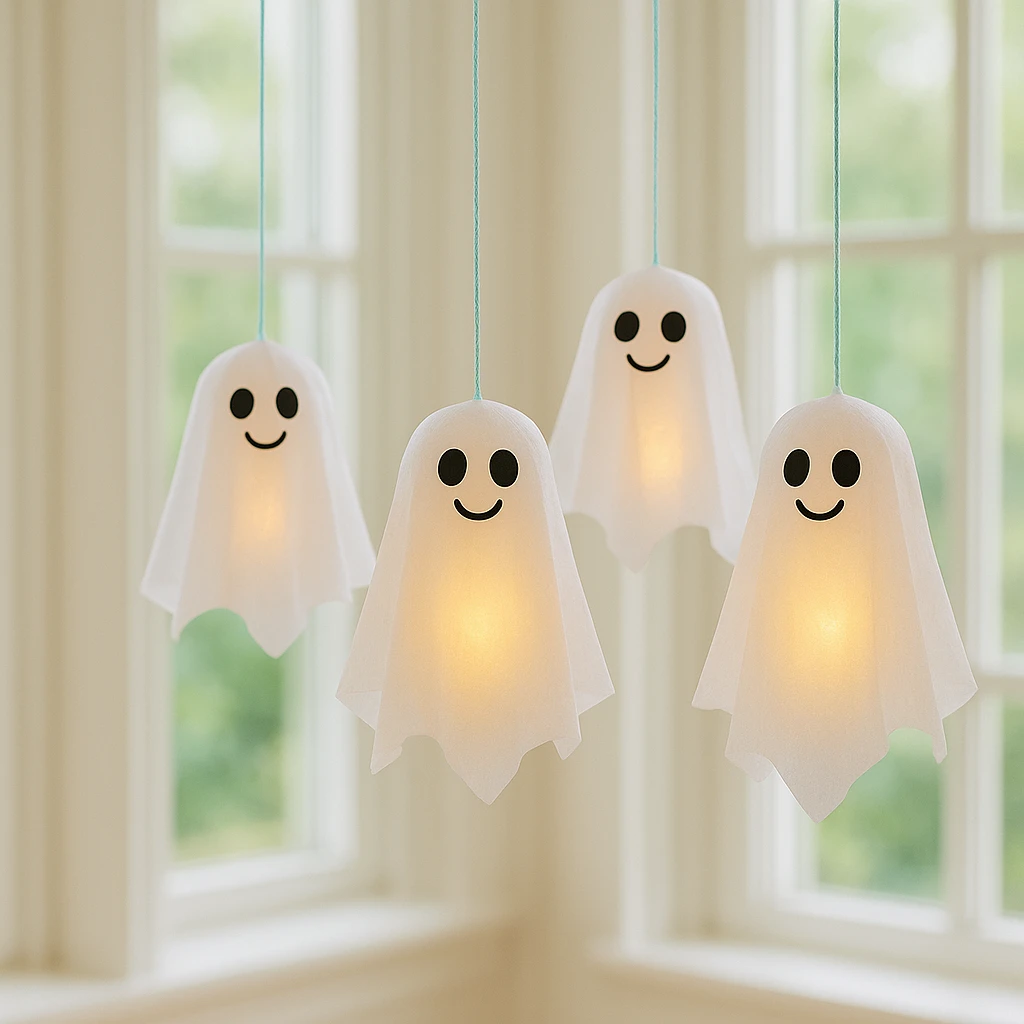
Hang your moonlight ghost lanterns in front of windows, in doorways, or from the ceiling. Turn off the lights to enjoy the full glowing effect. These ghosts look especially magical when hung in clusters at different heights. Pro tip: Use removable hooks or washi tape to avoid damage to walls or ceilings.
Customization Ideas
1. Glitter Ghosts – Spray a light coat of craft adhesive on the fabric and sprinkle on iridescent glitter before draping it. It adds a magical shimmer that reflects the LED glow beautifully.
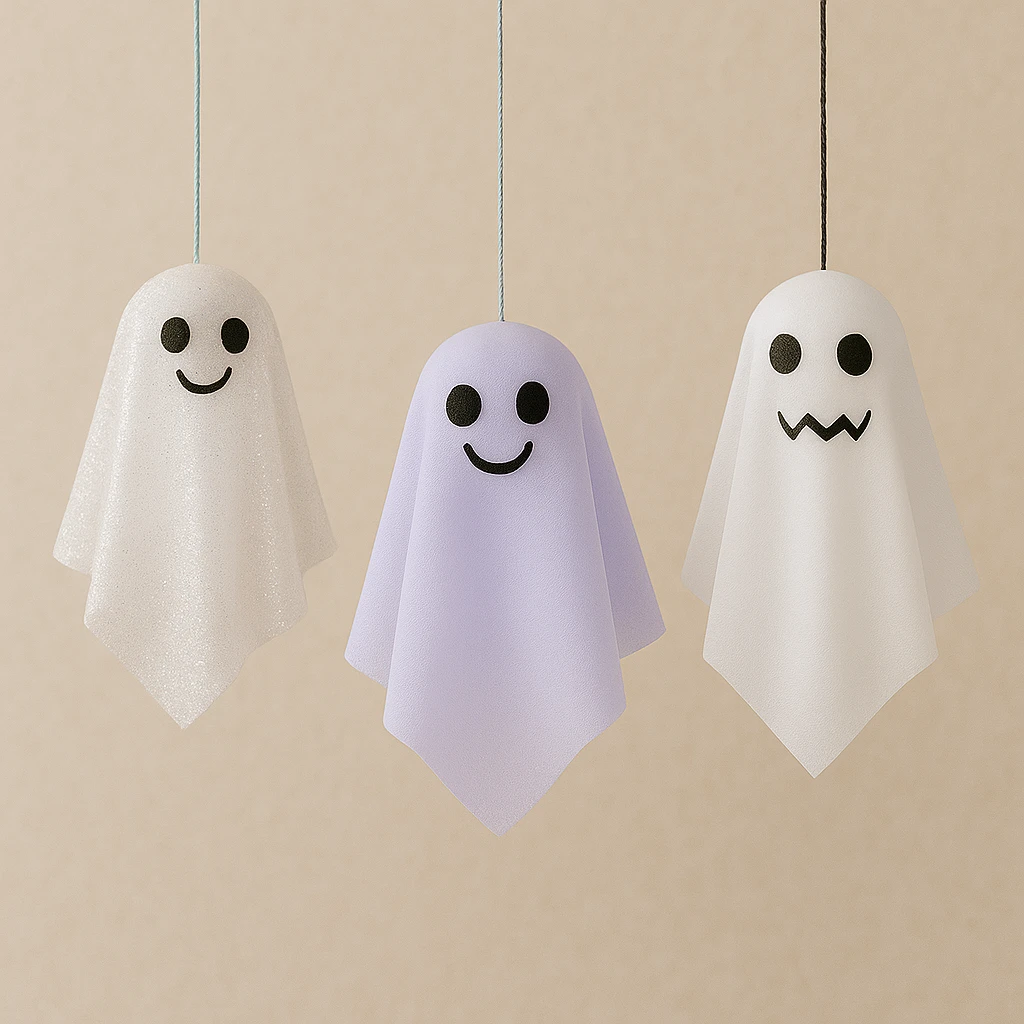
2. Colorful Ghosts – Instead of white, use pastel-colored fabric or even glow-in-the-dark fabric for a playful twist. Neon ghosts work well for parties and can even match themed color palettes.
3. Scary Style – Swap the cute smile for a spooky frown or zigzag mouth. You can even add fake spider webs or tiny plastic bats for a scarier version perfect for older kids or haunted house themes.
Educational or Seasonal Uses
This ghost lantern project isn’t just decorative—it’s a creative opportunity for learning too. Teachers can use this craft to explore themes of light and shadow in science lessons or introduce simple sewing and assembly skills. In a seasonal context, it’s perfect for Halloween parties, school events, or neighborhood activities like trunk-or-treats. Kids can even take their lanterns home as keepsakes or gifts.
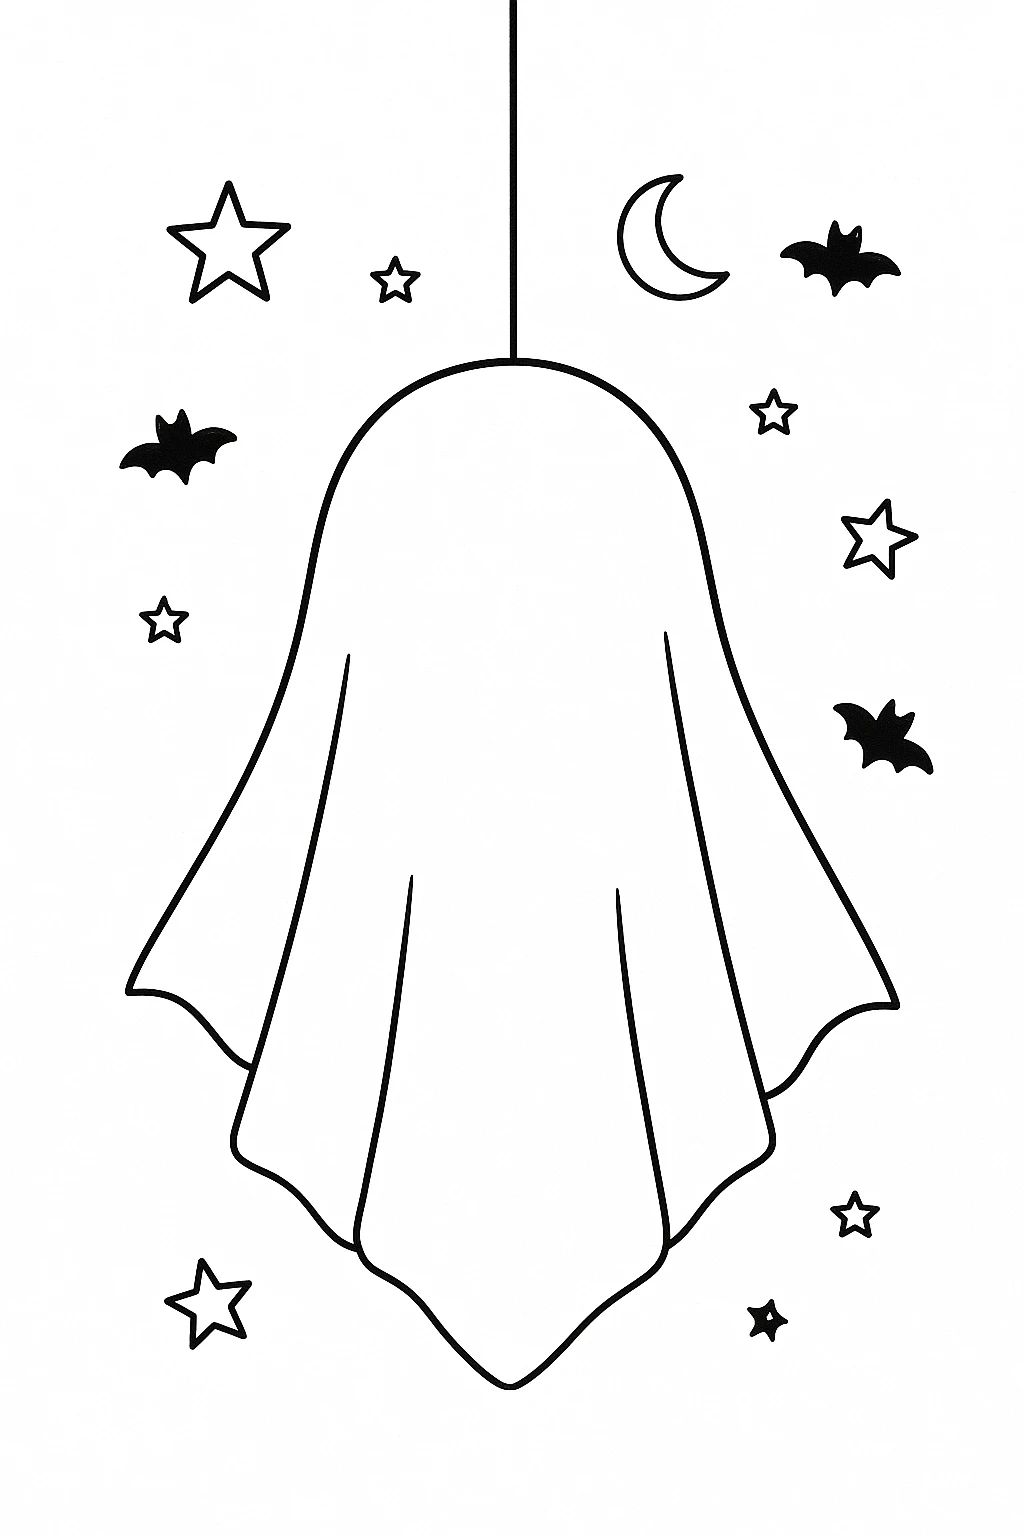
Printable Template
To make this craft even easier, we've included a printable template that features a variety of ghost faces—happy, spooky, silly, and surprised. Just print them out on regular paper, cut, and glue them to your fabric. We’ve also added a ghost outline that kids can color, cut, and decorate as a bonus activity.
These printables make the project even more accessible, especially for younger kids or classroom use. Just print, color, and you’re ready to create glowing ghost lanterns without the need for extra face materials.
Conclusion
DIY Moonlight Ghost Lanterns are an enchanting and easy Halloween craft that’s sure to light up little imaginations. With just a few materials and simple steps, you can create something magical that kids will be proud of. Whether you hang them indoors or out, these glowing ghosts are sure to bring festive charm and spooky smiles to your Halloween celebrations. Happy crafting!
DIY Moonlight Ghost Lanterns Craft For Kids
Equipment
- Scissors
- Glue or glue dots
- Needle and thread or string
Materials
- 4 LED tealight candles (battery-operated)
- White sheer fabric (8x8 inches per lantern)
- Small foam or plastic balls (about 2 inches in diameter)
- Black adhesive felt or black paper
- Tape (optional)
- Hole punch (optional)
Instructions
- Step 1: Prepare the Lights — Test your LED tealights to make sure they work. These will be the glowing center of your ghost.
- Step 2: Cut and Shape the Fabric — Cut your white fabric into 8x8 inch squares. Drape it over your foam ball to test coverage.
- Step 3: Attach the Ghost Face — Cut eyes and a smile from black felt or paper and glue them onto the fabric.
- Step 4: Assemble the Ghost Body — Place the foam ball on the LED light and drape the fabric over both to form the ghost.
- Step 5: Add the Hanging String — Use a needle and thread or tie string around the top of the fabric to create a hanger.
- Step 6: Test and Display — Hang your lanterns in a dark space to enjoy the glowing effect. Use washi tape or removable hooks to hang.