

Get ready for some not-so-scary Halloween fun with this adorable handprint vampire craft! This DIY project is perfect for young kids and combines creativity, color, and classic Halloween vibes in one simple and engaging activity. Whether you're crafting with your own children or running a seasonal classroom project, this vampire craft is a hit with all ages—especially preschool and elementary kids.

What makes this craft extra special is its use of your child’s handprints to form the vampire’s cape, adding a personalized touch that makes every creation unique. Not only does it get little hands cutting, gluing, and assembling, but it also results in a fun Halloween character that can be used as decoration, a puppet, or even a spooky greeting card. It’s a great blend of motor skill practice and imaginative play.
Let’s gather everything you need to bring this friendly vampire to life!
Materials Needed
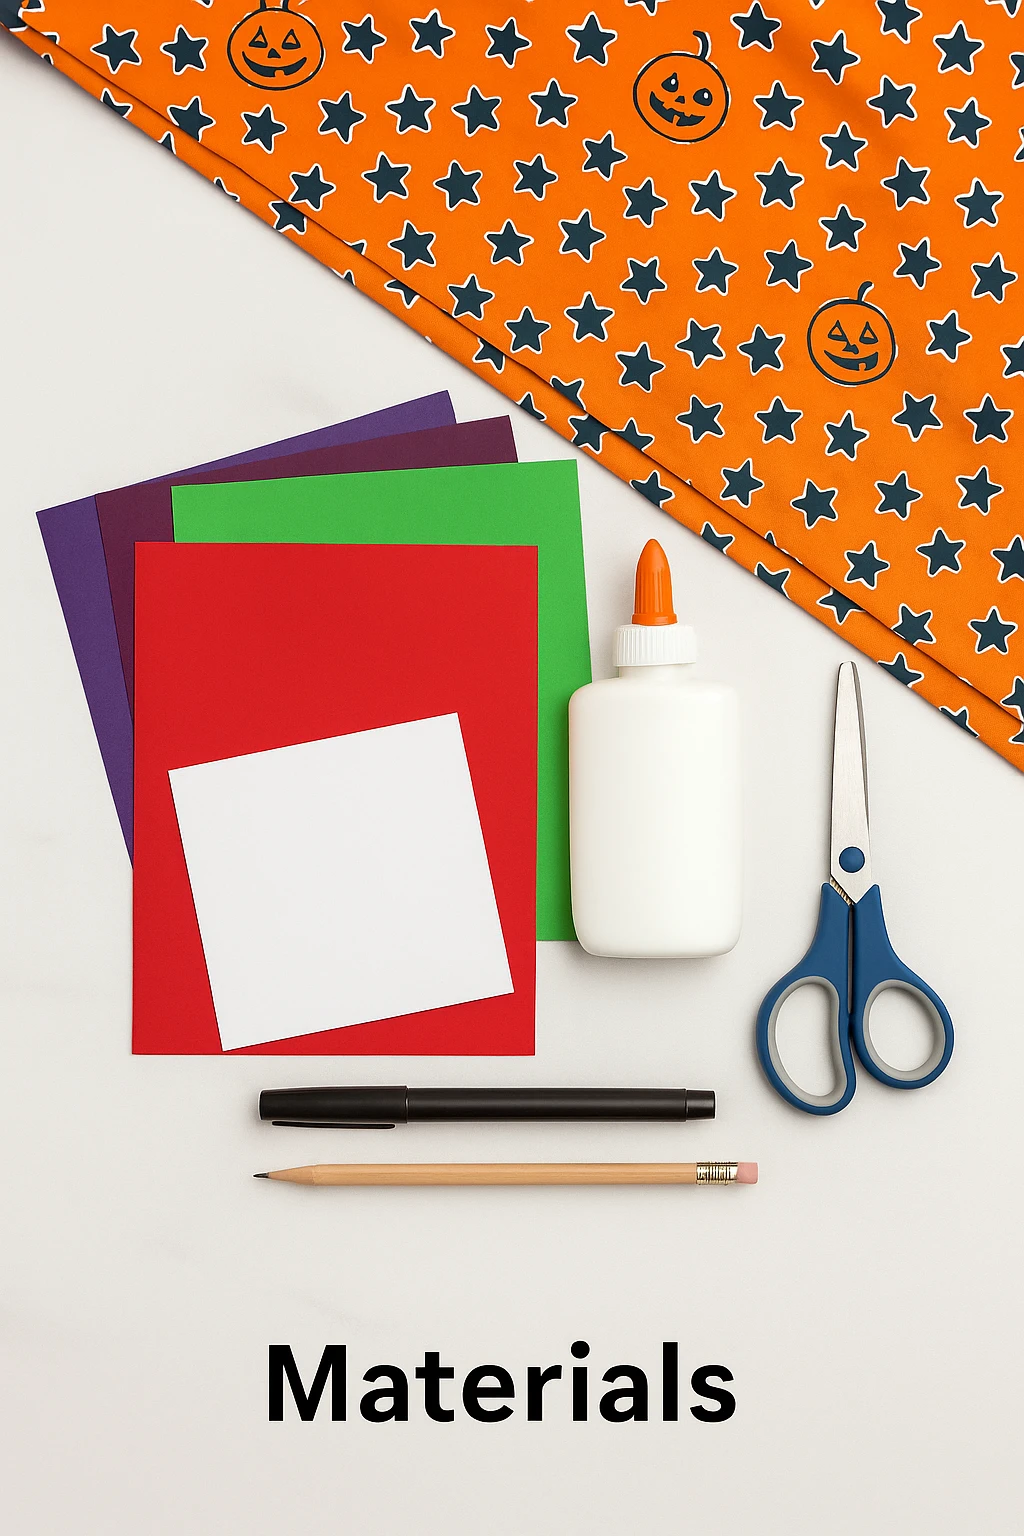
- Green cardstock (for the face and ears)
- Red cardstock (for the handprint cape)
- Black cardstock (for the hair and coat)
- Purple cardstock (for the inner cape and collar)
- White cardstock (for fangs and eyes, or use googly eyes)
- Black marker
- Pencil (for tracing handprints)
- Scissors
- Glue stick or white craft glue
- Optional: free printable vampire template for easy assembly
Step-by-Step Instructions
Step 1: Trace and Cut Handprints
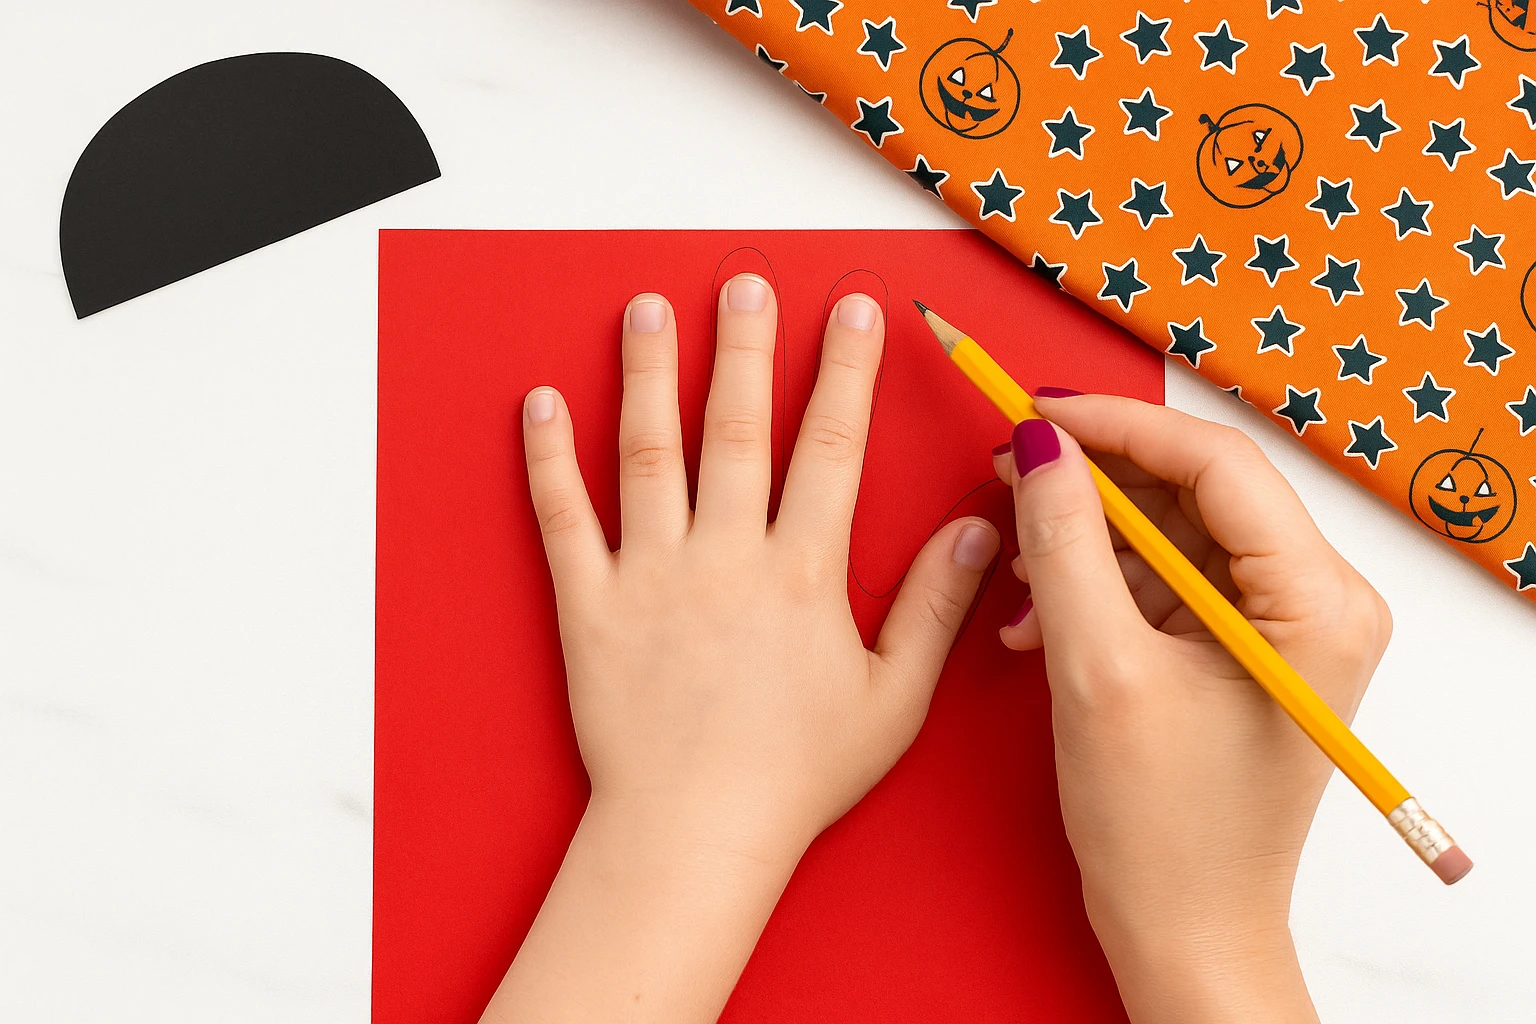
Start by placing your child’s hands on a piece of red cardstock and tracing around them with a pencil. These handprints will form the vampire’s dramatic cape. Once traced, carefully cut them out and set them aside.
Step 2: Cut Out Vampire Face and Hair

Using green cardstock, cut out a large oval shape for the vampire’s face. Next, take black cardstock and cut a hairline shape that fits on top of the oval, resembling a classic vampire widow's peak. Use glue to attach the hair to the top of the face.
Step 3: Create Vampire Collar and Cape

To create the collar, cut two triangle shapes from the purple cardstock and glue them to either side of the head. Then, cut a wide triangle or “batwing” shape from black cardstock to represent the vampire’s coat. Add a slightly smaller purple shape on top for cape detail.
Step 4: Assemble the Head and Features
Use white cardstock to cut out two small fangs and eye circles (or stick on googly eyes). Draw eyebrows, a nose, and a mouth with a black marker. Glue on the eyes and fangs, then add any additional facial details you like.

Step 5: Add Handprint Arms and Final Details
Attach the red handprint cutouts behind the vampire’s body to form the cape or arms. Be sure to fan them out to give it that iconic vampire pose. Once dry, your handprint vampire is ready to spook (or charm) everyone who sees it!
Customization Ideas
Make this craft even more fun by letting kids choose their own colors—how about a neon green vampire or a rainbow cape? You can also attach a popsicle stick on the back to turn it into a puppet, or glue it onto folded cardstock for a one-of-a-kind Halloween greeting card.
For classrooms, each child can make their own and display them in a spooky wall gallery or hang them along a Halloween banner. It's a great way to celebrate individuality while keeping the seasonal theme cohesive.
Educational & Seasonal Uses
This vampire craft is perfect for early childhood educators looking to integrate art into Halloween-themed lesson plans. It encourages kids to practice tracing, cutting, and assembling shapes, which strengthens fine motor skills.
It also opens the door to fun literacy connections. Pair this craft with a read-aloud of friendly vampire stories or Halloween picture books. Use it as a lead-in to discussions about emotions, costumes, and cultural symbols associated with Halloween.
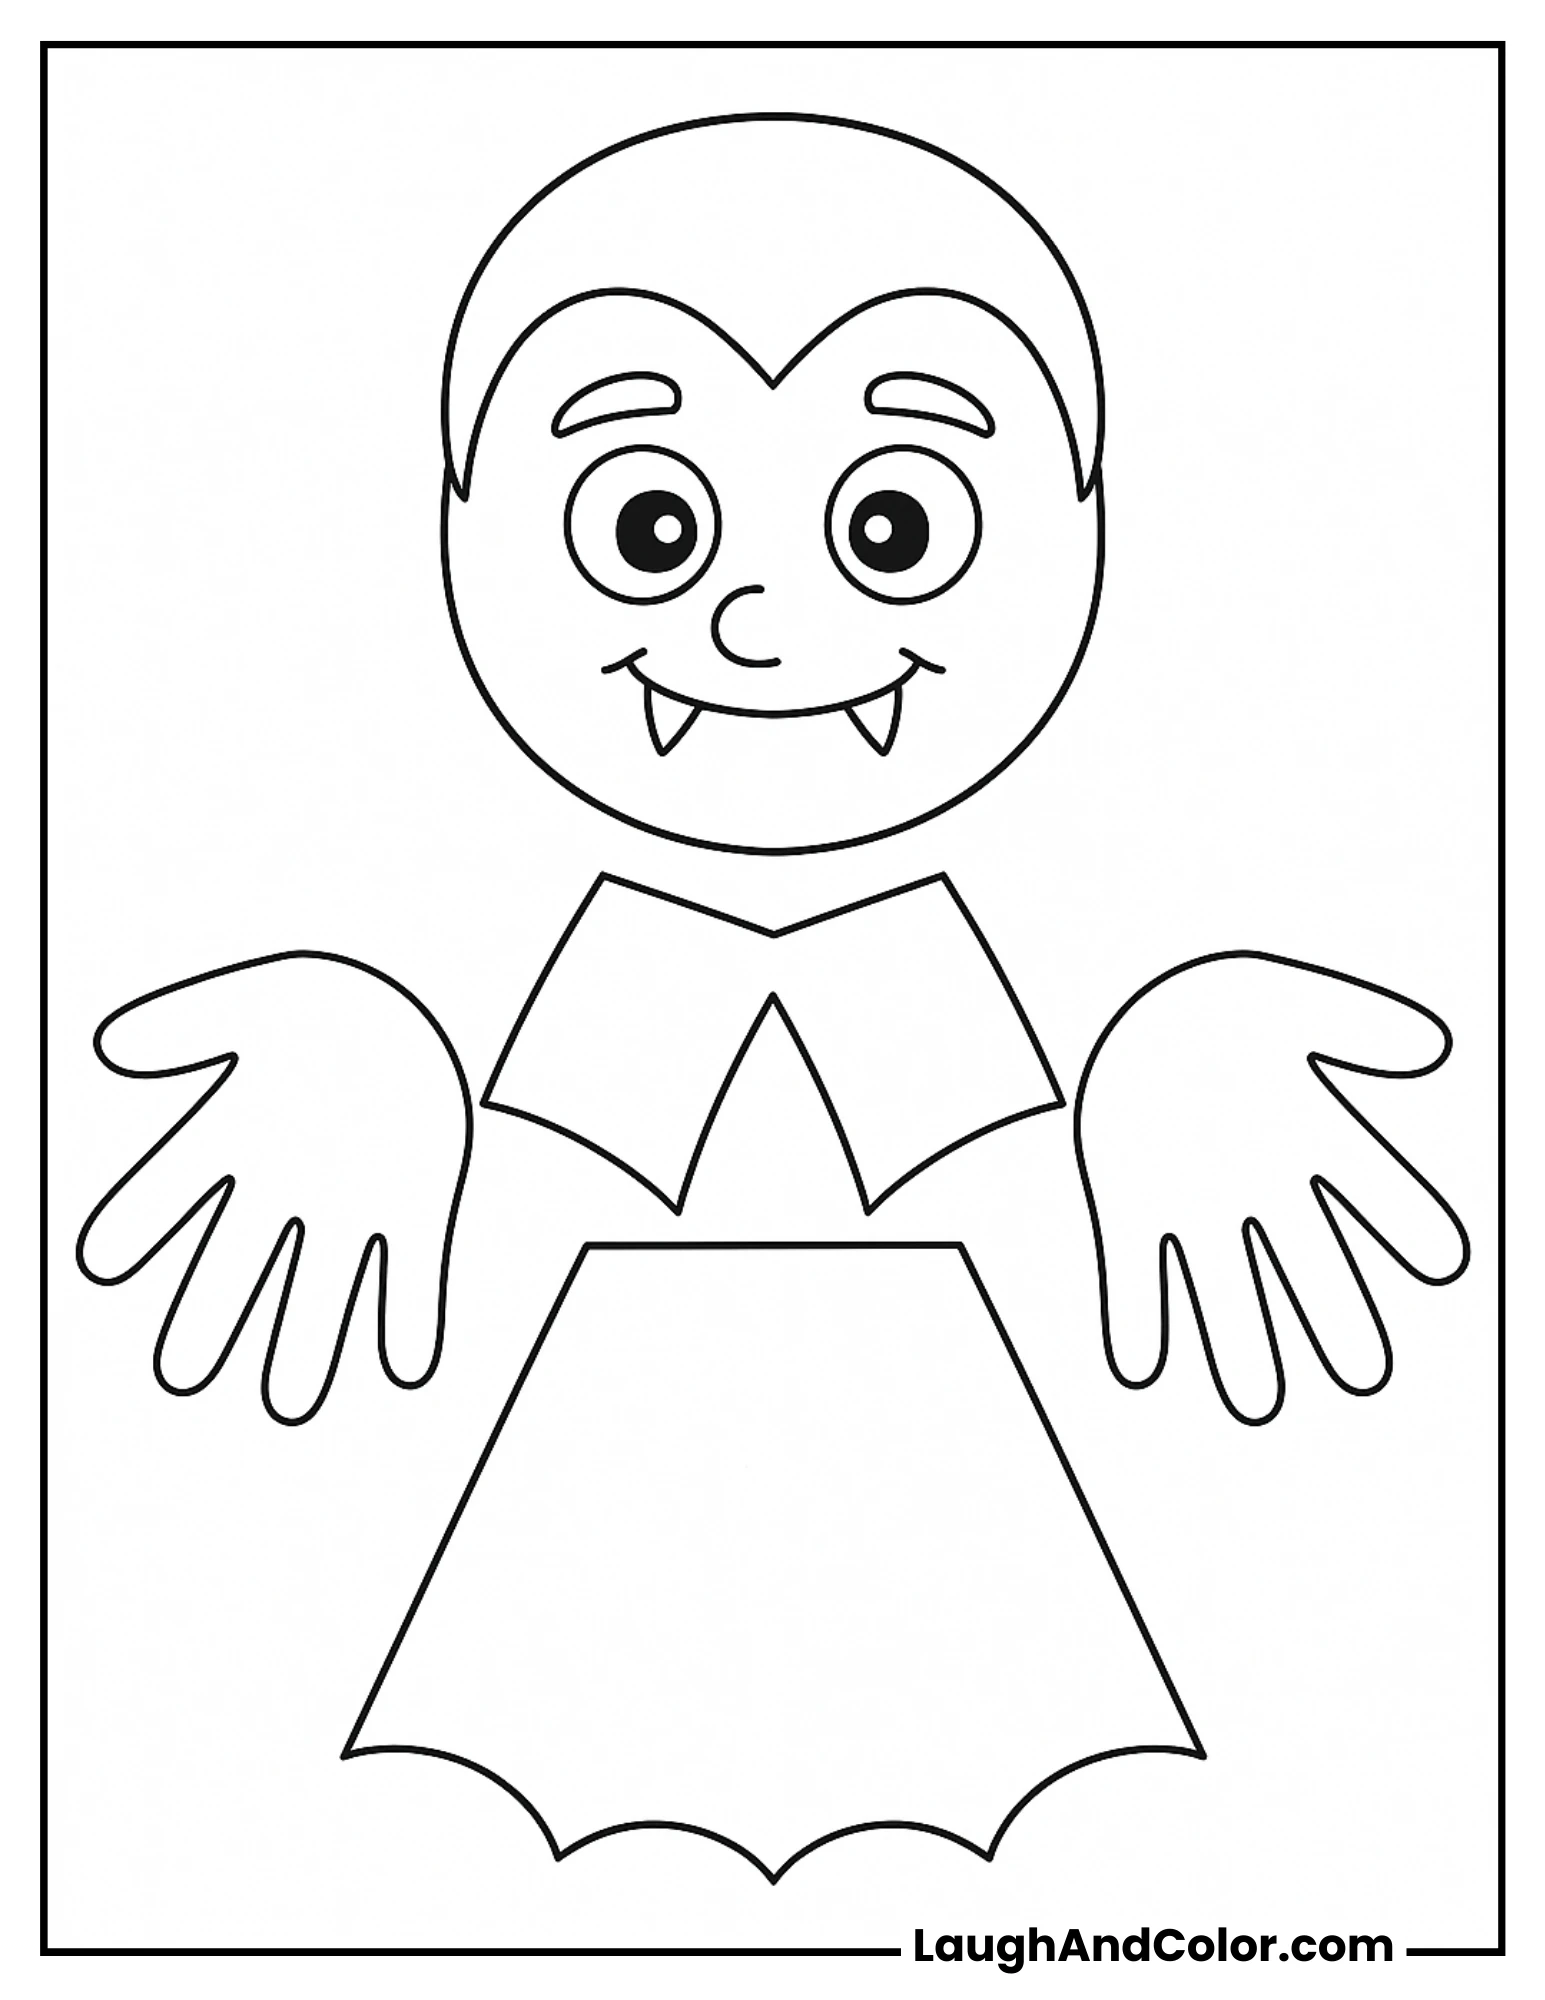
Printable Template Section
To make this project even easier, we’ve included a free printable vampire template. This ready-to-use guide includes pre-drawn shapes for the face, hair, collar, and coat—just print, color, cut, and glue! It’s the ideal option for younger kids or for teachers who want to simplify prep for a larger group.
With the template, kids can either color their own pieces or use the black-and-white outlines as stencils on colored cardstock. Either way, it ensures a fun and fuss-free craft time with picture-perfect results every time.
Conclusion
This handprint vampire craft is a delightful way to bring Halloween magic into your home or classroom. With minimal materials and simple steps, it’s both easy and entertaining—plus it leaves room for tons of personalization. Display them as party decorations, classroom crafts, or gift them to family and friends as handmade Halloween surprises.
So grab your scissors, trace those tiny hands, and create a craft that’s just the right mix of spooky and sweet!

Adorable Handprint Vampire Craft for Kids – A Spooky-Fun Halloween Activity
Equipment
- Scissors
- Glue stick
- Pencil
- Black marker
Materials
- Green cardstock for face and ears
- Red cardstock for handprints
- Black cardstock for hair and coat
- Purple cardstock for collar and inner cape
- White cardstock for fangs and eyes (or use googly eyes)
Instructions
- 1. Trace and cut out your child’s handprints on red cardstock to make the vampire cape.
- 2. Cut an oval from green cardstock for the face and a widow’s peak hair shape from black cardstock. Glue together.
- 3. Cut two triangle shapes from purple cardstock for the collar and a black triangle for the coat. Layer with purple cape piece and glue.
- 4. Add eyes, fangs, and face details using white cardstock and a black marker. Attach to the vampire face.
- 5. Glue the red handprint shapes behind the body to form the vampire’s cape or arms. Let dry.